


How to duplicate this look?
mahatmacat1
12 years ago
Related Stories
URBAN GARDENSIndoor Gardens: Duplicate Nature Inside
Bring the garden indoors and enjoy the calming beauty of plants all year long
Full Story
LIFE12 Tips for Happily Combining Households
Joining forces may seem easy compared to merging all your stuff under one roof. These pointers can help you keep the peace
Full Story
ORGANIZING4 Questions to Help You Organize Your Favorite Photos
Organize your keeper photos with a system that's just right for you, whether it's in the cloud or you can hold it in your hand
Full Story
GARDENING GUIDES8 Take-Home Planting Ideas From Hawaii's Big Island
Bring the tropical spirit of Hawaii to a mainland garden — for a summer or even longer
Full Story
COLORThe 10 Hottest Color Trends for Spring
Fasten your seat belts: This year's selections are going to rock your world
Full Story
COLORTricky Yellow — Friend or Foe?
It might rev you up or wear you down. Learn what the experts have to say about using this complex color at home
Full Story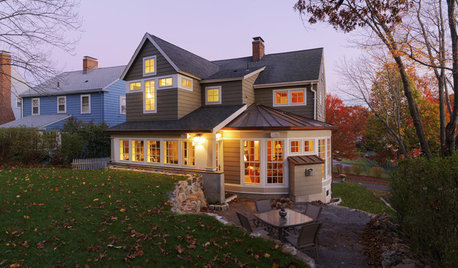
HOUZZ TOURSMy Houzz: New England Add-On Provides Privacy, Views
A Massachusetts couple gets increased lounge space, improved views of the backyard and much-needed privacy with a home addition
Full Story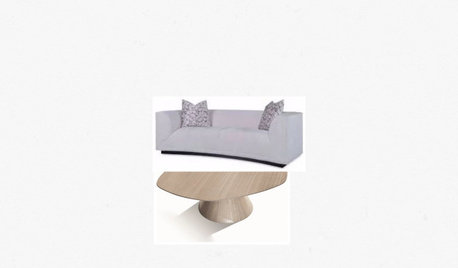
DECORATING GUIDES11 Wonderful Ways to Use Wool Around the Home
Natural and durable, wool is a stylish and practical choice for upholstery, rugs and bedding
Full Story
ORGANIZINGHelp for Whittling Down the Photo Pile
Consider these 6 points your personal pare-down assistant, making organizing your photo collection easier
Full Story
ORGANIZINGSimple Pleasures: Preserving Analog Memories in a Digital World
Too often our photos and mementos accumulate in computers and in piles. Here’s how to free them up to be displayed and enjoyed
Full Story

weedyacres
mahatmacat1Original Author
Related Professionals
Des Plaines Flooring Contractors · Franklin Flooring Contractors · Homestead Flooring Contractors · Kalispell Flooring Contractors · Livonia Flooring Contractors · Lynbrook Flooring Contractors · The Crossings Flooring Contractors · Truckee Flooring Contractors · Springdale Carpet Dealers · Asheboro General Contractors · Big Lake General Contractors · Mount Vernon General Contractors · North Highlands General Contractors · Seal Beach General Contractors · Waxahachie General Contractorsweedyacres
mahatmacat1Original Author
mahatmacat1Original Author
weedyacres
mahatmacat1Original Author