


Why won't my laminate planks 'click' together easily?
taragirl
16 years ago
Featured Answer
Sort by:Oldest
Comments (12)

mainemanx
16 years agotaragirl
16 years agoRelated Professionals
Dublin Flooring Contractors · Glendale Flooring Contractors · Jenison Flooring Contractors · Oswego Flooring Contractors · Pittsburgh Flooring Contractors · Sycamore Flooring Contractors · Edwards Tile and Stone Contractors · Arlington General Contractors · Bel Air General Contractors · Chicago Ridge General Contractors · Clive General Contractors · Mashpee General Contractors · Milton General Contractors · Port Washington General Contractors · Woodmere General Contractorssteve_o
16 years agocasey99
16 years agofenderhead
16 years agofloorguy
16 years agodragonfly717
16 years ago PRO
PROrjm reno
7 years ago- PRO
rjm reno
7 years ago 
millworkman
7 years ago
mg bern
3 years ago
Related Stories
HOW TO PHOTOGRAPH YOUR HOUSEAttract Home Buyers Easily With Great Photography
Show your home's best face in real estate listing photos to have potential buyers knocking down your door
Full Story
FURNITURE12 Sofa Colors That Won't Box You In
With any of these colors as a base, you can change your decor as often as you change your mind
Full Story
REMODELING GUIDESLaminate Floors: Get the Look of Wood (and More) for Less
See what goes into laminate flooring and why you just might want to choose it
Full Story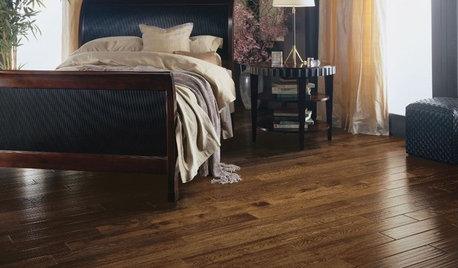
REMODELING GUIDESYour Floor: An Introduction to Solid-Plank Wood Floors
Get the Pros and Cons of Oak, Ash, Pine, Maple and Solid Bamboo
Full Story
MOST POPULAR8 Reasons to Warm Up With a Wood Plank Wall
The accent finds a place in every room — adding focus, coziness, definition and more
Full Story
KITCHEN COUNTERTOPSKitchen Counters: Plastic Laminate Offers Options Aplenty
Whatever color or pattern your heart desires, this popular countertop material probably comes in it
Full Story
PETS5 Finishes Pets and Kids Can’t Destroy — and 5 to Avoid
Save your sanity and your decorating budget by choosing materials and surfaces that can stand up to abuse
Full Story
KITCHEN DESIGNTrending Now: 25 Kitchen Photos Houzzers Can’t Get Enough Of
Use the kitchens that have been added to the most ideabooks in the last few months to inspire your dream project
Full Story
FUN HOUZZ10 Things People Really Don’t Want in Their Homes
No love lost over fluorescent lights? No shocker there. But some of these other hated items may surprise you
Full Story
MOST POPULAR5 Remodels That Make Good Resale Value Sense — and 5 That Don’t
Find out which projects offer the best return on your investment dollars
Full Story

Susan Biroc