


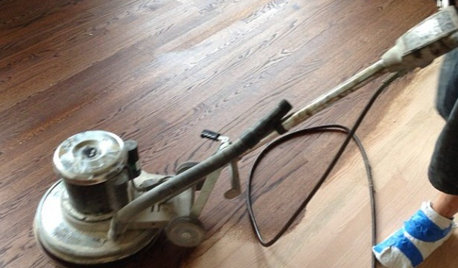
Hardwood floor repair/refinish questions
emcloud Fish
10 years ago
Sort by:Oldest
Comments (35)
Related Stories
GREAT HOME PROJECTSWhat to Know Before Refinishing Your Floors
Learn costs and other important details about renewing a hardwood floor — and the one mistake you should avoid
Full Story
GREEN BUILDINGConsidering Concrete Floors? 3 Green-Minded Questions to Ask
Learn what’s in your concrete and about sustainability to make a healthy choice for your home and the earth
Full StoryREMODELING GUIDESConsidering a Fixer-Upper? 15 Questions to Ask First
Learn about the hidden costs and treasures of older homes to avoid budget surprises and accidentally tossing valuable features
Full Story
REMODELING GUIDESSurvive Your Home Remodel: 11 Must-Ask Questions
Plan ahead to keep minor hassles from turning into major headaches during an extensive renovation
Full Story
REMODELING GUIDESContractor Tips: Smooth Moves for Hardwood Floors
Dreaming of gorgeous, natural wood floors? Consider these professional pointers before you lay the first plank
Full Story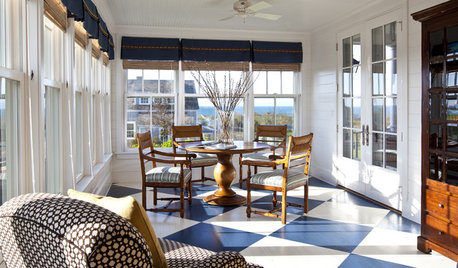
FLOORSHow to Paint Your Hardwood Floors
Know how to apply nail polish? Then you can give your wooden floors a brand-new look
Full Story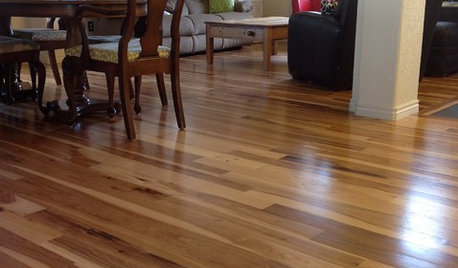
MATERIALSWhat to Ask Before Choosing a Hardwood Floor
We give you the details on cost, installation, wood varieties and more to help you pick the right hardwood flooring
Full Story

GREEN DECORATING8 Questions to Help You See Through Green Hype
With the ecofriendly bandwagon picking up some dubious passengers, here's how to tell truly green products and services from the imposters
Full Story
GREAT HOME PROJECTSHow to Refinish a Wood Deck
Keep your deck looking its best — and save feet from splinters — by applying a new stain and sealant every year or so
Full Story
lazy_gardens
weedyacres
Related Professionals
Faribault Flooring Contractors · Los Angeles Flooring Contractors · Mill Valley Flooring Contractors · Monroe Flooring Contractors · North Liberty Flooring Contractors · Parma Heights Flooring Contractors · Powder Springs Flooring Contractors · Corsicana Tile and Stone Contractors · Largo Carpet Dealers · Deer Park General Contractors · Fargo General Contractors · Monroe General Contractors · Newington General Contractors · Waxahachie General Contractors · Joppatowne General Contractorslazy_gardens
emcloud FishOriginal Author
emcloud FishOriginal Author
weedyacres
glennsfc
brickeyee
glennsfc
emcloud FishOriginal Author
weedyacres
gregmills_gw
glennsfc
weedyacres
gregmills_gw
weedyacres
brickeyee
weedyacres
glennsfc
emcloud FishOriginal Author
raee_gw zone 5b-6a Ohio
raee_gw zone 5b-6a Ohio
weedyacres
itsahobby
itsahobby
itsahobby
itsahobby
glennsfc
mmariens
itsahobby
itsahobby
glennsfc
itsahobby
itsahobby
itsahobby