

Easiest way to remove carpet tack strips
kbkids
17 years ago
Featured Answer
Sort by:Oldest
Comments (15)

User
17 years agopineviewplanter
17 years agoRelated Professionals
American Fork Flooring Contractors · Costa Mesa Flooring Contractors · Easton Flooring Contractors · Laconia Flooring Contractors · Medway Flooring Contractors · Uxbridge Flooring Contractors · Wixom Flooring Contractors · Woodbury Flooring Contractors · Del Aire General Contractors · Lakeside General Contractors · Norman General Contractors · Parkersburg General Contractors · Pine Hills General Contractors · Redan General Contractors · Westerly General Contractorsfloorguy
17 years agofloorguy
17 years agobrickeyee
17 years agoflorida_wen
17 years agofloorguy
17 years agoflorida_wen
17 years agoslootie
12 years agobuddywiser
12 years agovixter89
10 years agoukjessi
8 years ago PRO
PROTiles Direct LTD
8 years agoHU-181307786
3 years ago
Related Stories
BUDGET DECORATINGThe Single Easiest Trick for Serial Redecorators
Take the no-sweat approach to no-commitment decorating with this inexpensive, readily available solution
Full Story
HOUSEKEEPINGHow to Remove Water Rings From Wood Tables
You may be surprised by some of these ideas for removing cloudy white water marks from wood surfaces
Full Story
DECORATING GUIDESLoving Color: 5 Ways to Decorate With Paint Chips
Turn those also-ran paint strips into conversation-starting art and accessories for your home
Full Story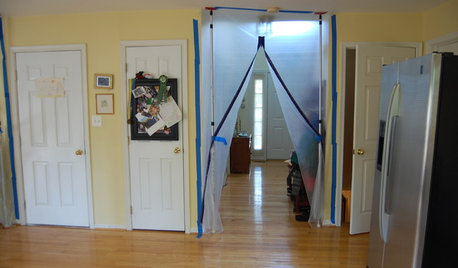
HEALTHY HOMEWhat to Know About Controlling Dust During Remodeling
You can't eliminate dust during construction, but there are ways to contain and remove as much of it as possible
Full Story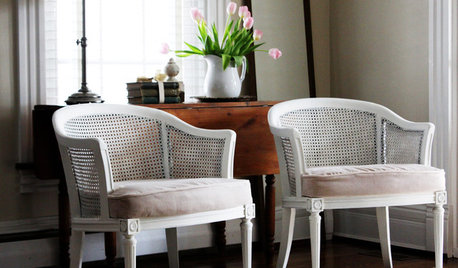
BUDGET DECORATINGBudget Decorator: 8 Ways to Make Old Furniture Look Brand New
Learn stripping, staining, painting and reupholstering basics to make bargain-basement furniture worthy of center stage at home
Full Story
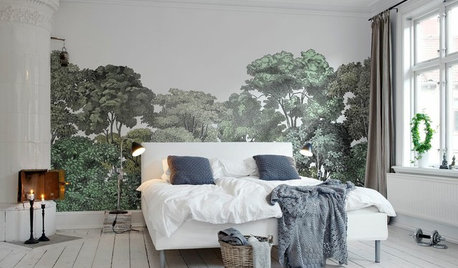
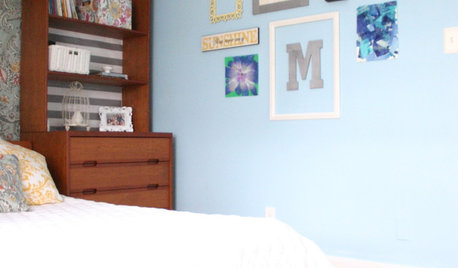
DECORATING GUIDES13 Stylish Ways to Accent a Bedroom Wall
From tried-and-true favorites to the latest textures, these creative ideas can strengthen your bedroom’s design
Full Story
REMODELING GUIDES15 Ways to Design an Easy-Clean Home
Spend more time doing what you love with these pointers for minimizing cleaning needs throughout the entire house
Full Story
LIFE8 Ways to Tailor Your Home for You, Not Resale
Planning to stay put for a few years? Forget resale value and design your home for the way you live
Full Story
LIGHTINGSo You Bought a Cave: 7 Ways to Open Your Home to Light
Make the most of the natural light your house does have — and learn to appreciate some shadows, too
Full StoryMore Discussions


florida_wen