


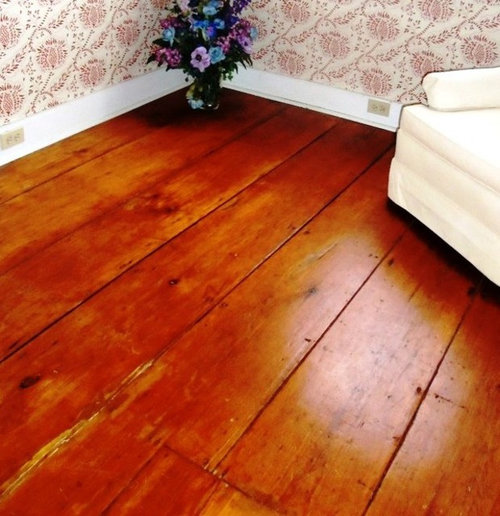
200 year old floor joints need filling
joeurda
10 years ago
Featured Answer
Sort by:Oldest
Comments (11)

live_wire_oak
10 years ago
gregmills_gw
10 years agoRelated Professionals
Damascus Flooring Contractors · Laguna Niguel Flooring Contractors · Redlands Flooring Contractors · South Lake Tahoe Flooring Contractors · Stoughton Flooring Contractors · Wheat Ridge Flooring Contractors · Gladstone Tile and Stone Contractors · Belleville General Contractors · Coatesville General Contractors · Hartford General Contractors · Mentor General Contractors · Newburgh General Contractors · Tamarac General Contractors · Tyler General Contractors · Universal City General Contractorsglennsfc
10 years ago
lazy_gardens
10 years agojoeurda
10 years agoAcadiafun
10 years agojoeurda
10 years agojoeurda
10 years agojoeurda
10 years agojoeurda
10 years ago
Related Stories

HOUZZ TOURSHouzz Tour: Updated Elegance for a 200-Year-Old Norwegian Mansion
Original details are restored to glory with a modern color palette and set off by fresh furnishings and a more open layout
Full Story
HOUZZ TOURSMy Houzz: An Artistic Life Fills a 150-Year-Old Home
A gorgeous courtyard, eclectic style and original details shine in a Paris-born artist's beachside rental
Full Story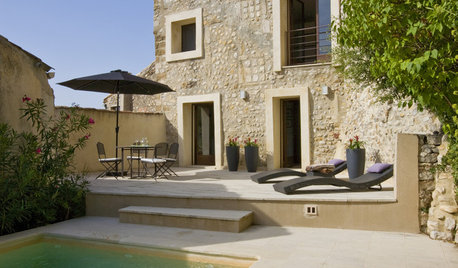
MODERN HOMESHouzz Tour: 800-Year-Old Walls, Modern Interiors in Provence
Old architecture and new additions mix beautifully in a luxurious renovated vacation home
Full Story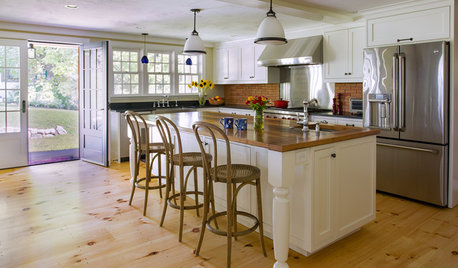
HOUZZ TOURSHouzz Tour: A 300-Year-Old Home Adapts to a Modern Family of 7
A new addition adds much-needed square footage to a 1750s home in Massachusetts
Full Story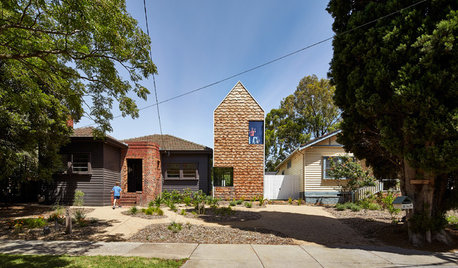
MOST POPULARHouzz Tour: A Playful Home Drawn Up by 8-Year-Old Twins
Plans for this innovative tower home in Melbourne were going nowhere — until the homeowners’ twins came to the rescue
Full Story
UNIVERSAL DESIGNMy Houzz: Universal Design Helps an 8-Year-Old Feel at Home
An innovative sensory room, wide doors and hallways, and other thoughtful design moves make this Canadian home work for the whole family
Full Story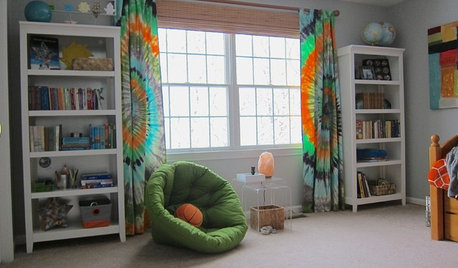
KIDS’ SPACESThis Designer’s Client Was Her 10-Year-Old Son
What do you give a boy with a too-babyish bedroom when he’s approaching double digits? See for yourself
Full Story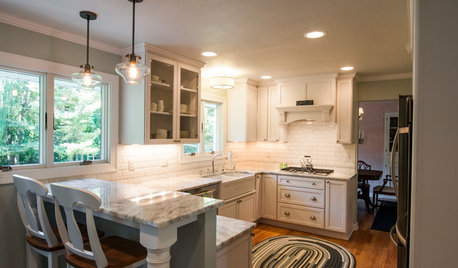
KITCHEN OF THE WEEKKitchen of the Week: 27 Years in the Making for New Everything
A smarter floor plan and updated finishes help create an efficient and stylish kitchen for a couple with grown children
Full Story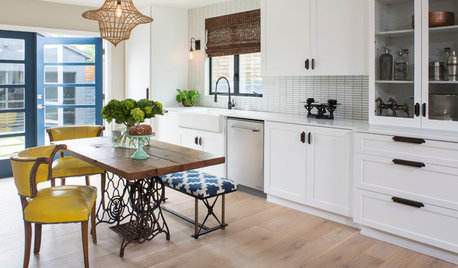
KITCHEN DESIGNGet Ideas From This Year’s Top 20 Kitchen Tours
Smart storage, functionality for cooks and families, vintage touches and lots of personality mark your favorites of 2015
Full Story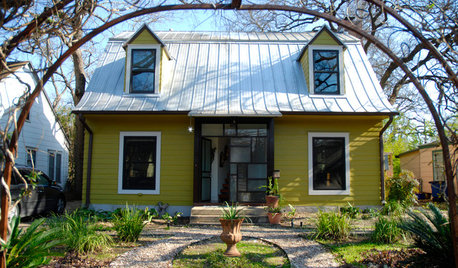
HOUZZ TOURSMy Houzz: An Art-Filled Austin Home Has Something to Add
Can a 90-square-foot bump-out really make that much difference in livability? The family in this expanded Texas home says absolutely
Full Story


eaga