


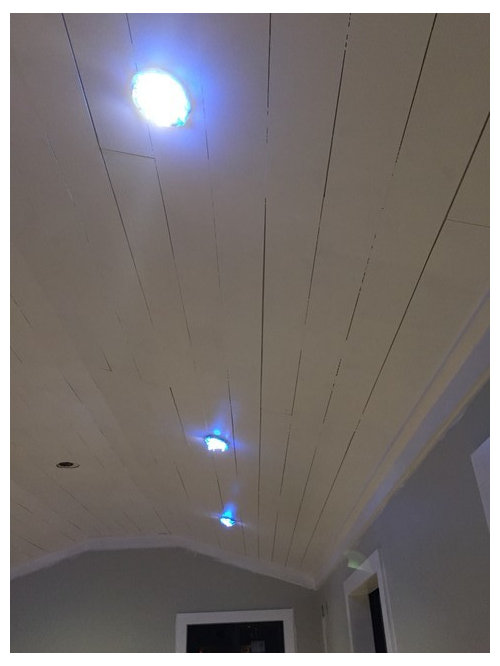
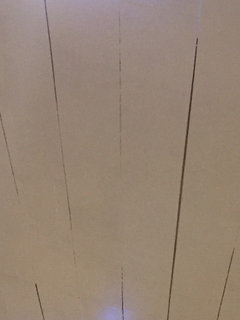
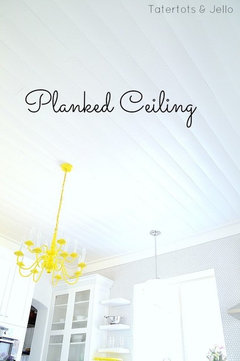
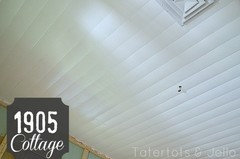
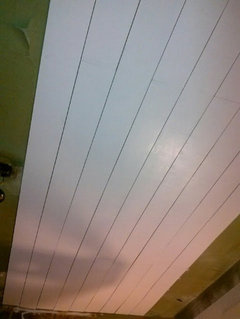
DIY Disaster/Faux Plank Ceiling
mountdgal
9 years ago
Featured Answer
Sort by:Oldest
Comments (23)

mountdgal
9 years agoUser
9 years agoRelated Professionals
Garden City Interior Designers & Decorators · Struthers Interior Designers & Decorators · Marietta Furniture & Accessories · Newnan Furniture & Accessories · Racine Furniture & Accessories · Carson City Furniture & Accessories · Hawthorne Furniture & Accessories · Naples Furniture & Accessories · Palmetto Bay Furniture & Accessories · New Bedford Custom Artists · Miami Lighting · Suitland Lighting · Wells Branch Lighting · Gadsden Window Treatments · New Baltimore Window TreatmentsUser
9 years agomountdgal
9 years agomountdgal
9 years ago
4boys2
9 years ago
terezosa / terriks
9 years agomountdgal
9 years agomountdgal
9 years agomountdgal
9 years ago4boys2
9 years agomountdgal
9 years ago
Annie Deighnaugh
9 years ago4boys2
9 years ago PRO
PROFlipGreat
8 years agopatty_cakes42
8 years agolast modified: 8 years ago
just_terrilynn
8 years agolast modified: 8 years agoAnne
8 years ago
Yayagal
8 years agopatty_cakes42
8 years agoxclusive
8 years ago
Peter Klym
3 years ago
Related Stories
DECORATING GUIDESFrom Queasy Colors to Killer Tables: Your Worst Decorating Mistakes
Houzzers spill the beans about buying blunders, painting problems and DIY disasters
Full Story
KITCHEN DESIGNShow Us Your Fabulous DIY Kitchen
Did you do a great job when you did it yourself? We want to see and hear about it
Full Story
REMODELING GUIDES5 Ways DIY Remodels Get Derailed — and How to Deal
Keep your remodel on track by knowing the potential pitfalls ahead of time
Full Story
DECORATING GUIDES8 Reasons to Jump Off the DIY Bandwagon
You heard right. Stop beating yourself up for not making stuff yourself, and start seeing the bright side of buying from others
Full Story
DECORATING GUIDESStencil Your Ceiling for a Luxurious Look
Add interest in one of the least expected places with a decorative detail you can likely do yourself
Full Story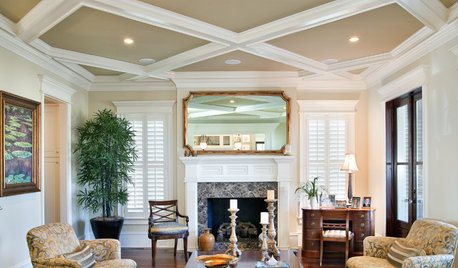
ARCHITECTURECeiling Treatments Worth a Look
Add beams, boards and other embellishments to that blank expanse for a room that looks dressed from head to toe
Full Story
FARMHOUSESMy Houzz: A Country Farmhouse With Modern Touches in Idaho
Farmhouse-style design details and DIY touches come together in this family’s updated home
Full Story
DECORATING GUIDESHow to Paint Perfect Wall Stripes
Draw the line on lackluster walls with crisply painted stripes. Here's the secret to getting them right
Full Story
MY HOUZZGet Ideas From the Top My Houzz Tours of 2015
Meet the DIY design-savvy personalities behind your favorite homes this year who know how to rock color and maximize square footage
Full Story
GREEN BUILDINGHouzz Call: What Have You Salvaged for Home Use?
If your floors, furniture, exterior materials or other home elements have a past life, we'd like to hear the story
Full StoryMore Discussions


palimpsest