


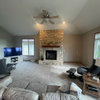
Completed upholstery job. Pics...
nicole__
14 years ago
Sort by:Oldest
Comments (19)
Related Stories
FURNITUREThe (Baby Steps) Guide to Bold Upholstery
Gauge your comfort level with a dozen ideas for nudging your furniture beyond neutral
Full Story
CONTRACTOR TIPSYour Complete Guide to Building Permits
Learn about permit requirements, the submittal process, final inspection and more
Full Story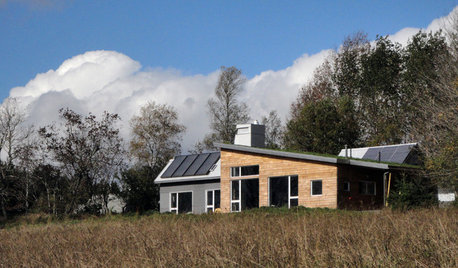
GREEN BUILDINGHouzz Tour: Going Completely Off the Grid in Nova Scotia
Powered by sunshine and built with salvaged materials, this Canadian home is an experiment for green building practices
Full Story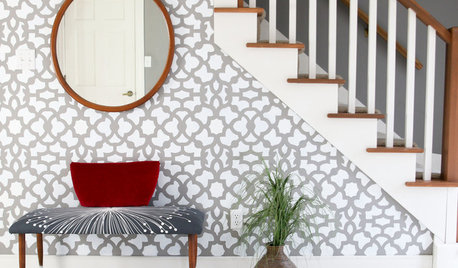
DIY PROJECTSSalvage Style: A DIY Upholstery Project Makes a Grand Entrance
See how to turn a recycled coffee table into a stylish bench for your entryway
Full Story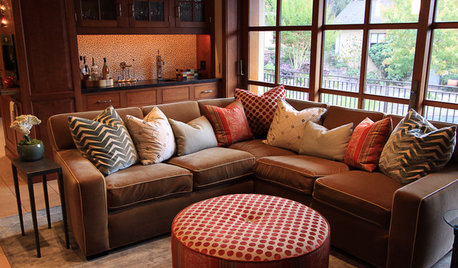
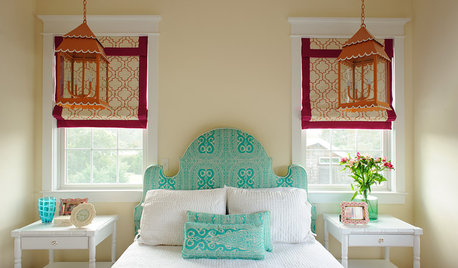
DECORATING GUIDESBulletproof Decorating: Upholstery That Stands Up to Anything
Kids and pets are no match for fabrics as durable as these, which meet higher style standards than ever
Full Story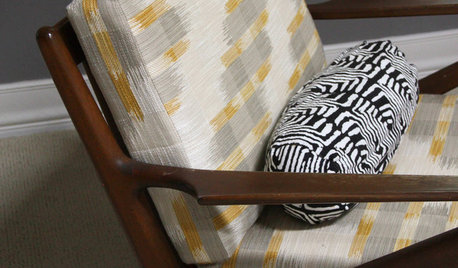
WORKING WITH PROSGet the Upholstery Work You Expect: 10 Details to Discuss
Avoid disappointment and unexpected costs by going over these key areas with your upholsterer before work begins
Full Story
FURNITUREHow to Keep Your Upholstery Looking Good
You wouldn't expect your car to maintain itself. Show your sofa and chairs the same courtesy with this 3-part strategy
Full Story
DECORATING GUIDESHow to Work With an Upholsterer
Swapping out faded fabrics is just part of an upholsterer's job. A magic touch with furniture details is on the table too
Full Story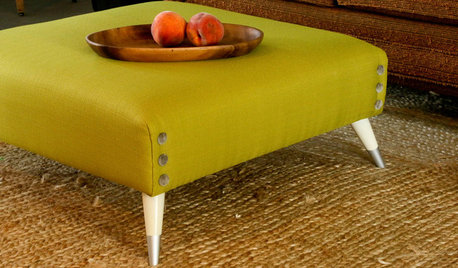
DIY PROJECTSTurn a Shipping Pallet Into a Stylish Ottoman
Get the step-by-step instructions for upholstering your own mod living room centerpiece
Full Story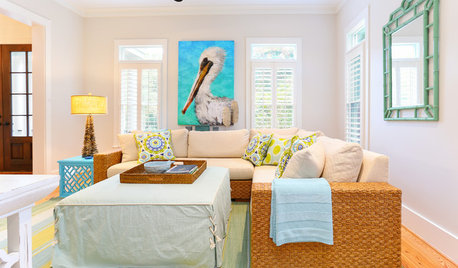
UPHOLSTERYSlipcover Magic: Casual, Washable and Fresh for the Season
Reinvent your sofas, chairs and ottomans with surprisingly chic and versatile slipcovers
Full StoryMore Discussions


kiko_gw
parma42
Related Professionals
Westbury Interior Designers & Decorators · Camarillo Furniture & Accessories · Minneapolis Furniture & Accessories · Scottsdale Furniture & Accessories · Aliso Viejo Furniture & Accessories · Hawthorne Furniture & Accessories · Arlington Custom Artists · Maywood Custom Artists · Baldwin Park Lighting · Camp Springs Lighting · Englewood Lighting · La Jolla Lighting · Lawrence Lighting · Palm Springs Lighting · Lodi Window Treatmentsbarb5
squirrelheaven
Lyban zone 4
nanny2a
nicole__Original Author
nicole__Original Author
nicole__Original Author
Lyban zone 4
cooperbailey
dawn25
cooperbailey
barb5
saltnpeppa
cliff_and_joann
User
nicole__Original Author
justgotabme