


Mrstan: Headboard Instructions
jerseygirl_1
16 years ago
Sort by:Oldest
Comments (9)
Related Stories
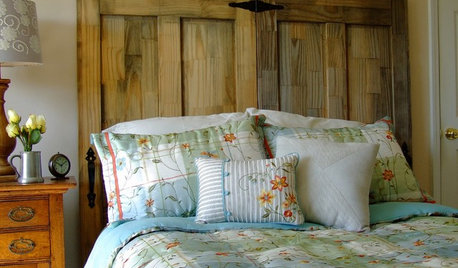
DIY PROJECTSMake Your Own Rustic-Chic Headboard From Salvaged Doors
Turn old doors into a charming headboard with these step-by-step instructions from an expert woodworker
Full Story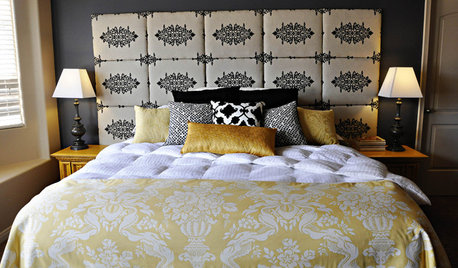
BEDROOMS13 Homemade Headboards That Thrill With Creativity
Snipped from a trellis, snagged from a pallet pile and more, these inventive headboards excite in any bedroom
Full Story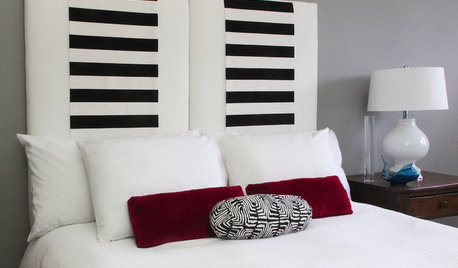
DIY PROJECTSMake an Upholstered Headboard You Can Change on a Whim
Classic stripes today, hot pink tomorrow. You can swap the fabric on this DIY headboard to match your room or your mood
Full Story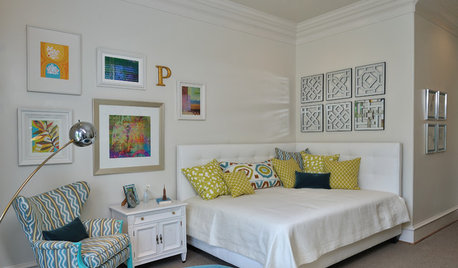
BEDROOMSDesign Solution: Dual Headboards to Cap a Corner Bed
Neatly tailored but as casual as you please, this corner headboard style is a fitting finishing touch for a flexible, lounge-like bed
Full Story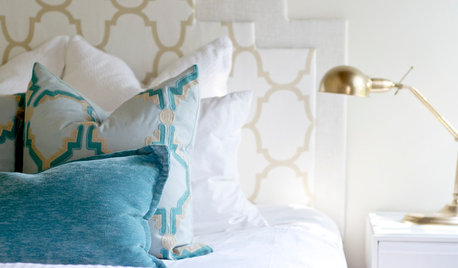
DIY PROJECTSHigh-End Look for Less: Make a Layered Headboard for $20
No sewing and sawing means no hemming and hawing; just gather some inexpensive materials and get going
Full Story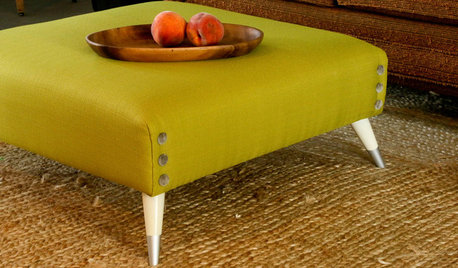
DIY PROJECTSTurn a Shipping Pallet Into a Stylish Ottoman
Get the step-by-step instructions for upholstering your own mod living room centerpiece
Full Story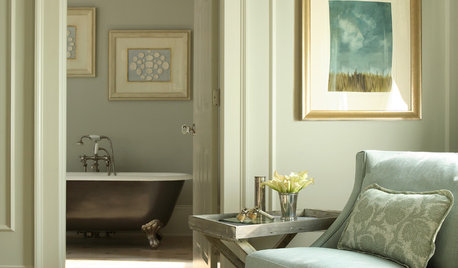
DECORATING GUIDES11 Distinctive Details for Upscale-Looking Upholstery
Give the upholstery on your chair, sofa, banquette or headboard a high-end look with details that create polish
Full Story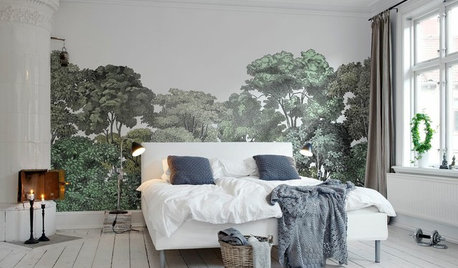
DECORATING GUIDES13 Stylish Ways to Accent a Bedroom Wall
From tried-and-true favorites to the latest textures, these creative ideas can strengthen your bedroom’s design
Full Story
HOUZZ TOURSMy Houzz: Window Love in a Midcentury Texas Home
Ample light sold this couple on their first home, but bold paint colors and DIY projects made it theirs
Full Story
DECORATING GUIDESDIY: Make Your Own Chalkboard Paint
3 simple steps to chalk it up in any color anywhere for cheap
Full StoryMore Discussions


walkin_yesindeed
oceanna
Related Professionals
Charleston Interior Designers & Decorators · Fort Smith Interior Designers & Decorators · Washington Interior Designers & Decorators · Beaufort Furniture & Accessories · Indianapolis Furniture & Accessories · Long Beach Furniture & Accessories · Midland Furniture & Accessories · San Diego Furniture & Accessories · Fountain Furniture & Accessories · Highland Park Furniture & Accessories · Lafayette Custom Artists · Bellwood Custom Artists · South Miami Lighting · Cleveland Window Treatments · Mount Pleasant Window Treatmentsmrstan1234
oceanna
walkin_yesindeed
mrstan1234
oceanna
mrstan1234
mahatmacat1