


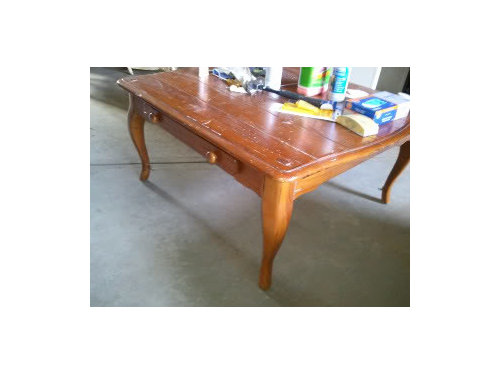
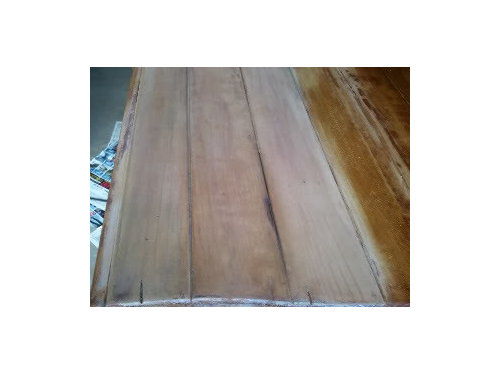
Does this look like driftwood....?
celticmoon
12 years ago

Related Stories
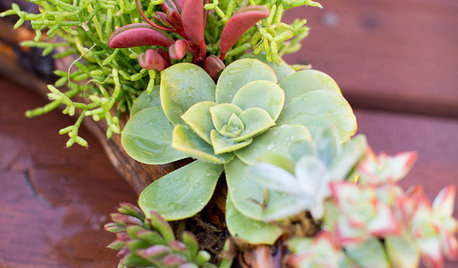
DIY PROJECTSMake a Beautiful and Long-Lasting Driftwood Centerpiece
Add succulents to found wood for an easy arrangement that looks straight from a designer florist's shelf
Full Story
INSIDE HOUZZHow Much Does a Remodel Cost, and How Long Does It Take?
The 2016 Houzz & Home survey asked 120,000 Houzzers about their renovation projects. Here’s what they said
Full Story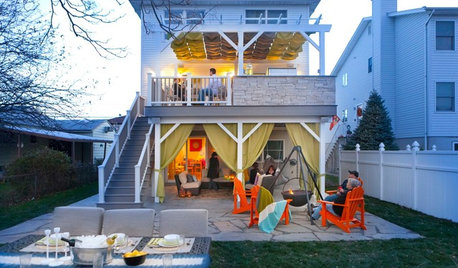
LIFEHouzz Call: What Does Summer Look Like at Your Home?
Kids, water, sunshine, backyards, cold drinks — share photos of what summer at home means to you
Full Story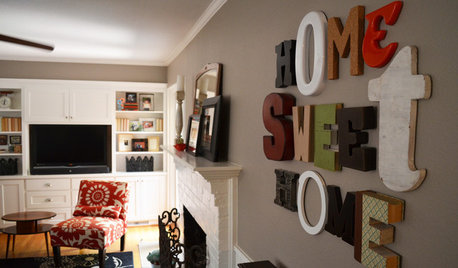
MOST POPULARWhen Does a House Become a Home?
Getting settled can take more than arranging all your stuff. Discover how to make a real connection with where you live
Full Story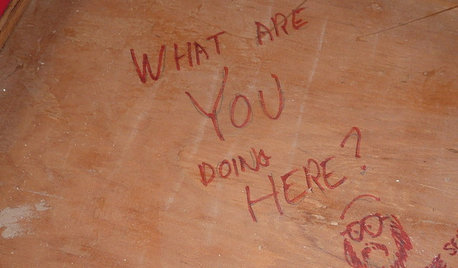
FUN HOUZZDoes Your Home Have a Hidden Message?
If you have ever left or found a message during a construction project, we want to see it!
Full Story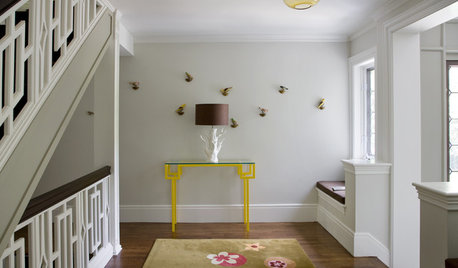
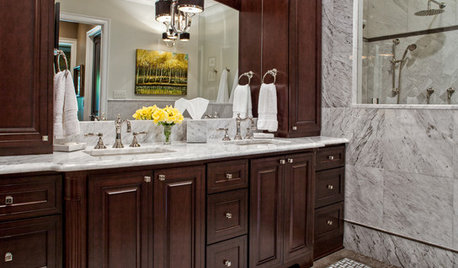
REMODELING GUIDESBathroom Workbook: How Much Does a Bathroom Remodel Cost?
Learn what features to expect for $3,000 to $100,000-plus, to help you plan your bathroom remodel
Full Story
DECORATING GUIDESWhat Does Your Inspiration Board Say About You?
Scraps pinned on a mood board may provide clues to your personality. See what your board reveals
Full Story
HOME TECHDoes Your Home Need an Operating System?
New technologies hope to unify the lawless frontier of home-automation products. Would they work for you?
Full Story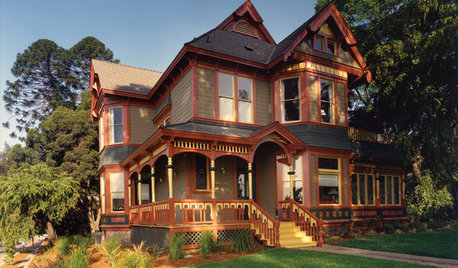
ARCHITECTURERoots of Style: Does Your House Have a Medieval Heritage?
Look to the Middle Ages to find where your home's steeply pitched roof, gables and more began
Full StoryMore Discussions
alex9179
rmkitchen
Related Professionals
Washington Interior Designers & Decorators · Charleston Furniture & Accessories · Manhattan Furniture & Accessories · Midland Furniture & Accessories · Gages Lake Furniture & Accessories · Los Gatos Furniture & Accessories · Sahuarita Furniture & Accessories · Jacinto City Furniture & Accessories · Arcadia Lighting · Aurora Lighting · Greenville Lighting · Modesto Lighting · Palm Springs Lighting · Saint Petersburg Lighting · Rockford Window Treatmentsles917
decordummy_gw
celticmoonOriginal Author
lindac
celticmoonOriginal Author
celticmoonOriginal Author
justgotabme
alex9179
celticmoonOriginal Author
paulines
zipdee
celticmoonOriginal Author
paulines
celticmoonOriginal Author
4boys2
tinycastles