


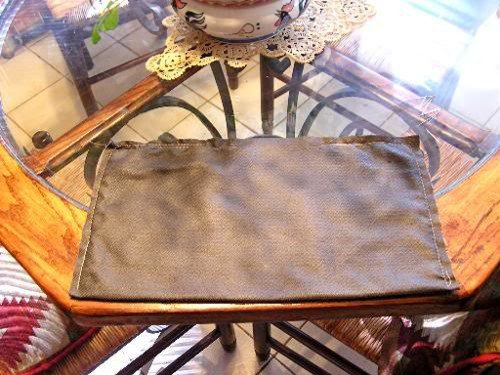
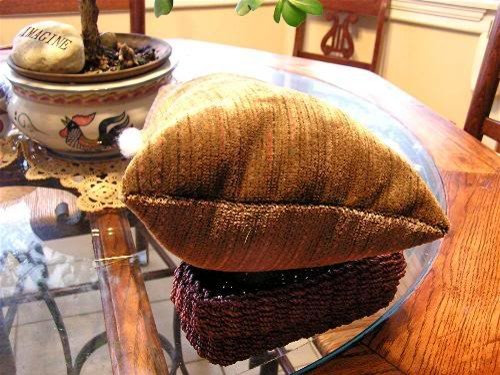
As Promised ~Directions to Make a Bolster Pillow
cliff_and_joann
16 years ago


Related Stories
MOVINGMaking a Home Away From Home
Feeling like a stranger in a strange land? These tips can help ease the transition after a big move
Full Story
LIVING ROOMSHow to Make Your Living Room More Inviting
Consider these common-sense decorating ideas to make this room more comfortable and cozy
Full Story
DECORATING GUIDESA Glimmer of Gold Leaf Will Make Your Room Shine
Make a unique, unexpected statement in any space with this precious metallic finish
Full Story
MOVINGRelocating? Here’s How to Make the Big Move Better
Moving guide, Part 1: How to organize your stuff and your life for an easier household move
Full Story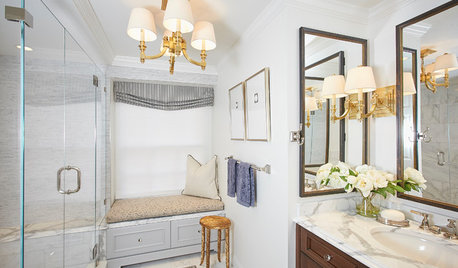
ROOM OF THE DAYRoom of the Day: Small Master Bath Makes an Elegant First Impression
Marble surfaces, a chandelier and a window seat give the conspicuous spot the air of a dressing room
Full Story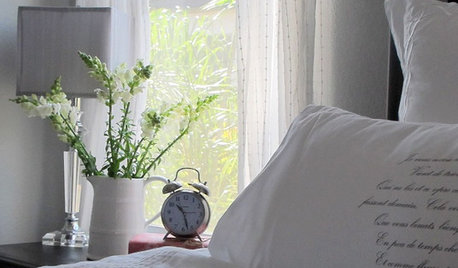
BEDROOMSHow to Choose the Perfect Bed Pillow — and Sleep Better
Wake up saying 'Ahhhh' instead of 'Ow' with a pillow that provides all the support and comfort you need
Full Story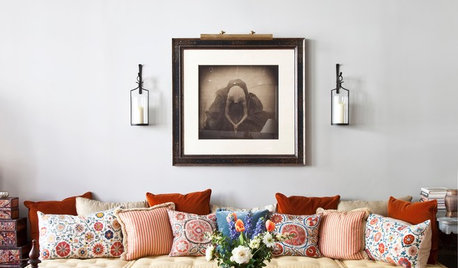
DECORATING GUIDESPillow Talk: Learn the Lingo of Cushions
Don't get boxed in between just square and round — get to know the wider world of cushion options for padding for your pad
Full Story
BEDROOMSBed Down in a Cocoon of Beautiful Textiles
Make your bedroom a real haven with a bed draped in sheets, blankets and pillows that speak to your dreams
Full Story
BOOKSCan Tidying Up Result in Life-Changing Magic?
Organizing phenom Marie Kondo promises big results — if you embrace enormous changes and tough choices
Full Story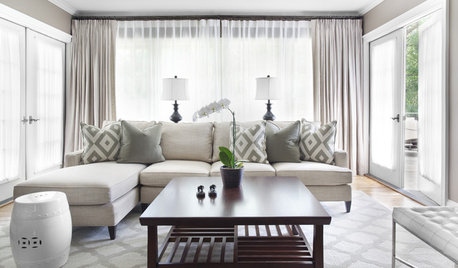
ACCESSORIESTo Chop or Not to Chop?
Karate-chopped pillows pop up in design photos all the time — to the delight of some, the dismay of others. Here's why
Full StoryMore Discussions


cliff_and_joannOriginal Author
tammy518
Related Professionals
Lake Elsinore Interior Designers & Decorators · Van Wert Interior Designers & Decorators · Annandale Furniture & Accessories · Mesa Furniture & Accessories · West Palm Beach Furniture & Accessories · San Elizario Furniture & Accessories · Lake Arrowhead Furniture & Accessories · Mundelein Furniture & Accessories · Park Ridge Furniture & Accessories · San Diego Furniture & Accessories · Tamalpais-Homestead Valley Furniture & Accessories · Short Hills Furniture & Accessories · Cahokia Lighting · Palm Beach Gardens Window Treatments · San Rafael Window Treatmentspatricianat
wooderlander
cliff_and_joannOriginal Author
ladyamity
cliff_and_joannOriginal Author
gillianma
cliff_and_joannOriginal Author
squirrelheaven
cattknap
robbyrob
sweets98
tinam61
cliff_and_joannOriginal Author