


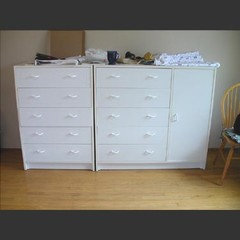
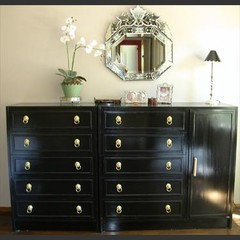
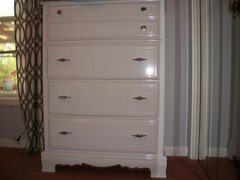
Thoughts on spray painting 'wood' furniture?
jaymie
15 years ago
Featured Answer
Sort by:Oldest
Comments (26)

dixiedo
15 years agovalzone5
15 years agoRelated Professionals
La Habra Interior Designers & Decorators · Linton Hall Interior Designers & Decorators · Sweetwater Interior Designers & Decorators · Bend Furniture & Accessories · Charlotte Furniture & Accessories · Columbia Furniture & Accessories · Lebanon Furniture & Accessories · Phoenix Furniture & Accessories · Fargo Furniture & Accessories · Encinitas Furniture & Accessories · Glenvar Heights Furniture & Accessories · Lake Magdalene Furniture & Accessories · Centreville Lighting · La Jolla Lighting · Lancaster Lightingjaymie
15 years agormkitchen
15 years agoValerie Noronha
15 years agocarriem25
15 years agoValerie Noronha
15 years agodaisyadair
15 years agogeorgiagal
15 years agojaymie
15 years agosarschlos_remodeler
15 years agoValerie Noronha
15 years agormkitchen
15 years agosarschlos_remodeler
15 years agosarschlos_remodeler
15 years agormkitchen
15 years ago
justgotabme
15 years agopatricianat
15 years agojustgotabme
15 years agoldm_dlgnhome_lcisp_com
15 years ago
neetsiepie
15 years agosusieq07
15 years agosweetbabboo458_att_net
13 years agoalanstirling
11 years ago
Candyce Preston
11 years ago

Related Stories
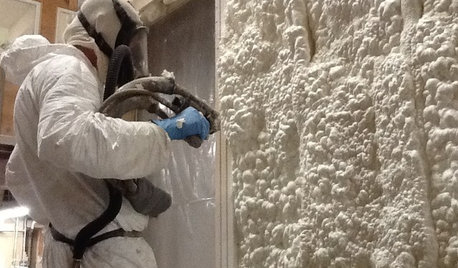
MATERIALSInsulation Basics: What to Know About Spray Foam
Learn what exactly spray foam is, the pros and cons of using it and why you shouldn’t mess around with installation
Full Story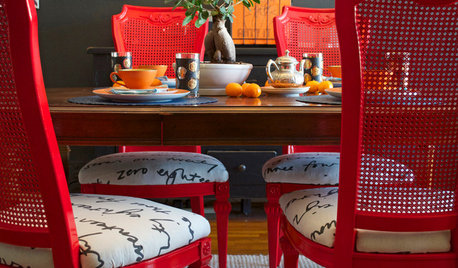
DIY PROJECTSDining Set Makeover: Paint and Tea-Tinted Fabric Make Old Chairs New
Reclaim dated dining chairs for far less than buying new, using spray paint, modern fabric and a handful of tea bags
Full Story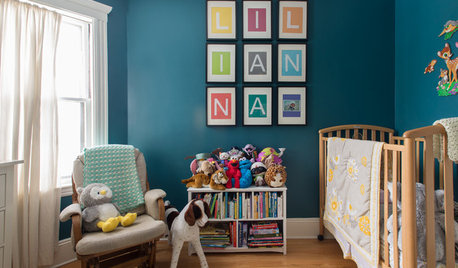
HOUZZ TOURSMy Houzz: Thoughtful Updates to an Outdated 1900s Home
Handmade art and DIY touches bring a modern touch to a classic Boston-area home
Full Story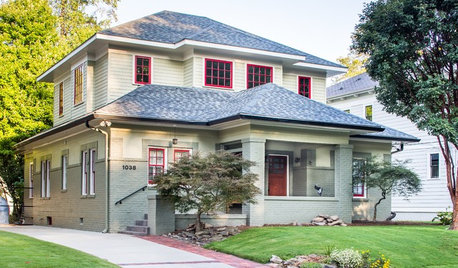
CRAFTSMAN DESIGNHouzz Tour: Thoughtful Renovation Suits Home's Craftsman Neighborhood
A reconfigured floor plan opens up the downstairs in this Atlanta house, while a new second story adds a private oasis
Full Story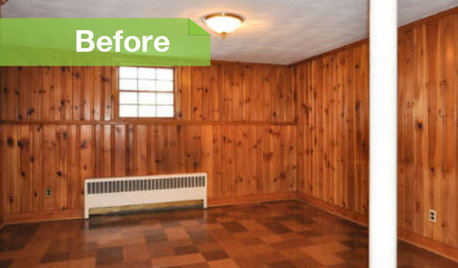
PAINTINGKnotty to Nice: Painted Wood Paneling Lightens a Room's Look
Children ran from the scary dark walls in this spare room, but white paint and new flooring put fears and style travesties to rest
Full Story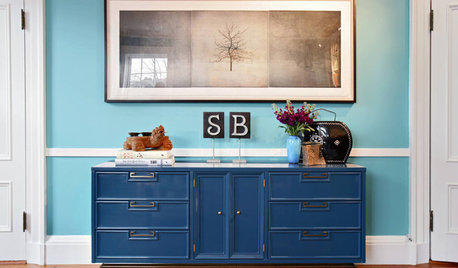
BOLD COLORInstant Fix: Refresh Your Furniture With Some Punchy Paint
Give old furniture new life with a bold color, pattern or idyllic scene
Full Story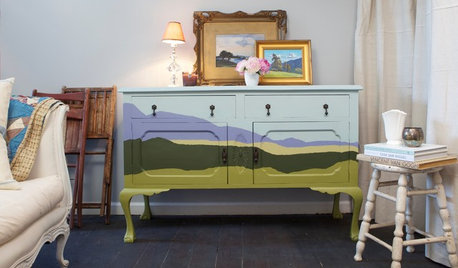
DIY PROJECTSUpcycle Furniture Finds With Paint
There are products out there designed to help you transform your thrift-store scores
Full Story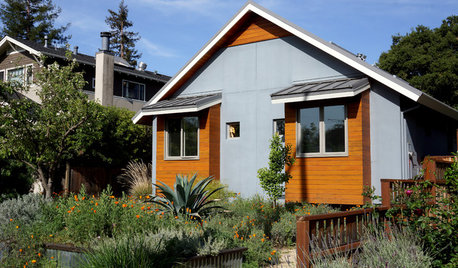
CONTEMPORARY HOMESMy Houzz: Living Simply and Thoughtfully in Northern California
Togetherness and an earth-friendly home are high priorities for a Palo Alto family
Full Story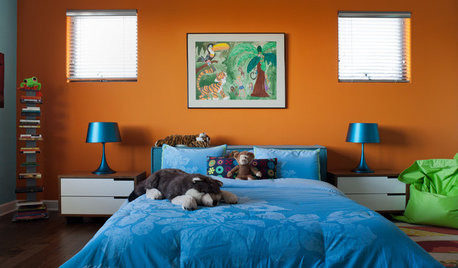
COLOR10 Color Combos You Never Thought Would Work
Orange and blue? Purple and green? Yes and yes. Unlikely pairings can look great if you do them right
Full Story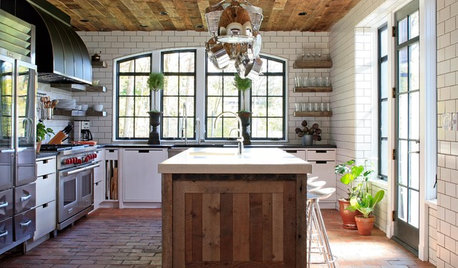
KITCHEN DESIGNWhat to Know About Using Reclaimed Wood in the Kitchen
One-of-a-kind lumber warms a room and adds age and interest
Full Story


justgotabme