
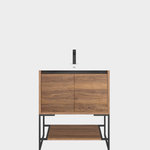


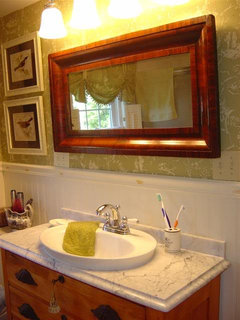
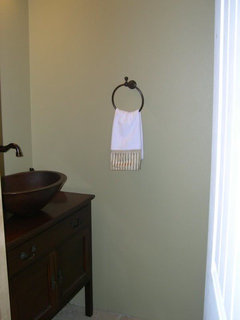
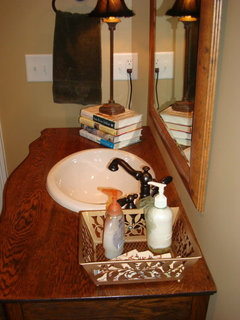
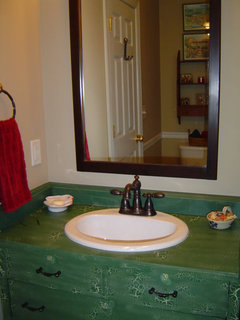
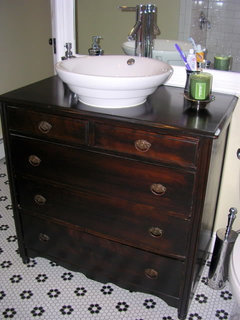
Has anyone converted a bureau into a bathroom vanity?
Stacey Collins
14 years ago
Featured Answer
Sort by:Oldest
Comments (33)

Stacey Collins
14 years agoRelated Professionals
Garden Acres Interior Designers & Decorators · Garden City Interior Designers & Decorators · Washington Interior Designers & Decorators · Midland Furniture & Accessories · Philadelphia Furniture & Accessories · Reston Furniture & Accessories · Rockville Furniture & Accessories · Toledo Furniture & Accessories · Beverly Hills Furniture & Accessories · Golden Glades Furniture & Accessories · Lake Magdalene Furniture & Accessories · Melbourne Custom Artists · Spring Lighting · Colorado Springs Window Treatments · Mesa Window Treatments
ctlane
14 years ago
declansmom
14 years ago
My3dogs ME zone 5A
14 years ago
tinam61
14 years agojuddgirl2
14 years ago
redbazel
14 years ago2ajsmama
14 years agotuvu
14 years agojuddgirl2
14 years ago2ajsmama
14 years agojuddgirl2
14 years ago
amykath
14 years agocaminnc
14 years agoredbazel
14 years agosorriso
14 years ago
nhb22
14 years agosorriso
14 years agosorriso
14 years agonhb22
14 years agooopsie913
14 years agonhb22
14 years agosorriso
14 years agonhb22
14 years agopositano
14 years agomythreesonsnc
14 years agosorriso
14 years agomythreesonsnc
14 years agogreenthumbfish
14 years agobebob
14 years agoredbazel
14 years agoannachosaknj6b
12 years ago


Related Stories
BEDROOMSThe Cure for Houzz Envy: Master Bedroom Touches Anyone Can Do
Make your bedroom a serene dream with easy moves that won’t give your bank account nightmares
Full Story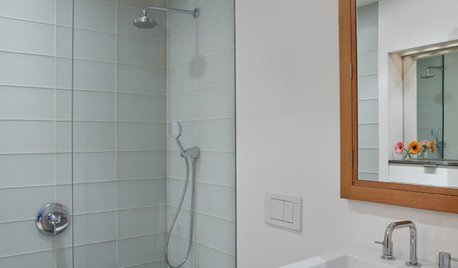
BATHROOM DESIGNConvert Your Tub Space to a Shower — the Planning Phase
Step 1 in swapping your tub for a sleek new shower: Get all the remodel details down on paper
Full Story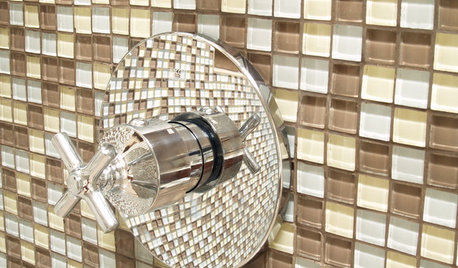
BATHROOM DESIGNConvert Your Tub Space to a Shower — the Fixtures-Shopping Phase
Step 2 in swapping your tub for a sleek new shower: Determine your mechanical needs and buy quality fixtures
Full Story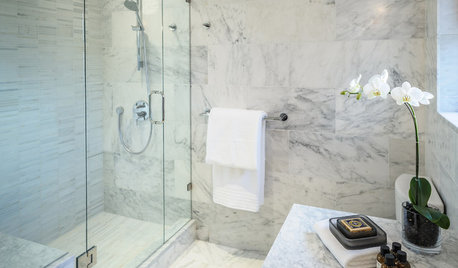
BATHROOM DESIGNConvert Your Tub Space Into a Shower — the Tiling and Grouting Phase
Step 3 in swapping your tub for a sleek new shower: Pick the right tile and test it out, then choose your grout color and type
Full Story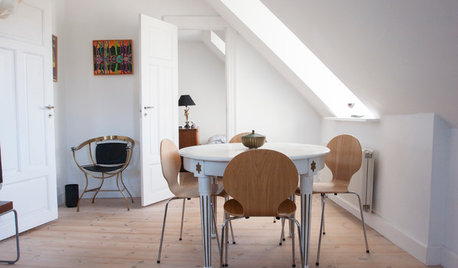
MY HOUZZMy Houzz: Art Has a Special Place in a Compact Copenhagen Flat
Art Nouveau, Modernist and Surrealist works stand out in this converted attic flat in the vibrant Vesterbro district
Full Story
REMODELING GUIDESOne Guy Found a $175,000 Comic in His Wall. What Has Your Home Hidden?
Have you found a treasure, large or small, when remodeling your house? We want to see it!
Full Story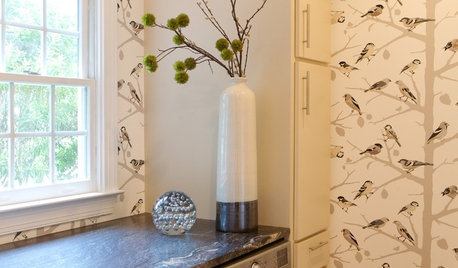
LAUNDRY ROOMSThe Cure for Houzz Envy: Laundry Room Touches Anyone Can Do
Make fluffing and folding more enjoyable by borrowing these ideas from beautifully designed laundry rooms
Full Story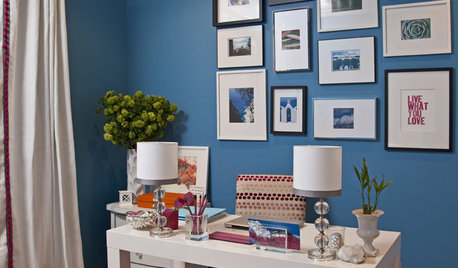
HOME OFFICESThe Cure for Houzz Envy: Home Office Touches Anyone Can Do
Borrow these modest design moves to make your workspace more inviting, organized and personal
Full Story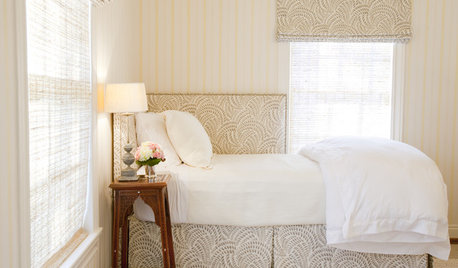
DECORATING GUIDESThe Cure for Houzz Envy: Guest Room Touches Anyone Can Do
Make overnight guests feel comfy and cozy with small, inexpensive niceties
Full Story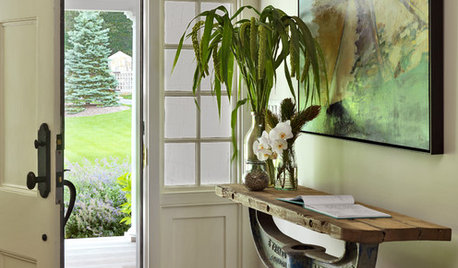
BUDGET DECORATINGThe Cure for Houzz Envy: Entryway Touches Anyone Can Do
Make a smashing first impression with just one or two affordable design moves
Full StoryMore Discussions


2ajsmama