


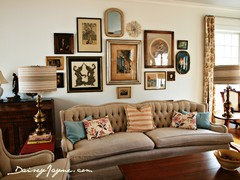
TheFoxesPad: ? about wall gallery
peony4
9 years ago

Featured Answer
Sort by:Oldest
Comments (19)

mtnrdredux_gw
9 years ago
Boopadaboo
9 years agoRelated Professionals
Queens Interior Designers & Decorators · Carlsbad Furniture & Accessories · Charleston Furniture & Accessories · Charleston Furniture & Accessories · Nashville Furniture & Accessories · Savannah Furniture & Accessories · Tulsa Furniture & Accessories · Portage Furniture & Accessories · Dumont Furniture & Accessories · Nixa Furniture & Accessories · Riverton Furniture & Accessories · Jacinto City Furniture & Accessories · Decatur Custom Artists · Los Gatos Custom Artists · Chicago Window Treatments
Annie Deighnaugh
9 years agoBoopadaboo
9 years agomclarke
9 years agomartinca_gw sunset zone 24
9 years agottodd
9 years agopeony4
9 years ago
pokyhoky
9 years agomclarke
9 years agoannkh_nd
9 years agopeony4
9 years agotheresa2
9 years agottodd
9 years agopps7
9 years agoBoopadaboo
9 years agopeony4
9 years agottodd
9 years ago


Related Stories
COLORBye-Bye, Minimalist White — The New Nordic Style Is All About Color
The Scandinavian color palette is moving away from pale, cool shades with hot new hues on walls and floors
Full Story
COLORHave You Heard the Hues? 15 Colors You May Not Know About
Name-drop these shades at holiday parties — or better, try one on your walls — and expand your palette possibilities
Full Story
ARTA Gallery Wall for Every Personality
Eclectic, ambitious, inspired, dreamer? Which art-wall type are you?
Full Story
SHOP HOUZZShop Houzz: Up to 65% Off Gallery Wall Art
Dress your walls for less with contemporary, traditional, coastal and vintage-inspired artwork
Full Story0
BUDGET DECORATINGBudget Decorator: A Most Affordable Gallery Wall
Need to fill a wall on the cheap? See how to make use of something pretty cool you may already have
Full Story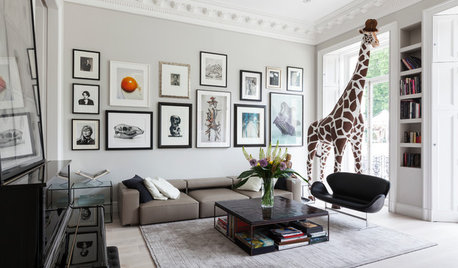
ARTAn Insider’s Guide to Creating the Perfect Gallery Wall
Bring your room to life with these expert tips for grouping artwork and photographs
Full Story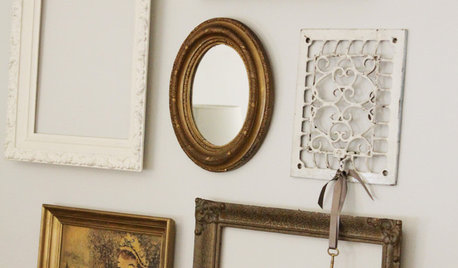
DECORATING GUIDESHandmade Home: How to Design a Gallery Wall
Learn how to transform a blank wall into an eye-catching display — with or without art
Full Story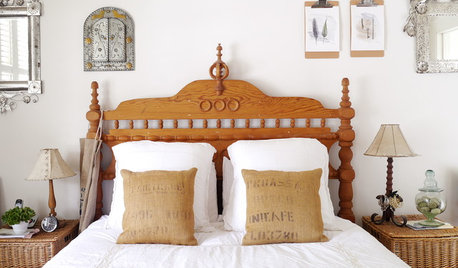
DECORATING GUIDESCool Idea: Clipboard Art Galleries
You can use this simple idea to create a gallery of inspirational drawings, photographs and scrapbooking projects
Full Story
LIGHTINGWhat to Know About Switching to LED Lightbulbs
If you’ve been thinking about changing over to LEDs but aren't sure how to do it and which to buy, this story is for you
Full StoryMore Discussions


Bunny