


Budget bathroom makeover reveal
Tmnca
10 years ago
Related Stories
REMODELING GUIDESBathroom Remodel Insight: A Houzz Survey Reveals Homeowners’ Plans
Tub or shower? What finish for your fixtures? Find out what bathroom features are popular — and the differences by age group
Full Story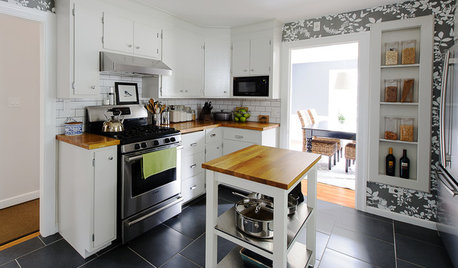
KITCHEN DESIGNKitchen of the Week: A Budget Makeover in Massachusetts
For less than $3,000 (not including appliances), a designing couple gets a new kitchen that honors the past
Full Story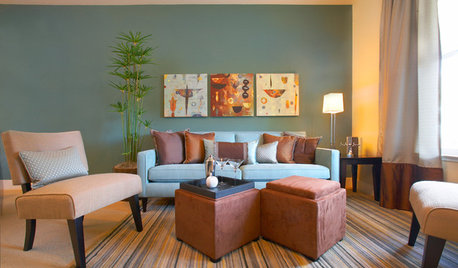
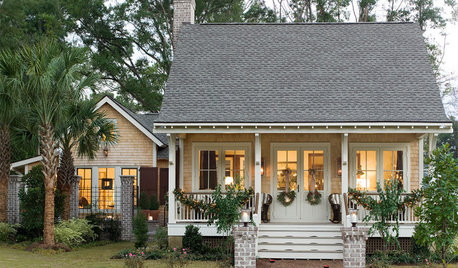
DECORATING GUIDESMake Your Fixer-Upper Fabulous on a Budget
So many makeover projects, so little time and money. Here's where to focus your home improvement efforts for the best results
Full Story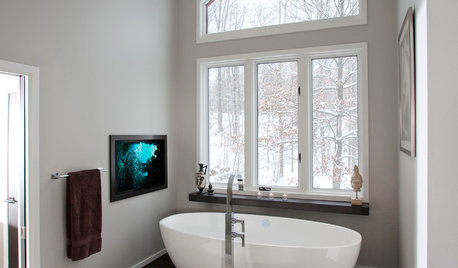
BEFORE AND AFTERS7 Dramatic Bathroom Makeovers Across All Styles
You'll be amazed at these bathroom transformations, spanning different design tastes, budgets and remodeling approaches
Full Story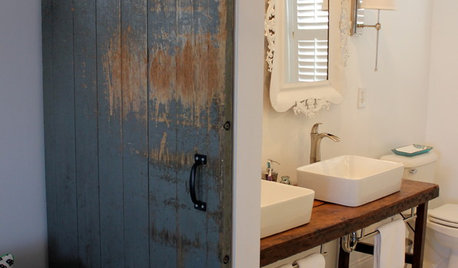
DIY PROJECTSReinvent It: Salvage Savvy Keeps an Urban-Farmhouse Bath on Budget
See how resourceful shopping and repurposing gave a homeowner the new bathroom she wanted at the right price
Full Story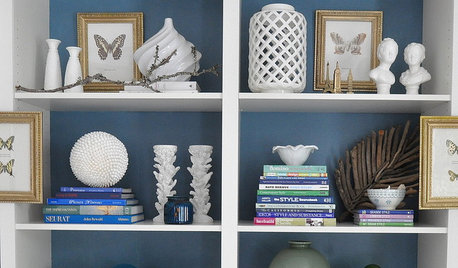
MOST POPULARBudget Decorator: Shop Your Home for a New Look
Redecorate without spending a cent by casting a creative eye on the showroom called home
Full Story
INSIDE HOUZZA New Houzz Survey Reveals What You Really Want in Your Kitchen
Discover what Houzzers are planning for their new kitchens and which features are falling off the design radar
Full Story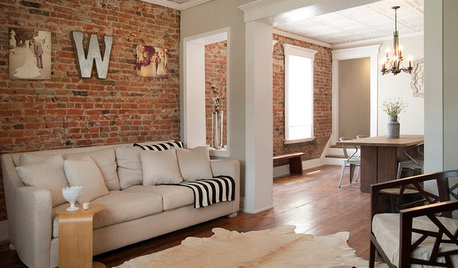
MY HOUZZMy Houzz: Surprise Revealed in a 1900s Duplex in Columbus
First-time homeowners tackle a major DIY hands-on remodel and uncover a key feature that changes their design plan
Full Story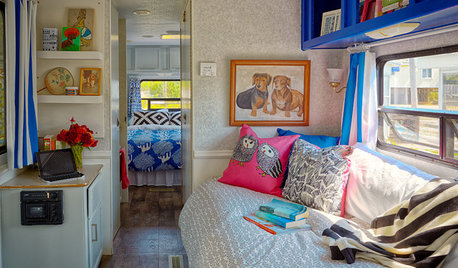
MOST POPULARBudget Beach House: A Trailer Gets Ready for Summer Fun
Punchy prints and colors star in a creative approach to Jersey Shore living
Full StoryMore Discussions


User
goodbyekitty
Related Professionals
Fort Smith Interior Designers & Decorators · Hagerstown Interior Designers & Decorators · Morton Grove Interior Designers & Decorators · Stanford Interior Designers & Decorators · Brooklyn Furniture & Accessories · Los Angeles Furniture & Accessories · Midland Furniture & Accessories · Detroit Furniture & Accessories · Moraga Furniture & Accessories · Fort Washington Lighting · Modesto Lighting · Westmont Lighting · Oak Park Window Treatments · Riverside Window Treatments · Stoneham Window TreatmentsTmncaOriginal Author
kswl2
Laurie
tuesday_2008
Annie Deighnaugh
joaniepoanie
nosoccermom
lascatx
jrueter
Holly- Kay
MiMi
maddielee
Gooster
teacats
caminnc
TmncaOriginal Author
WalnutCreek Zone 7b/8a
williamsem
teeda
Jess TKA
melsouth
User