


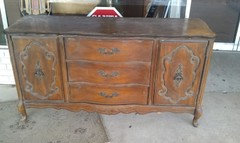
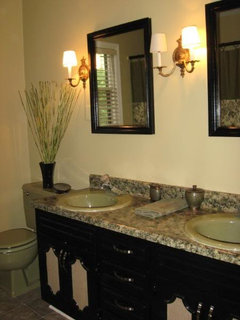
Before and After - Avocado Bathroom Update
equest17
14 years ago


Featured Answer
Comments (99)

nutsaboutplants
14 years agolast modified: 9 years ago
justgotabme
14 years agolast modified: 9 years agoRelated Professionals
La Habra Interior Designers & Decorators · Linton Hall Interior Designers & Decorators · Whitman Interior Designers & Decorators · Norwalk Furniture & Accessories · St. Louis Furniture & Accessories · Tampa Furniture & Accessories · Fargo Furniture & Accessories · Chaska Furniture & Accessories · Crofton Furniture & Accessories · Camp Springs Lighting · Glendale Lighting · Red Bank Lighting · Sarasota Lighting · Kent Window Treatments · Mount Sinai Window Treatments
dilly_dally
14 years agolast modified: 9 years agospeckledcat
14 years agolast modified: 9 years agoparma42
14 years agolast modified: 9 years agooceanna
14 years agolast modified: 9 years agojustgotabme
14 years agolast modified: 9 years agoabundantblessings
14 years agolast modified: 9 years agoEmily Peltz
14 years agolast modified: 9 years ago
susanlynn2012
14 years agolast modified: 9 years agoequest17
14 years agolast modified: 9 years agomoonshadow
14 years agolast modified: 9 years agocooperbailey
14 years agolast modified: 9 years agohaley_comet
14 years agolast modified: 9 years agoriverrat1
14 years agolast modified: 9 years ago
rob333 (zone 7b)
14 years agolast modified: 9 years agomoonshadow
14 years agolast modified: 9 years agowbgroovy
14 years agolast modified: 9 years agoequest17
14 years agolast modified: 9 years agogin2402
14 years agolast modified: 9 years agobettymnz4
14 years agolast modified: 9 years ago2ajsmama
14 years agolast modified: 9 years agomoonshadow
14 years agolast modified: 9 years agoequest17
14 years agolast modified: 9 years ago
eldemila
14 years agolast modified: 9 years agoRobin Henson
14 years agolast modified: 9 years agosholland
14 years agolast modified: 9 years agocth-1027
14 years agolast modified: 9 years ago
NCSandyfeet
14 years agolast modified: 9 years agoloribee
14 years agolast modified: 9 years agoequest17
14 years agolast modified: 9 years ago
lisa_mocha
14 years agolast modified: 9 years agostraitlover
14 years agolast modified: 9 years agoRobin Henson
14 years agolast modified: 9 years agonicole__
14 years agolast modified: 9 years agokjmama
14 years agolast modified: 9 years agokjmama
13 years agolast modified: 9 years agorjinga
12 years agolast modified: 9 years agorjinga
12 years agolast modified: 9 years ago
Olychick
12 years agolast modified: 9 years agoOlychick
12 years agolast modified: 9 years ago
terezosa / terriks
12 years agolast modified: 9 years agolynxe
12 years agolast modified: 9 years agoequest17
12 years agolast modified: 9 years agorjinga
12 years agolast modified: 9 years agoequest17
12 years agolast modified: 9 years agoB H
12 years agolast modified: 9 years agohouseful
12 years agolast modified: 9 years agomeem1020
8 years ago
olychick
8 years ago
Related Stories
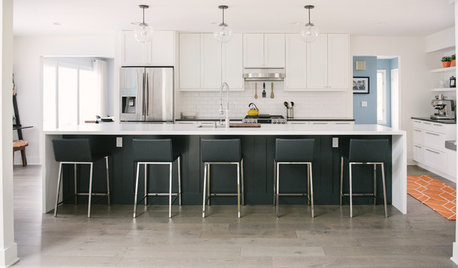
WHITE KITCHENSBefore and After: Modern Update Blasts a '70s Kitchen Out of the Past
A massive island and a neutral color palette turn a retro kitchen into a modern space full of function and storage
Full Story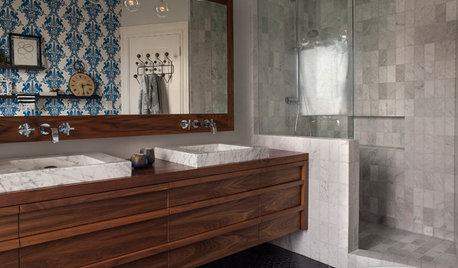
BEFORE AND AFTERSBefore and After: 19 Dramatic Bathroom Makeovers
See what's possible with these examples of bathroom remodels that wow
Full Story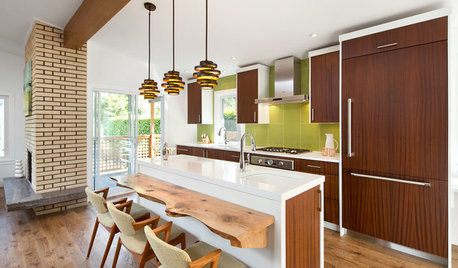
HOUZZ TOURSHouzz Tour: Dancing to the 1970s in an Updated Vancouver Home
The open floor plan and updated appliances have modern moves, but the lime green and wood paneling still do the hustle
Full Story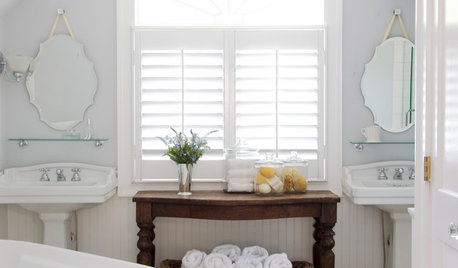
BEFORE AND AFTERS8 Bathroom Updates Have Ideas for Every Style
All white, classic vintage and brightly eclectic are just some of the new looks sported by the transformed bathrooms you'll find here
Full Story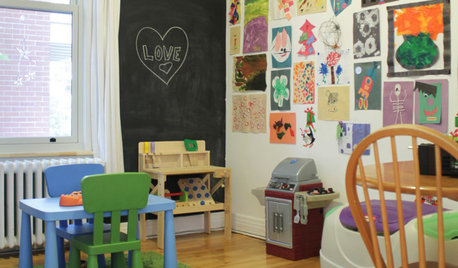
HOMES AROUND THE WORLDMy Houzz: Montreal Update Ready Just in Time for a New Arrival
A remodeled bathroom, new lighting, better storage and a modern color palette refresh a 3-story home for this expecting couple
Full Story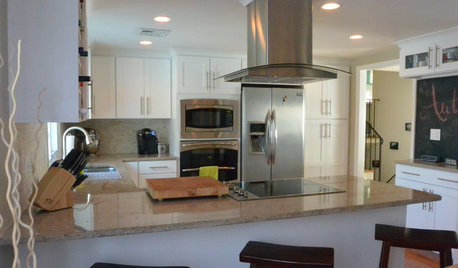
BEFORE AND AFTERSA ‘Brady Bunch’ Kitchen Overhaul for Less Than $25,000
Homeowners say goodbye to avocado-colored appliances and orange-brown cabinets and hello to a bright new way of cooking
Full Story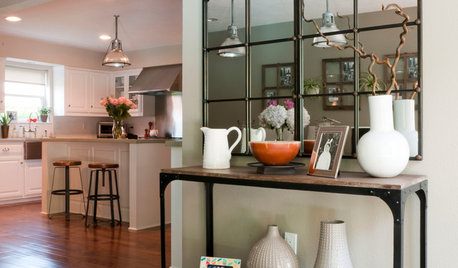
HOUZZ TOURSMy Houzz: Elegant DIY Updates for a 1970s Dallas Home
Patiently mastering remodeling skills project by project, a couple transforms their interiors from outdated to truly special
Full Story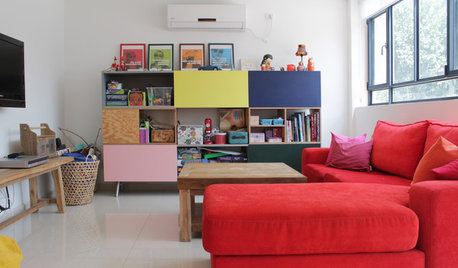
HOUZZ TOURSMy Houzz: Light and Bright Updates for an Israeli Family Home
Knocking out walls, adding windows and lightening up finishes gives an agricultural-community home a fresh perspective
Full Story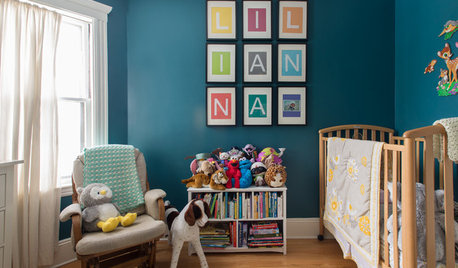
HOUZZ TOURSMy Houzz: Thoughtful Updates to an Outdated 1900s Home
Handmade art and DIY touches bring a modern touch to a classic Boston-area home
Full Story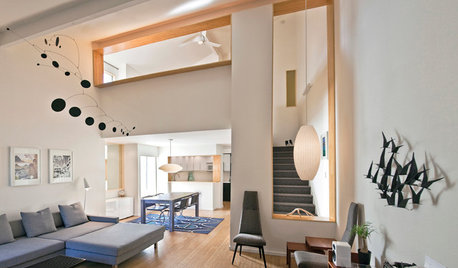
BEFORE AND AFTERSHouzz Tour: A San Diego Townhouse Gets a Bright Update
Savvy shopping and warm bamboo accents help California architects give their home a fresh, high-end feel
Full Story


msrose