


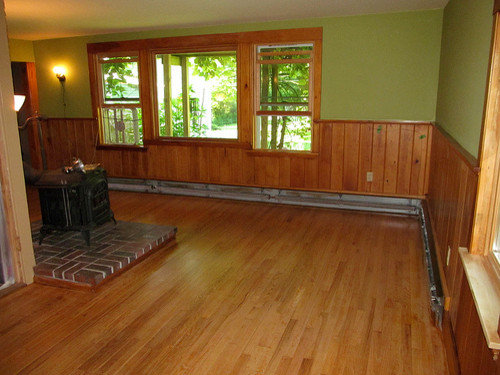
Can I show off just a little? DIY Refinished floor
mabeldingeldine_gw
10 years ago


Related Stories
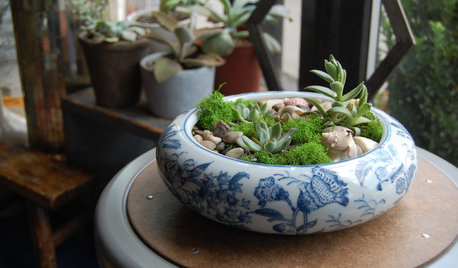
DIY PROJECTSQuick DIY Project: 3 Ways to Show Off Your Succulents
Create a simple yet lush vignette with a few plants and some everyday items
Full Story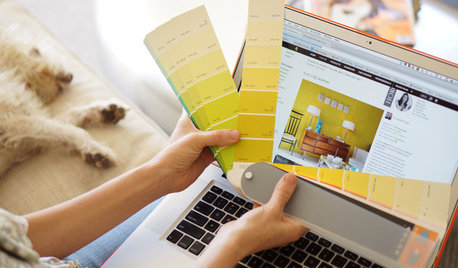
WORKING WITH PROSWorking With Pros: When You Just Need a Little Design Guidance
Save money with a design consultation for the big picture or specific details
Full Story
MATERIALSShow Off the Bones of Your Home With Exposed Finishes
There can be beauty in raw materials. Display them with care, and the effect is surprisingly warm and welcoming
Full Story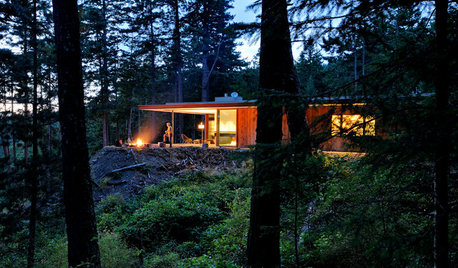
HOUZZ TOURSHouzz Tour: Just What Mom Wanted, Off the Washington Coast
With an art studio, age-in-place features and a view-maximizing design, this home shows just how well the architect knows his client
Full Story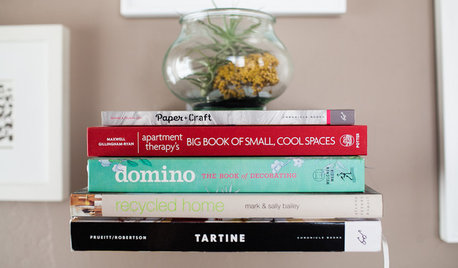
DECORATING GUIDES8 Reasons to Jump Off the DIY Bandwagon
You heard right. Stop beating yourself up for not making stuff yourself, and start seeing the bright side of buying from others
Full Story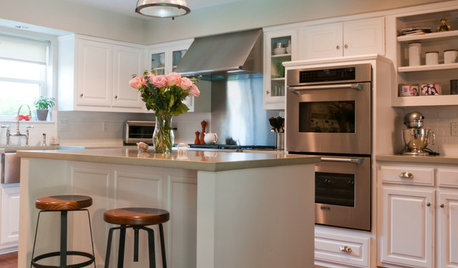
KITCHEN DESIGNShow Us Your Fabulous DIY Kitchen
Did you do a great job when you did it yourself? We want to see and hear about it
Full Story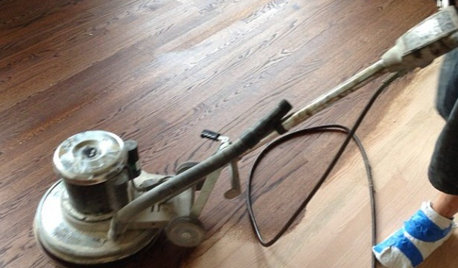
GREAT HOME PROJECTSWhat to Know Before Refinishing Your Floors
Learn costs and other important details about renewing a hardwood floor — and the one mistake you should avoid
Full Story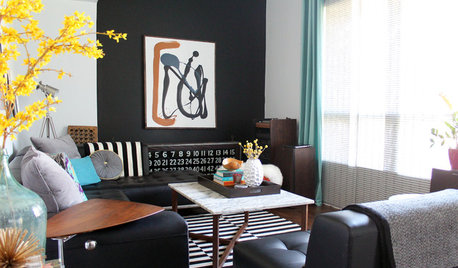
HOUZZ TOURSMy Houzz: Hard Work Pays Off in a DIY Cottage Renovation
First-time homeowners roll up their sleeves and give their midcentury Montreal home an infusion of style and personality
Full Story
LIFEThe Polite House: How Can I Kindly Get Party Guests to Use Coasters?
Here’s how to handle the age-old entertaining conundrum to protect your furniture — and friendships
Full Story


egbar
User
Related Professionals
East Patchogue Interior Designers & Decorators · Hercules Interior Designers & Decorators · Greenville Furniture & Accessories · Redmond Furniture & Accessories · San Francisco Furniture & Accessories · Portage Furniture & Accessories · Chaska Furniture & Accessories · Glenvar Heights Furniture & Accessories · Mahwah Furniture & Accessories · Sacramento Lighting · Sarasota Lighting · Campbell Window Treatments · Mesa Window Treatments · Phoenix Window Treatments · South Yarmouth Window TreatmentsUser
lascatx
mabeldingeldine_gwOriginal Author
gsciencechick
Tmnca
yayagal
User
Totally.Clueless
lazydaisynot
mabeldingeldine_gwOriginal Author
mrsmortarmixer
rosie
TxMarti
mabeldingeldine_gwOriginal Author
DLM2000-GW
graywings123
ttodd
pps7