


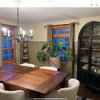
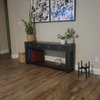
Before and After photos!
Tmnca
11 years ago
Sort by:Oldest
Comments (43)
Related Stories
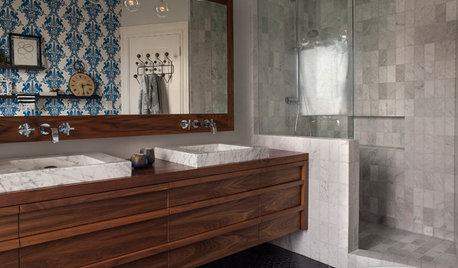
BEFORE AND AFTERSBefore and After: 19 Dramatic Bathroom Makeovers
See what's possible with these examples of bathroom remodels that wow
Full Story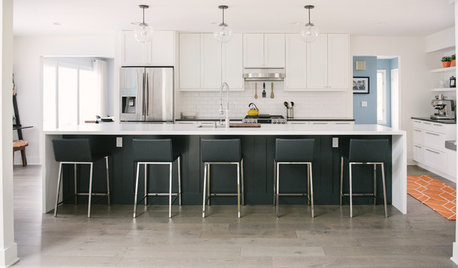
WHITE KITCHENSBefore and After: Modern Update Blasts a '70s Kitchen Out of the Past
A massive island and a neutral color palette turn a retro kitchen into a modern space full of function and storage
Full Story
BEDROOMSBefore and After: French Country Master Suite Renovation
Sheila Rich helps couple reconfigure dark, dated rooms to welcome elegance, efficiency and relaxation
Full Story
TRADITIONAL HOMESBefore and After: Beauty and Functionality in an American Foursquare
Period-specific details and a modern layout mark the renovation of this turn-of-the-20th-century home near Boston
Full Story
DESIGNER SHOWCASESBefore and After: See How Rooms Came to Life at the Pasadena Show House
Read the design details behind transformations at the 2016 Southern California showcase house
Full Story
FRONT YARD IDEASBefore and After: Front Lawn to Prairie Garden
How they did it: Homeowners create a plan, stick to it and keep the neighbors (and wildlife) in mind
Full Story
HOUZZ TOURSHouzz Tour: After a Fire, Reimagining a Home
A freak accident destroyed this family’s home on the night before Christmas, but they rebuild and make it a better fit
Full Story
BEFORE AND AFTERS15 Dramatic Fireplace Transformations
Tired of your old fireplace? Get inspired by these before-and-after photos for living room style all year
Full Story
INSIDE HOUZZHouzz Prizewinners Take a Bathroom and a Laundry From Dated to Dreamy
Janine Thomson enters a Houzz sweepstakes and wins a $50,000 design package from Lowe’s. See the ‘before’ and ‘after’ photos
Full Story
HOUZZ TOURSMy Houzz: Modern Sleekness and Serenity in Austin
Check out the before and after photos from inside and out to see a home's complete transformation in 10 months
Full Story

prairiemom61
gsciencechick
Related Professionals
Ogden Interior Designers & Decorators · Liberty Township Interior Designers & Decorators · Memphis Furniture & Accessories · Memphis Furniture & Accessories · Miami Furniture & Accessories · Rock Hill Furniture & Accessories · Clark Furniture & Accessories · Golden Glades Furniture & Accessories · Green Bay Lighting · Oak Lawn Lighting · Red Bank Lighting · Richardson Window Treatments · Stony Brook Window Treatments · Taylor Window Treatments · Inwood Window Treatmentstinker_2006
les917
patty_cakes
JennaVaNowSC
TmncaOriginal Author
TmncaOriginal Author
porkandham
Fun2BHere
User
Annie Deighnaugh
cat_mom
natesgram
TmncaOriginal Author
User
mahatmacat1
tetrazzini
User
joanie_b
joanie_b
bbstx
TmncaOriginal Author
joanie_b
User
loribee
mclarke
jswell32
teacats
cyn427 (z. 7, N. VA)
melsouth
natal
TmncaOriginal Author
hosenemesis
TmncaOriginal Author
trancegemini_wa
User
desertsteph
TmncaOriginal Author
loooreee
4boys2
TmncaOriginal Author
desertsteph