


All gel stainers--foam brush, rag, or reg brush?
elle3
11 years ago
Featured Answer
Sort by:Oldest
Comments (19)

sloyder
11 years agolast modified: 9 years agoRelated Professionals
Caledonia Interior Designers & Decorators · Whitman Interior Designers & Decorators · Carlisle Furniture & Accessories · Memphis Furniture & Accessories · Minneapolis Furniture & Accessories · Racine Furniture & Accessories · Tucson Furniture & Accessories · Murray Furniture & Accessories · Temple Terrace Furniture & Accessories · Melbourne Custom Artists · Decatur Custom Artists · Venice Lighting · York Lighting · Boston Window Treatments · La Jolla Window Treatmentscelticmoon
11 years agolast modified: 9 years agoelle3
11 years agolast modified: 9 years agobeekeeperswife
11 years agolast modified: 9 years agoUser
11 years agolast modified: 9 years agoshredbetty
11 years agolast modified: 9 years ago
likewhatyoudo
11 years agolast modified: 9 years agopatty_cakes
11 years agolast modified: 9 years agoratherbesewing
11 years agolast modified: 9 years agofillagirl
11 years agolast modified: 9 years agoshredbetty
11 years agolast modified: 9 years agolikewhatyoudo
11 years agolast modified: 9 years agojesse50
11 years agolast modified: 9 years agolynninnewmexico
11 years agolast modified: 9 years agoshredbetty
11 years agolast modified: 9 years agolynninnewmexico
11 years agolast modified: 9 years agonosoccermom
11 years agolast modified: 9 years ago
krobic
3 years ago

Related Stories
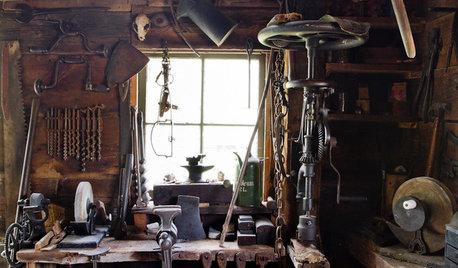
MATERIALSAre You a Maker? Show Us Your Favorite Tool or Material
Houzz Call: A tool or material can be a maker’s best friend. We’d like to see your favorite — and what it helps you achieve
Full Story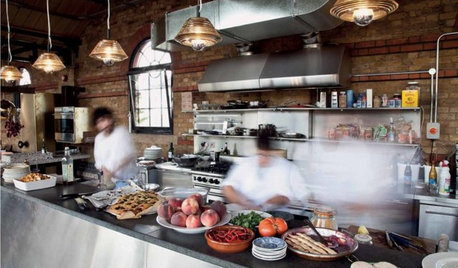
KITCHEN DESIGN16 Practical Ideas to Borrow From Professional Kitchens
Restaurant kitchens are designed to function efficiently and safely. Why not adopt some of their tricks in your own home?
Full Story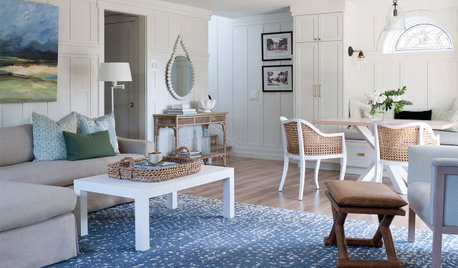
HOUSEKEEPING20 Things You Might Be Forgetting to Spring-Clean
Clean these often-neglected areas and your house will look and feel better
Full Story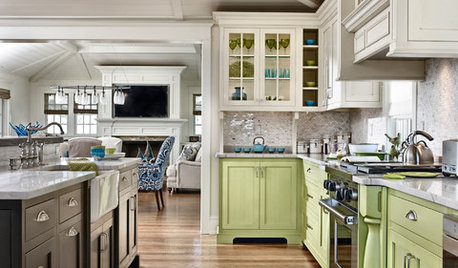
KITCHEN DESIGN11 Ways to Update Your Kitchen Without a Sledgehammer
Give your kitchen a new look by making small improvements that have big impact
Full Story
GREEN BUILDINGConsidering Concrete Floors? 3 Green-Minded Questions to Ask
Learn what’s in your concrete and about sustainability to make a healthy choice for your home and the earth
Full Story


mary_ruth