


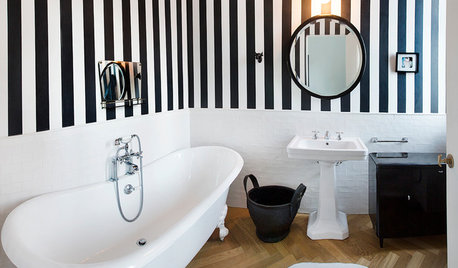
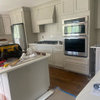
Framing around bath mirror
msmagoo
16 years ago
Sort by:Oldest
Comments (23)
Related Stories
BATHROOM DESIGNBathroom Beauties From Around the World
Soak up some divine bathing spaces in locales ranging from the tropics to urbane settings, rural outposts and the chilly north
Full Story
LIFEDo You Believe in Luck Around the House?
Broken mirrors, spilled salt, an unavoidable ladder — superstitions don't seem to affect this homeowner. Knock wood
Full Story
HOUZZ TOURSHouzz Tour: Up and Out Around a Heritage Tree
A Texas ranch house gets a modern makeover and a two-story addition that wraps around a protected backyard elm
Full StoryDECORATING GUIDESWeekend Project: 9 Ways to Branch Out Around the House
Natural pieces can change the feeling of a room, whether you use them to hang pots or to serve as chandeliers
Full Story
DECORATING GUIDESGo for the Glow: Mother-of-Pearl Shines Around the Home
Illuminate your interior designs with ethereally iridescent mother-of-pearl tiles, flooring, accents and more
Full Story
DECORATING GUIDESDecorating Around the World: Turkish Delight
Whether clad in wild patterns or bathed in all white, rooms with a Turkish spirit conjure a delicious air of the exotic
Full Story
DECORATING GUIDES12 Creative Ways with Mirrors
Think Outside the Frame with These Gaze-Worthy Mirror Applications
Full Story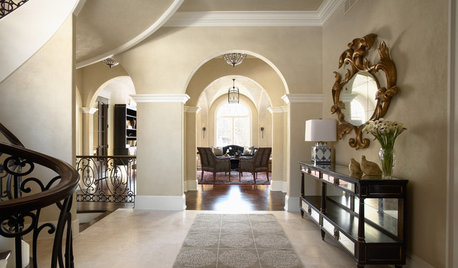
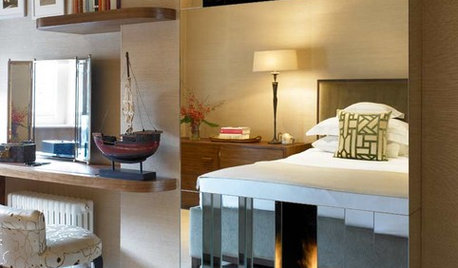
ACCESSORIESOrnate Mirrors Draw Second Glances at High Point
Scrolled and gold or fanciful in pink, mirrors with an ornate frame reflected a trend at the 2012 High Point Market
Full Story
ARCHITECTUREGet a Perfectly Built Home the First Time Around
Yes, you can have a new build you’ll love right off the bat. Consider learning about yourself a bonus
Full Story


OKMoreh
mclarke
Related Professionals
Appleton Interior Designers & Decorators · Fort Wayne Furniture & Accessories · North Bergen Furniture & Accessories · Owensboro Furniture & Accessories · Potomac Furniture & Accessories · Rock Hill Furniture & Accessories · Roswell Furniture & Accessories · Scottsdale Furniture & Accessories · Wilmington Furniture & Accessories · Springville Custom Artists · Baldwin Park Lighting · Fuquay Varina Lighting · Cleveland Window Treatments · Edmond Window Treatments · Riverside Window TreatmentsUser
mclarke
ls497
todds_sweetpea
patches123
yborgal
Shannon01
lkplatow
mclarke
patches123
mclarke
cearbhaill (zone 6b Eastern Kentucky)
georgiagal
sdflenner
mclarke
sdflenner
patty_cakes
dg926
lnmca
terri_ks
msrose