


for anyone who has made cushion covers
Lyban zone 4
9 years ago
Sort by:Oldest
Comments (11)
Related Stories
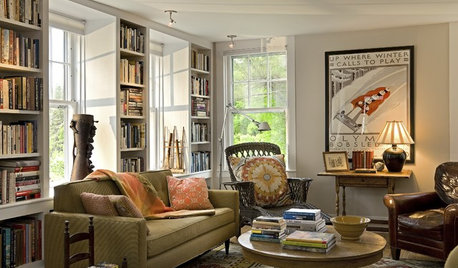
BUDGET DECORATINGThe Cure for Houzz Envy: Living Room Touches Anyone Can Do
Spiff up your living room with very little effort or expense, using ideas borrowed from covetable ones
Full Story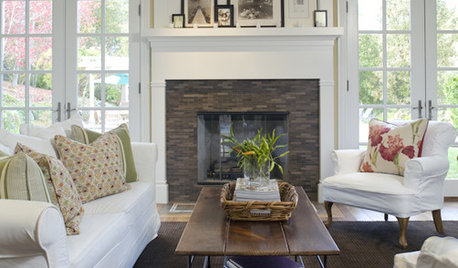
DECORATING GUIDESThe Cure for Houzz Envy: Family Room Touches Anyone Can Do
Easy and cheap fixes that will help your space look more polished and be more comfortable
Full Story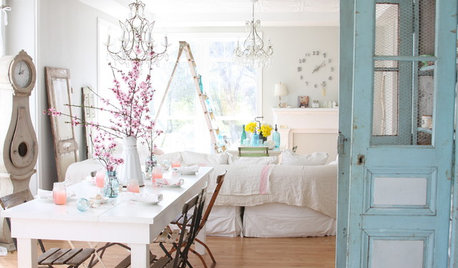
COLORS OF THE YEARPantone Has Spoken: Rosy and Serene Are In for 2016
For the first time, the company chooses two hues as co-colors of the year
Full Story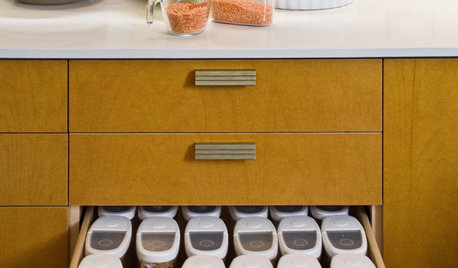
KITCHEN DESIGN6 Clever Kitchen Storage Ideas Anyone Can Use
No pantry, small kitchen, cabinet shortage ... whatever your storage or organizing dilemma, one of these ideas can help
Full Story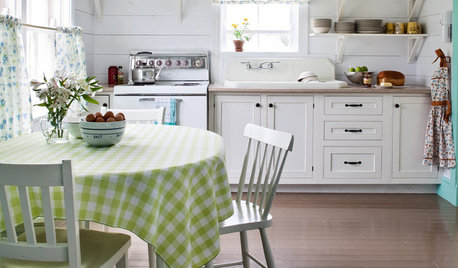
KITCHEN DESIGNThe Cure for Houzz Envy: Kitchen Touches Anyone Can Do
Take your kitchen up a notch even if it will never reach top-of-the-line, with these cheap and easy decorating ideas
Full Story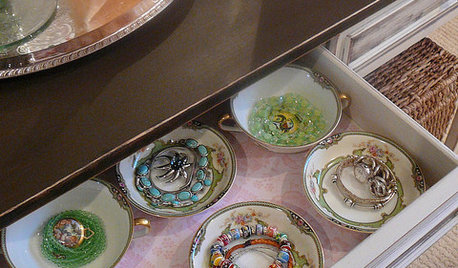
CLOSETSThe Cure for Houzz Envy: Closet Touches Anyone Can Do
These easy and inexpensive moves for more space and better organization are right in fashion
Full Story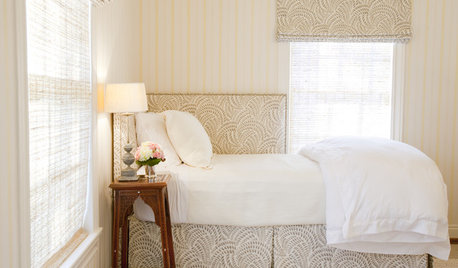
DECORATING GUIDESThe Cure for Houzz Envy: Guest Room Touches Anyone Can Do
Make overnight guests feel comfy and cozy with small, inexpensive niceties
Full Story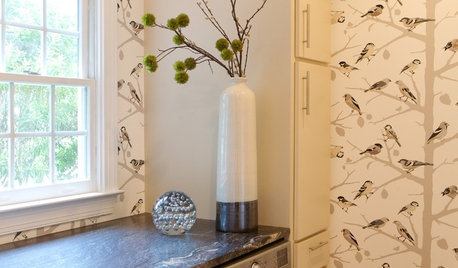
LAUNDRY ROOMSThe Cure for Houzz Envy: Laundry Room Touches Anyone Can Do
Make fluffing and folding more enjoyable by borrowing these ideas from beautifully designed laundry rooms
Full Story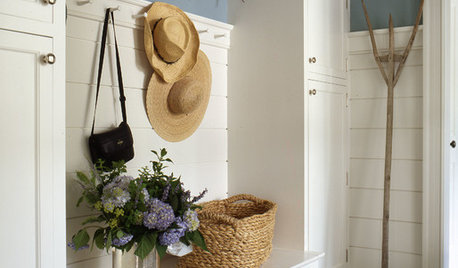
MUDROOMSThe Cure for Houzz Envy: Mudroom Touches Anyone Can Do
Make a utilitarian mudroom snazzier and better organized with these cheap and easy ideas
Full Story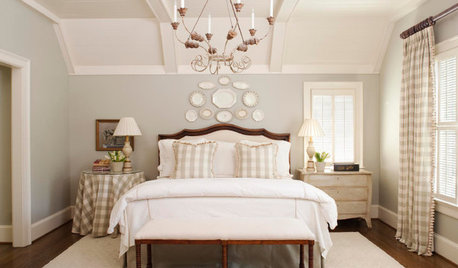
BEDROOMSThe Cure for Houzz Envy: Master Bedroom Touches Anyone Can Do
Make your bedroom a serene dream with easy moves that won’t give your bank account nightmares
Full Story
tinam61
Laurie
Related Professionals
Aspen Hill Interior Designers & Decorators · Nashville Furniture & Accessories · Philadelphia Furniture & Accessories · Tulsa Furniture & Accessories · Washington Furniture & Accessories · Carlsbad Furniture & Accessories · Culver City Furniture & Accessories · Van Nuys Furniture & Accessories · Westport Furniture & Accessories · Immokalee Custom Artists · Batavia Lighting · Arden-Arcade Window Treatments · Berkeley Window Treatments · Placerville Window Treatments · Washington Window Treatmentsbbstx
tinam61
nanny2a
rgusrafs
Laurie
Lyban zone 4Original Author
User
RNmomof2 zone 5
RNmomof2 zone 5