


All you sewers.. I have a ?. My3dogs valance
User
14 years ago
Sort by:Oldest
Comments (21)
Related Stories
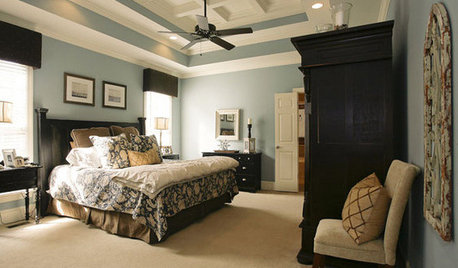
WINDOWSWindow Valances for Every Style
Save a Little Cash, Add a Bit of Flair by Dressing Just the Top of Your Windows
Full Story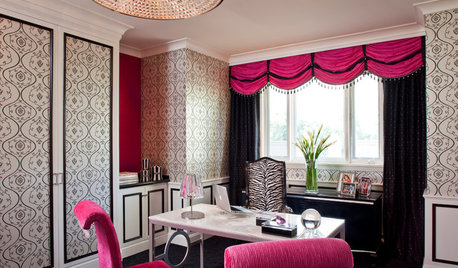
DECORATING GUIDESThe Art of the Window: A Valance for Every Look, from Country to Glam
Which of these 11 top treatments is right for you?
Full Story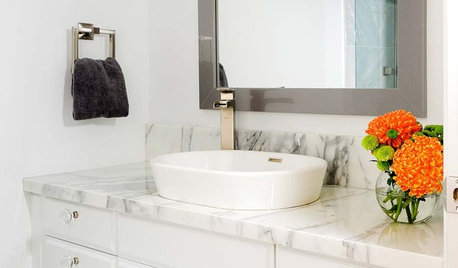
BATHROOM VANITIESAll the Details on 3 Single-Sink Vanities
Experts reveal what products, materials and paint colors went into and around these three lovely sink cabinets
Full Story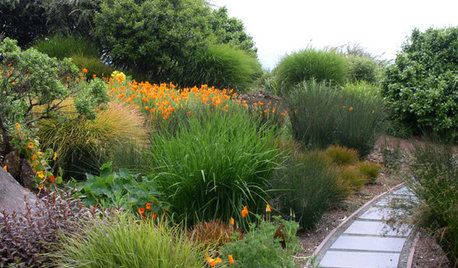
GARDENING GUIDESNew Ways to Think About All That Mulch in the Garden
Before you go making a mountain out of a mulch hill, learn the facts about what your plants and soil really want
Full Story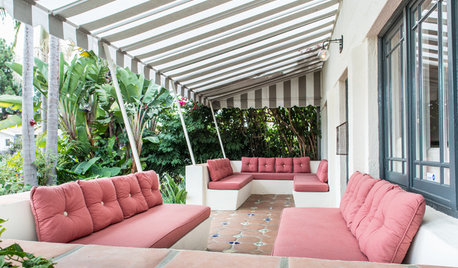
EXTERIORSGreat Design Element Our Grandparents Knew All About: Awnings
This time-tested feature for shading and cooling is enjoying a resurgence
Full Story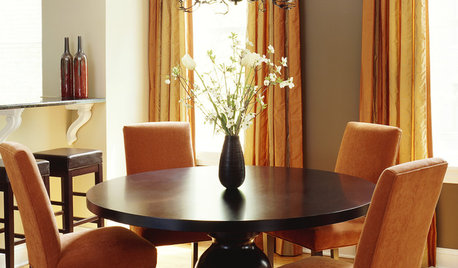
GRAYGoing Greige: Tips for Choosing This All-Around Neutral
Here are some ways to highlight and complement your home with this elegant hybrid of gray and beige
Full Story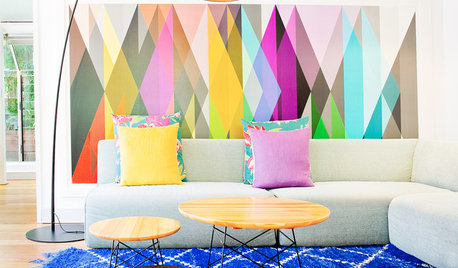
DECORATING GUIDESHow to Get Curves in All the Right Spaces
Use the softening effect of curves to enhance and define your indoor and outdoor areas
Full Story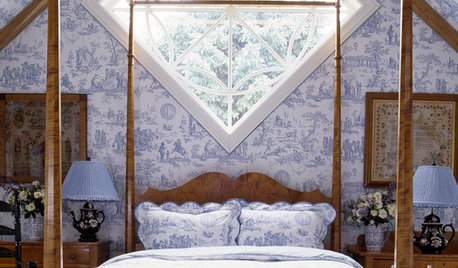
DECORATING GUIDESPattern Focus: Toile for All
Engaging, elegant and so very French, there's a toile for more styles than you'd think
Full Story
FUN HOUZZEverything I Need to Know About Decorating I Learned from Downton Abbey
Mind your manors with these 10 decorating tips from the PBS series, returning on January 5
Full Story
UPHOLSTERYFurniture Clinic: End the Curse of Slouchy Couch Cushions
Prolong the life of your couch with this inexpensive fix that’s so easy, even a beginning sewer can do it
Full Story


ctlane
mclarke
Related Professionals
Crestview Interior Designers & Decorators · Lake Elsinore Interior Designers & Decorators · Nashville Interior Designers & Decorators · Fort Wayne Furniture & Accessories · West Palm Beach Furniture & Accessories · Fallbrook Furniture & Accessories · Chapel Hill Custom Artists · Peachtree City Custom Artists · Aurora Lighting · Green Bay Lighting · South Bend Lighting · Creve Coeur Window Treatments · Kent Window Treatments · North Tustin Window Treatments · Salt Lake City Window TreatmentsUserOriginal Author
funkyart
Patti
UserOriginal Author
funkyart
southernheart
patricianat
My3dogs ME zone 5A
graywings123
UserOriginal Author
abundantblessings
ctlane
UserOriginal Author
UserOriginal Author
ctlane
abundantblessings
UserOriginal Author
ctlane
Lyban zone 4