


Window cornices done! Finishing touches?
equest17
15 years ago


Sort by:Oldest
Comments (23)
Related Stories
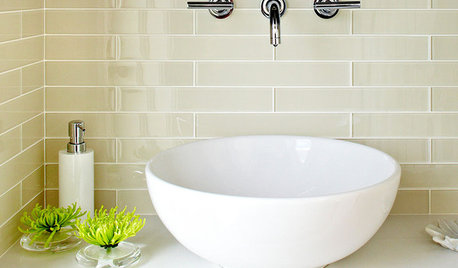
REMODELING GUIDESFinishing Touches: Pro Tricks for Installing Fixtures in Your Tile
Cracked tile, broken drill bits and sloppy-looking fixture installations? Not when you follow these pro tips
Full Story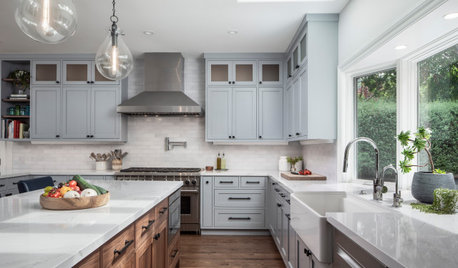
WORKING WITH PROSHow to Find Your Renovation Team
Take the first steps toward making your remodeling dreams a reality with this guide
Full Story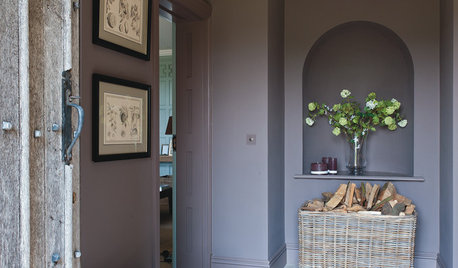
TRADITIONAL HOMESHouzz Tour: Country Comfort With a Touch of Chic
A neutral color palette with warm textiles and traditional furniture creates an elegant yet relaxed family home in the Cotswolds
Full Story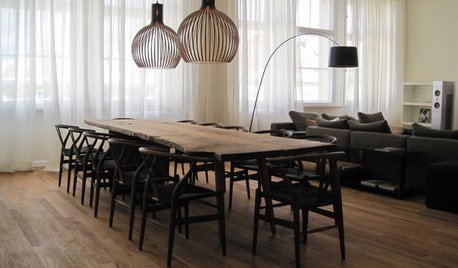
DECORATING GUIDESDanish Style Done Right
Bring the pure, clean look of Danish homes to your own interiors with these styling, palette and furniture ideas
Full Story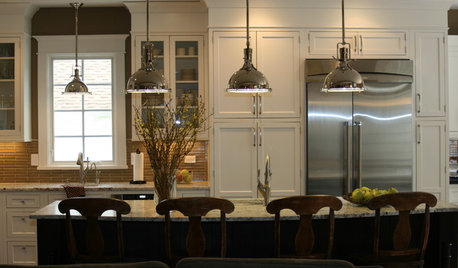
KITCHEN DESIGNKitchen Islands: Pendant Lights Done Right
How many, how big, and how high? Tips for choosing kitchen pendant lights
Full Story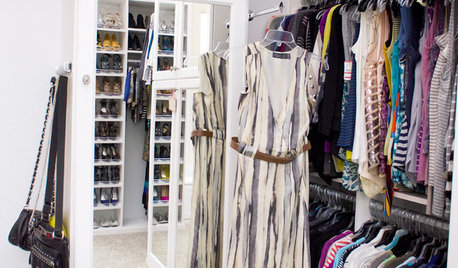
DECLUTTERINGGet It Done: Clean Out Your Bedroom Closet
You can do it. Sort, purge, clean — and luxuriate in all the extra space you’ll gain — with this motivating, practical how-to
Full Story
KITCHEN STORAGEGet It Done: How to Clean Out the Pantry
Crumbs, dust bunnies and old cocoa, beware — your pantry time is up
Full Story
MOST POPULARHow to Refine Your Renovation Vision to Fit Your Budget
From dream to done: When planning a remodel that you can afford, expect to review, revise and repeat
Full Story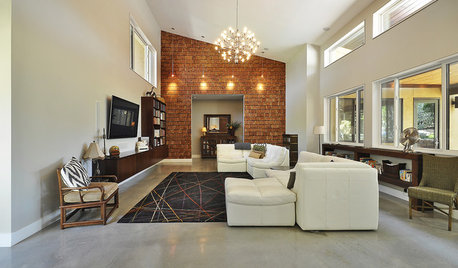
LIGHTINGReady to Install a Chandelier? Here's How to Get It Done
Go for a dramatic look or define a space in an open plan with a light fixture that’s a star
Full Story
DECORATING GUIDESBean There, Done That: Coffee Table Alternatives
Get creative with these ideas for salvaged and DIY pieces that will get people talking
Full Story


DLM2000-GW
mustangs81
Related Professionals
Rockland Interior Designers & Decorators · Bend Furniture & Accessories · Des Moines Furniture & Accessories · Englewood Furniture & Accessories · Hastings Furniture & Accessories · North Bergen Furniture & Accessories · Reno Furniture & Accessories · Toledo Furniture & Accessories · Fair Lawn Furniture & Accessories · La Mirada Furniture & Accessories · Folsom Custom Artists · Pasadena Lighting · Warwick Lighting · Fraser Window Treatments · Riverside Window Treatmentsnewdawn1895
vdinli
marybeth1
equest17Original Author
vdinli
DLM2000-GW
equest17Original Author
brutuses
User
les917
equest17Original Author
patricianat
vdinli
enailes
equest17Original Author
rdsso
mnbasketgirl
twizzis
equest17Original Author
equest17Original Author
twizzis