

idiot-proof paint how-to? (walls)
walkin_yesindeed
16 years ago
Sort by:Oldest
Comments (38)
Related Stories
HEALTHY HOME18 Ways to Allergy-Proof Your Home
If you're itching to reduce allergy symptoms, this mini guide to reducing allergens around the house can help
Full Story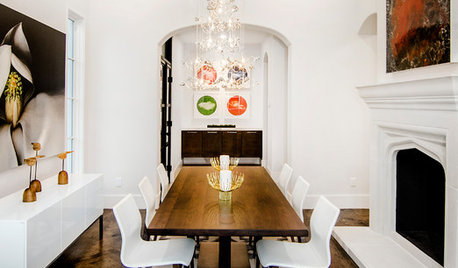
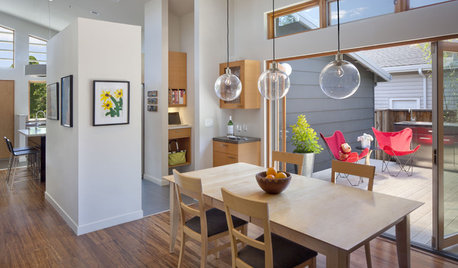
DINING ROOMSNew This Week: Proof the Formal Dining Room Isn’t Dead
Could graphic wallpaper, herringbone-patterned floors, wine cellars and fire features save formal dining rooms from extinction?
Full Story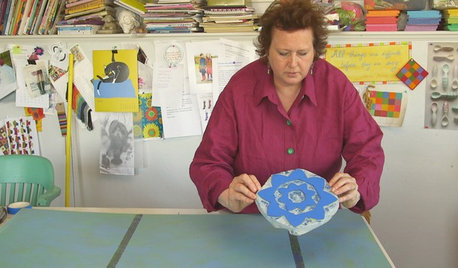
HOUZZ TVHouzz TV: Create Your Own Mural Wall With Easy DIY Stencils and Stamps
Artist Kristin Nicholas shows us how she makes her one-of-a-kind art walls. Watch the 3-minute video
Full Story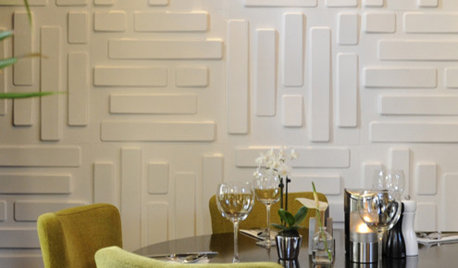
MATERIALSUnexpected Style for Your Wall
Go Beyond Paint and Paper with 3D, Plaster, Copper, Tile, Marble and More
Full Story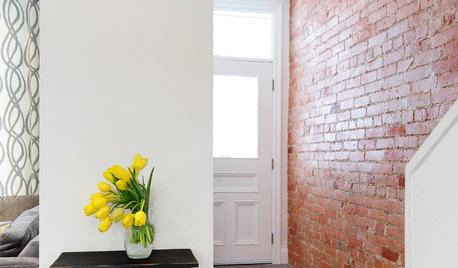
BRICKHow to Make an Interior Brick Wall Work
Learn how to preserve, paint, clean and style a brick wall to fit your design scheme
Full StoryKITCHEN DESIGN12 Great Kitchen Styles — Which One’s for You?
Sometimes you can be surprised by the kitchen style that really calls to you. The proof is in the pictures
Full Story
REMODELING GUIDES11 Reasons to Love Wall-to-Wall Carpeting Again
Is it time to kick the hard stuff? Your feet, wallet and downstairs neighbors may be nodding
Full Story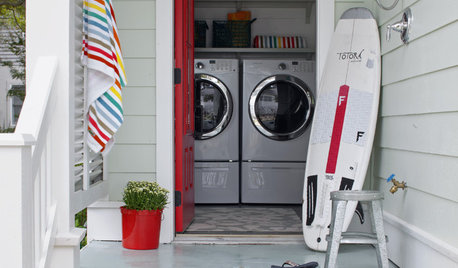
GARDENING AND LANDSCAPINGGet a Jump on Summer Prep for Home and Garden
Pick from these 16 things to do now — from hanging a hammock to bug-proofing screens — to maximize summer's sweetness
Full Story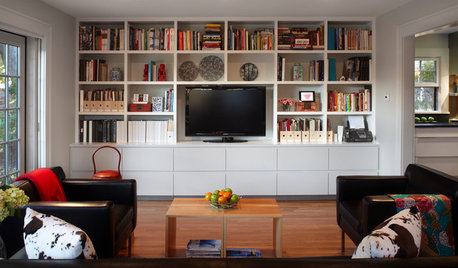
GREAT HOME PROJECTSHow to Get That Built-in Media Wall You Really Want
New project for a new year: Tame clutter and get a more stylish display with a media unit designed to fit your space just right
Full Story
HOME OFFICESQuiet, Please! How to Cut Noise Pollution at Home
Leaf blowers, trucks or noisy neighbors driving you berserk? These sound-reduction strategies can help you hush things up
Full StoryMore Discussions


neetsiepie
neetsiepie
Related Professionals
Dallas Furniture & Accessories · Jacksonville Furniture & Accessories · Los Angeles Furniture & Accessories · Newnan Furniture & Accessories · Champlin Furniture & Accessories · Fair Lawn Furniture & Accessories · Miami Beach Furniture & Accessories · Hudson Custom Artists · Pembroke Custom Artists · San Francisco Lighting · Del City Window Treatments · Placerville Window Treatments · San Jose Window Treatments · Tennessee Window Treatments · The Woodlands Window Treatmentsmclarke
sweets98
tracey_b
annie1971
walkin_yesindeedOriginal Author
mclarke
roguevalley
twor
oceanna
n2cookin
walkin_yesindeedOriginal Author
oceanna
mclarke
sweets98
mayvenne
graywings123
mclarke
mayvenne
terezosa / terriks
tracey_b
walkin_yesindeedOriginal Author
neetsiepie
annie1971
kim2007
oceanna
namabafo
walkin_yesindeedOriginal Author
roguevalley
kim2007
wisrose
oceanna
salonv
walkin_yesindeedOriginal Author
User
harriethomeowner
User