


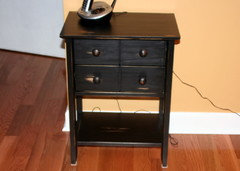
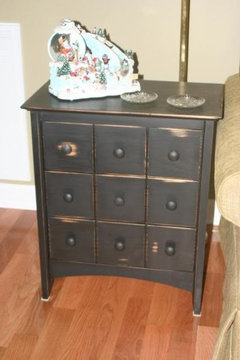
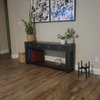
How do I distress like this?
paint_chips
16 years ago
Featured Answer
Sort by:Oldest
Comments (6)

neetsiepie
16 years agoRelated Professionals
Hercules Interior Designers & Decorators · Queens Interior Designers & Decorators · Marietta Furniture & Accessories · Norwalk Furniture & Accessories · St. Louis Furniture & Accessories · Woodstock Furniture & Accessories · Chaska Furniture & Accessories · Gages Lake Furniture & Accessories · Wilmington Furniture & Accessories · Holliston Furniture & Accessories · Palmetto Bay Furniture & Accessories · Hanover Park Window Treatments · Placerville Window Treatments · Rockford Window Treatments · Rockledge Window Treatments
sweets98
16 years agopaint_chips
16 years agosweets98
16 years agocburch
16 years ago
Related Stories
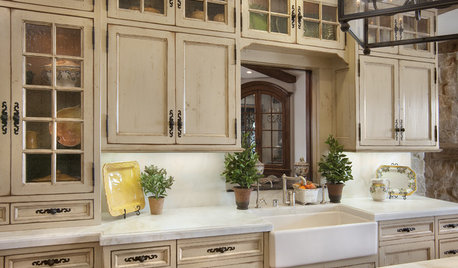
KITCHEN DESIGNStress Less With Distressed Cabinets
Stop worrying over every little nick and chip. Intentionally aged cabinets give the kitchen or laundry room a relaxed, timeworn look
Full Story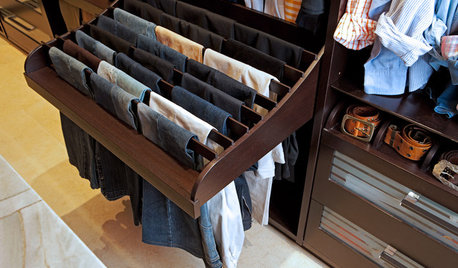
CLOSETSThe 15 Most Popular Closet Luxuries on Houzz
Turn distressing disarray into streamlined perfection with closet organizers and amenities like these
Full Story
COFFEE WITH AN ARCHITECTA Few Things I Would Like to Ask Frank Lloyd Wright
It could take a lifetime to understand Frank Lloyd Wright's work — less if we had answers to a few simple questions
Full Story
LIFEYou Said It: ‘They Looked at Me Like I Had 10 Heads’
Design advice, inspiration and observations that struck a chord
Full Story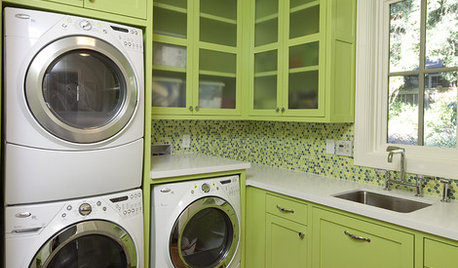
MORE ROOMSRooms I'd Like to See Wrapped Up as Gifts for the Holidays!
What Room Do You Have on Your Gift List This Year?
Full Story
RUSTIC STYLEThese Rustic Accents Can Really Make Your House Feel Like Home
Add warmth and personality with woven baskets, wood ladders, quilts and more
Full Story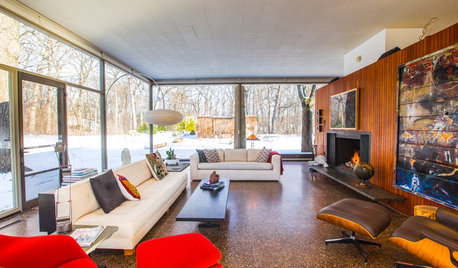
HOUZZ TV FAVORITESHouzz TV: See What It’s Like to Live in a Glass House
Tour a couple’s midcentury modern Illinois home, where floor-to-ceiling views of nature are all around
Full Story
DECORATING GUIDESI'll Have the Same: How to Design With Monochromatic Color
Indulge the eye, offer a break from visual chaos and make decorating easier with single-color rooms in any shade you like
Full Story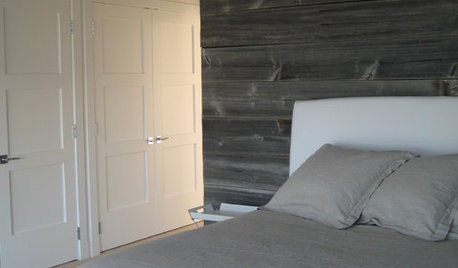
REMODELING GUIDESDesign Dilemma: How Do I Modernize My Cedar Walls?
8 Ways to Give Wood Walls a More Contemporary Look
Full Story
PRODUCT PICKSGuest Picks: In Like a Lion, Out Like a Lamb
Take a cue from the classic adage about March with home accessories that call these animals to mind
Full StoryMore Discussions
graywritingdog