


my3dog's valance
debbimc
15 years ago
Sort by:Oldest
Comments (5)
Related Stories
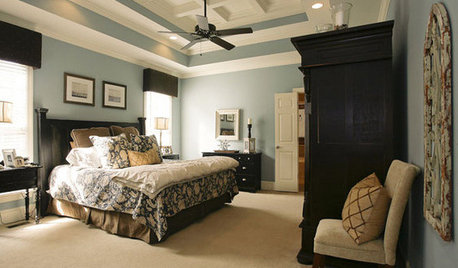
WINDOWSWindow Valances for Every Style
Save a Little Cash, Add a Bit of Flair by Dressing Just the Top of Your Windows
Full Story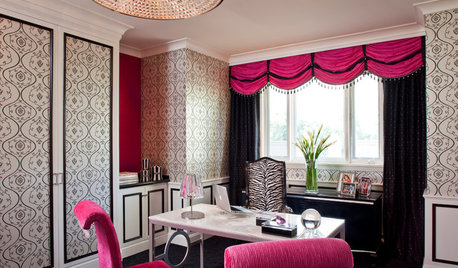
DECORATING GUIDESThe Art of the Window: A Valance for Every Look, from Country to Glam
Which of these 11 top treatments is right for you?
Full Story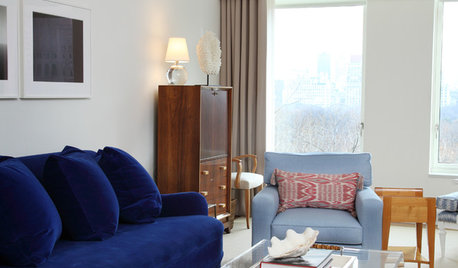
DECORATING GUIDES13 Ways With Window Valances
A swoop of fabric above the window hides the hardware and frames the view in style
Full Story
DECORATING GUIDESCornice Boards Strike a Strong Top Note
Structured and sturdy yet just as elegant as valances, cornice boards slip neatly into classic, eclectic and modern spaces
Full Story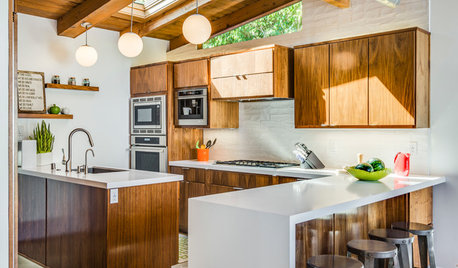
KITCHEN CABINETSNew This Week: 3 Modern Kitchens That Rock Warm Wood Cabinets
Looking for an alternative to bright white? Walnut cabinetry offers the perfect tone to warm things up
Full Story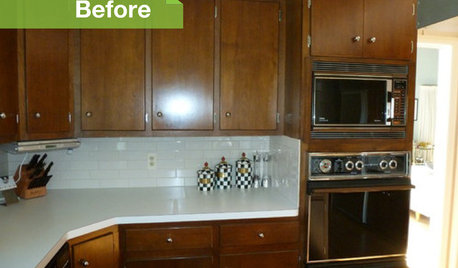
KITCHEN DESIGN3 Dark Kitchens, 6 Affordable Updates
Color advice: Three Houzzers get budget-friendly ideas to spruce up their kitchens with new paint, backsplashes and countertops
Full Story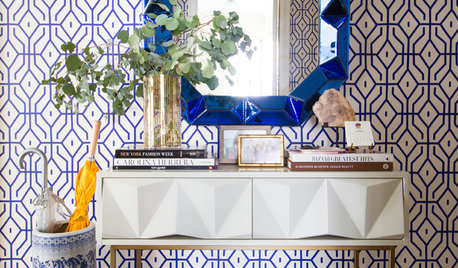
WALL TREATMENTSNew This Week: 3 Wall Treatments to Elevate Your Entryway
Use graphic pattern to raise your spirits every time you come home — no matter what your style
Full Story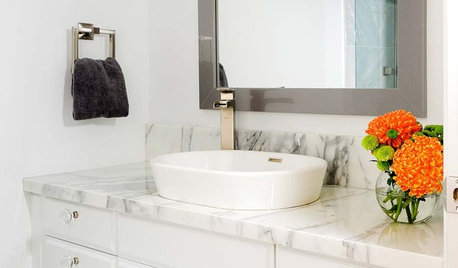
BATHROOM VANITIESAll the Details on 3 Single-Sink Vanities
Experts reveal what products, materials and paint colors went into and around these three lovely sink cabinets
Full Story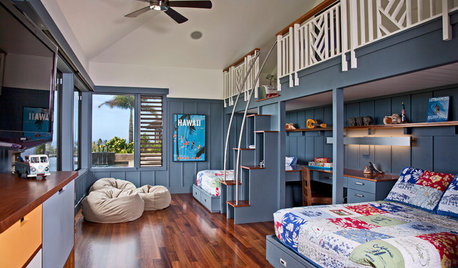
KIDS’ SPACESRoom of the Day: 3 Brothers Share 1 Big Bedroom in Hawaii
With a loft, personalized areas and plenty of space for play, this shared boys’ bedroom inspires togetherness and a sense of fun
Full Story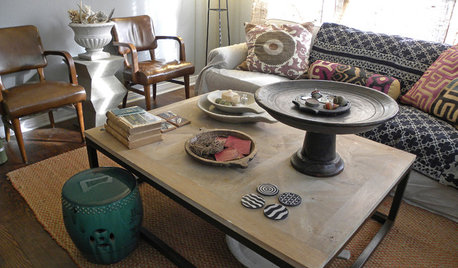
HOUZZ TOURSMy Houzz: Collective Spirit in a Boho Bungalow
Ethnic textiles, vintage furniture and vignettes galore show a Dallas stylist's hunter-gatherer side at its best
Full Story


tool_girl_tx
debbimcOriginal Author
Related Professionals
Jacinto City Interior Designers & Decorators · Garden Acres Interior Designers & Decorators · Glenbrook Interior Designers & Decorators · Little Egg Harbor Twp Interior Designers & Decorators · View Park-Windsor Hills Interior Designers & Decorators · Racine Furniture & Accessories · Savannah Furniture & Accessories · Sioux Falls Furniture & Accessories · Fair Lawn Furniture & Accessories · Mahwah Furniture & Accessories · Rogers Furniture & Accessories · Sugar Hill Furniture & Accessories · San Francisco Lighting · Phoenix Window Treatments · Rockford Window Treatmentsjaybird
debbimcOriginal Author
brutuses