


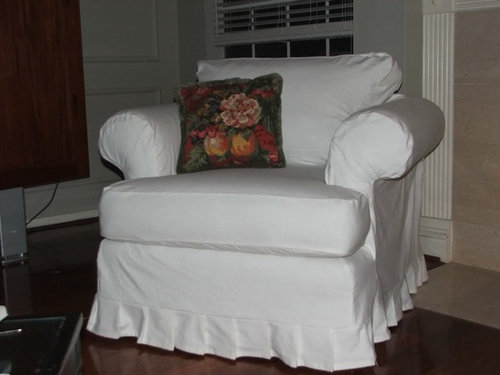
My first slipcover for an upholstered piece
bestyears
13 years ago

Related Stories
PRODUCT PICKSGuest Picks: Freshen Your Furniture With Slipcovers
Make a clean break with fussy, unwashable fabrics. These slipcovered furniture pieces let you keep things spotless with little effort
Full Story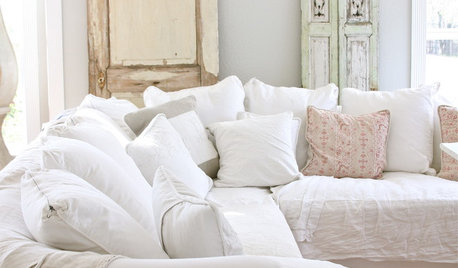
WHITEWhite Slipcovers for Pure Practicality
With a washing machine and bleach on your side, white slipcovers for couches and chairs keep your furniture looking pristine
Full Story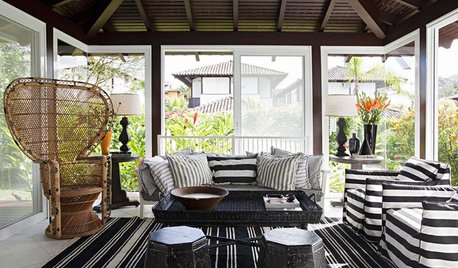
Your Guide to Stylish Slipcovers
Get the Look You Want With Custom, Semi-Custom and Readymade Slipcovers
Full Story
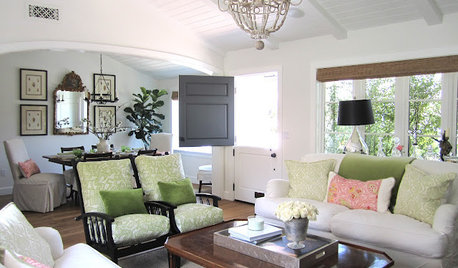
UPHOLSTERYSlipcover Magic: Casual, Washable and Fresh for the Season
Reinvent your sofas, chairs and ottomans with surprisingly chic and versatile slipcovers
Full Story
BUDGET DECORATING13 Versatile Furniture Pieces That Grow With You
Build a collection of high-quality pieces that will work from that first solo rental to a long-term home
Full Story
FURNITURESlipcovers: Problem Solvers With Style
9 Great Ways to Change Up Your Look With the Ever-Practical Slipcover
Full Story
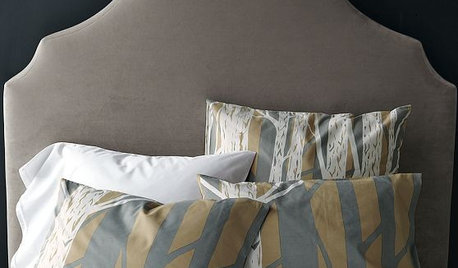
Guest Picks: Neutral Upholstered Beds and Headboards
Bring warm texture and soothing hues to a bedroom with these options that leave room for colorful bedding and pillows
Full Story
UPHOLSTERYSeeking a Quiet, Relaxed Spot? Try Upholstering Your Walls
Upholstery can envelop an entire room, a framed panel or a single wall. See some design options and learn what to expect
Full Story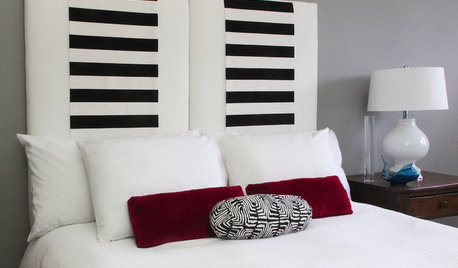
DIY PROJECTSMake an Upholstered Headboard You Can Change on a Whim
Classic stripes today, hot pink tomorrow. You can swap the fabric on this DIY headboard to match your room or your mood
Full StoryMore Discussions


noellabelle
nicole__
Related Professionals
Scottsdale Furniture & Accessories · Washington Furniture & Accessories · Culver City Furniture & Accessories · Irmo Furniture & Accessories · Park Ridge Furniture & Accessories · Melbourne Custom Artists · Greenville Lighting · Wells Branch Lighting · Campbell Window Treatments · Colorado Springs Window Treatments · Feasterville Trevose Window Treatments · Gadsden Window Treatments · Huntington Beach Window Treatments · Patchogue Window Treatments · South Yarmouth Window Treatmentsjustgotabme
greatgollymolly
juddgirl2
cooperbailey
ttodd
cliff_and_joann
bestyearsOriginal Author
laxsupermom
megpie77
bestyearsOriginal Author
justgotabme
bestyearsOriginal Author
juddgirl2
loribee
justgotabme
megpie77
User
ratherbesewing
stinky-gardener
bestyearsOriginal Author