


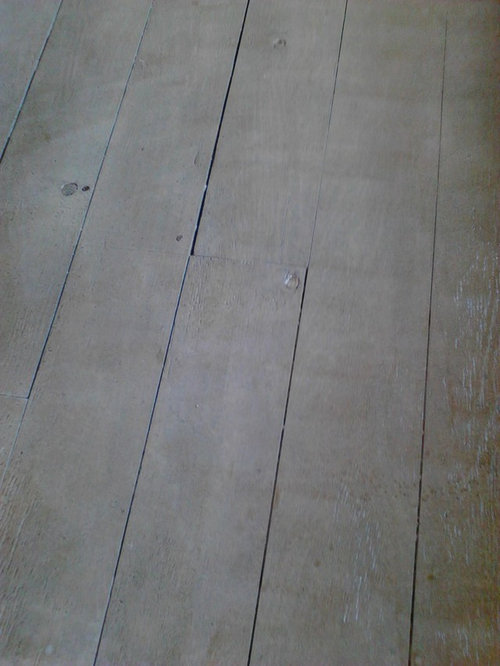
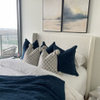
Sneak Peek (not quite finished, but getting there)
arbpdl
11 years ago
Sort by:Oldest
Comments (23)
Related Stories
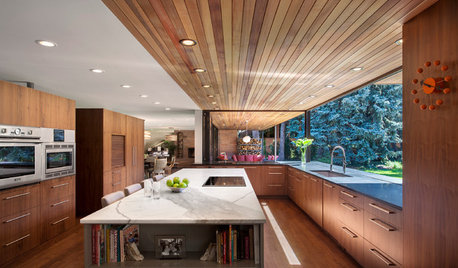
EVENTSSneak a Peek at 7 Homes From Denver’s Modern Home Tour
A wine cube with a glass ceiling, a remodeled Eichler and other structures exemplify modern design in Colorado
Full Story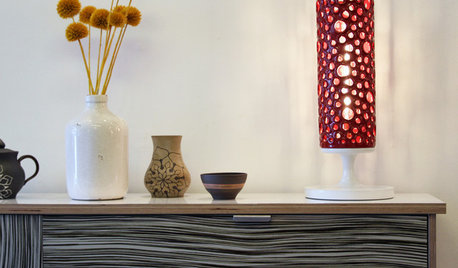
TASTEMAKERSShop Talk: Peek in on Brandon Morrison's Lamp-Making Process
Get an up-close and personal view of a Los Angeles lighting designer as he crafts one of his artful table lamps
Full Story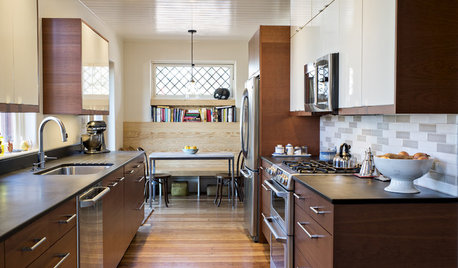
KITCHEN DESIGNKitchen of the Week: Past Lives Peek Through a New Kentucky Kitchen
Converted during Prohibition, this Louisville home has a history — and its share of secrets. See how the renovated kitchen makes use of them
Full Story
DECORATING GUIDESPaperback Books Get a Second Look
Hardcover books get all the decorating love, but paperbacks as a design accessory can hold their own in any room
Full Story
KITCHEN DESIGNTrending Now: 25 Kitchen Photos Houzzers Can’t Get Enough Of
Use the kitchens that have been added to the most ideabooks in the last few months to inspire your dream project
Full Story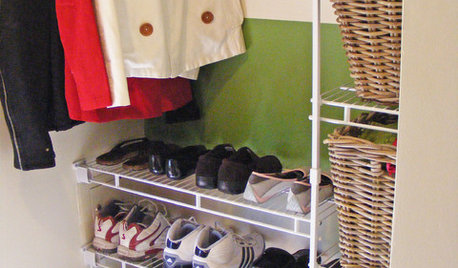
CLOSETSGet It Done: Attack the Coat Closet
With a concrete plan and a little elbow grease, you can tame your jumble of jackets in a single afternoon
Full Story
DECORATING GUIDESGet the Scoop on Finding the Best Paint for Your Money
Scoring the best deal on paint for your home may have nothing to do with advertised specials
Full Story
LIFE3 Ways to Get Unstuck — About Organizing, Decorating, Whatever
Break out of the do-nothing rut to accomplish your goals, whether at home or in other parts of your life
Full Story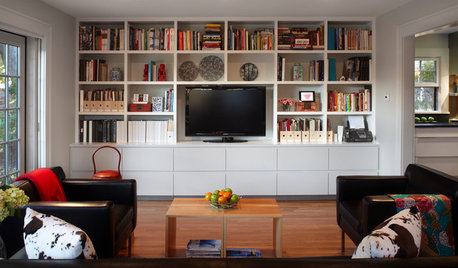
GREAT HOME PROJECTSHow to Get That Built-in Media Wall You Really Want
New project for a new year: Tame clutter and get a more stylish display with a media unit designed to fit your space just right
Full Story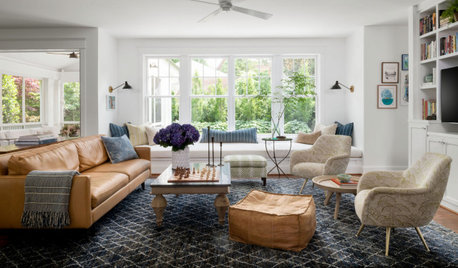
HOUSEKEEPING7-Day Plan: Get a Spotless, Beautifully Organized Living Room
A task a day sends messes away. Take a week to get your living room in shape
Full StorySponsored
Industry Leading Interior Designers & Decorators in Franklin County
More Discussions

arbpdlOriginal Author
arbpdlOriginal Author
Related Professionals
Clinton Township Interior Designers & Decorators · Fernway Interior Designers & Decorators · Linton Hall Interior Designers & Decorators · Linton Hall Interior Designers & Decorators · Shorewood Interior Designers & Decorators · Tahoe City Interior Designers & Decorators · San Elizario Furniture & Accessories · Champlin Furniture & Accessories · Holliston Furniture & Accessories · Eugene Custom Artists · West University Place Lighting · Del City Window Treatments · El Mirage Window Treatments · Seattle Window Treatments · Brownsville Window Treatmentscyn427 (z. 7, N. VA)
awm03
cooperbailey
arbpdlOriginal Author
liriodendron
arbpdlOriginal Author
arbpdlOriginal Author
arbpdlOriginal Author
yayagal
Tmnca
liriodendron
teeda
User
arbpdlOriginal Author
arbpdlOriginal Author
jab65
hlove
arbpdlOriginal Author
anele_gw
arbpdlOriginal Author
Wolfpackmom