


That chair that I ebonized last summer
spanky_md
16 years ago


Related Stories
FURNITUREClassic Summer Furniture: The Adirondack Chair
Kick back in a chair designed more than a hundred years ago but updated (or not) for modern tastes
Full Story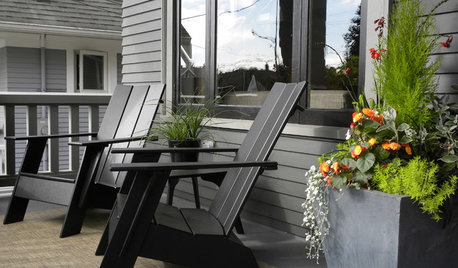
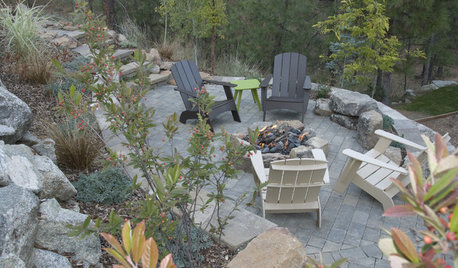
GARDENING AND LANDSCAPINGObjects of Desire: Adirondack Chairs Perfect for Summer Lounging
More colors, styles and materials than ever? We’ll sit to that
Full Story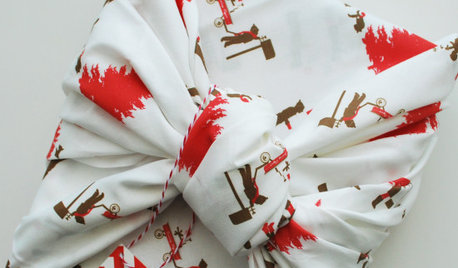
CHRISTMAS10 Quick Solutions for Last-Minute Holiday Problems
Sail right by potential decorating, hosting and gift-giving pitfalls with these invaluable nick-of-time tricks
Full Story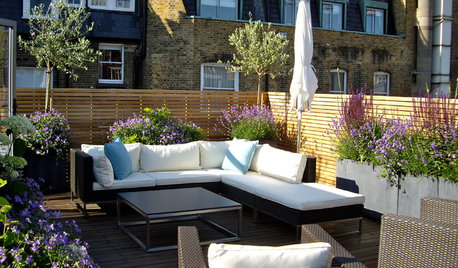
LIFE9 Simple Ways to Savor Summer’s Final Days
Go ahead, ignore the calendar. Stretch out that easygoing, warm-weather feeling with these ideas for indoors and out
Full Story
MOST POPULARA Fine Mess: How to Have a Clean-Enough Home Over Summer Break
Don't have an 'I'd rather be cleaning' bumper sticker? To keep your home bearably tidy when the kids are around more, try these strategies
Full Story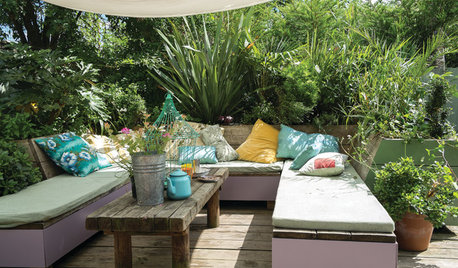
LIFEHouzz Call: Where (and What) Are You Reading This Summer?
Whether you favor contemporary, classic or beach reads, do the long and lazy days of summer bring out the lit lover in you?
Full Story
COLORCatch a Splash of Ocean Blue This Summer
Dip a toe into cobalt or take on turquoise at full blast for rooms that soothe, energize and feel as breezy as the beach
Full Story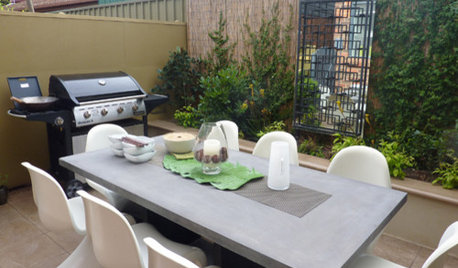
GARDENING AND LANDSCAPINGYour Spring and Summer Party Checklist
12 ways to get your patio ready for warm-season fun
Full Story
LIFEWhat You’re Reading This Summer — and Where
Check out Houzzers’ summer reading lists and get some ideas for your own!
Full Story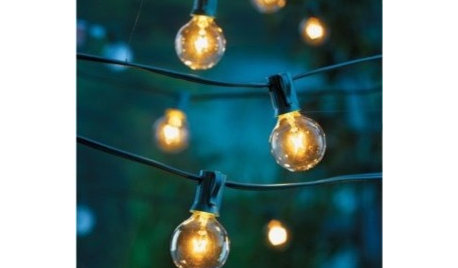
PRODUCT PICKSGuest Picks: Stretch Out Summer With Outdoor Lights
Don't let shorter days spoil the party. String lights, flameless candles and lanterns can brighten patios beyond summer
Full StoryMore Discussions


heylady_2007
mahatmacat1
Related Professionals
Garden City Interior Designers & Decorators · Greer Furniture & Accessories · Topeka Furniture & Accessories · Owasso Furniture & Accessories · Glenvar Heights Furniture & Accessories · Hampton Bays Furniture & Accessories · Mundelein Furniture & Accessories · Robbinsdale Furniture & Accessories · San Juan Capistrano Furniture & Accessories · Zionsville Furniture & Accessories · Summerville Custom Artists · Aurora Lighting · Red Bank Lighting · East Setauket Window Treatments · Riverhead Window Treatmentsmahatmacat1
spanky_mdOriginal Author
skypathway
texanjana
teacats
chelone
squirrelheaven
les917
chicoryflower
chelone
mahatmacat1
spanky_mdOriginal Author
chelone
jerseygirl_1
neetsiepie
mahatmacat1
mry193
johnmari
acoreana
Valerie Noronha
spanky_mdOriginal Author
dixiedo
chelone
spanky_mdOriginal Author
wooderlander
mahatmacat1
spanky_mdOriginal Author
catpurrson
lynnski
mahatmacat1
texashottie
tetrazzini
lynnski
spanky_mdOriginal Author
lynnski
spanky_mdOriginal Author
spanky_mdOriginal Author