


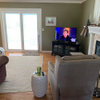
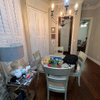
These are the Roman Shades I made
kellymamom
16 years ago
Sort by:Oldest
Comments (36)
Related Stories
DECORATING GUIDESRoman Shades: The Just-Right Window Coverings for Summer
Calm and minimal, frilly or faux, There's a Roman shade for you
Full Story
GARDENING AND LANDSCAPINGMade in the Shade, the Modern Way
Think beyond the patio umbrella with these 8 ideas for blocking the sun beautifully
Full Story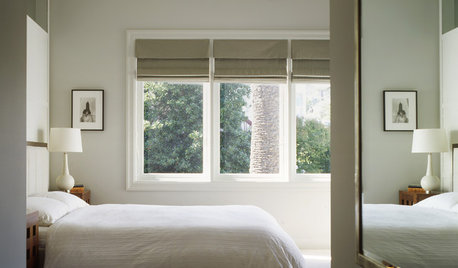
WINDOWSYour Windows: Roman Shades 101
Give your shades a personal touch with pattern, texture and trim
Full Story
DECORATING GUIDESThe Dumbest Decorating Decisions I’ve Ever Made
Caution: Do not try these at home
Full Story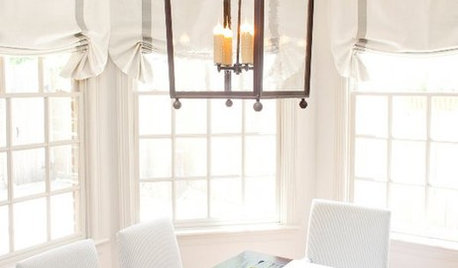
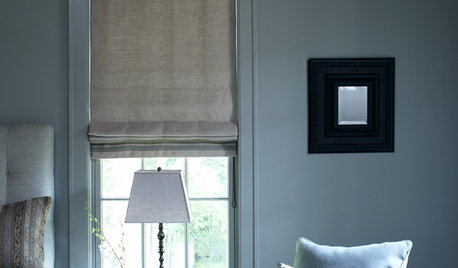
DECORATING GUIDESRooms Reign Supreme With Roman Shades
Relaxed or tucked into lavish folds, Roman shades triumph over plain curtains for a tailored, elegant window look
Full Story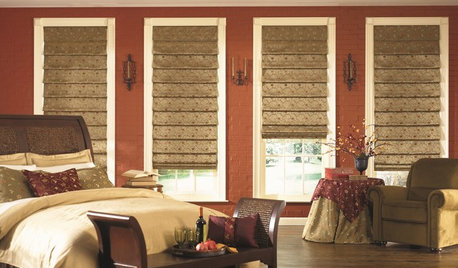
WINDOW TREATMENTSHow to Choose the Right Window Shades
Should you roll with rollers or do as the Romans do? This mini guide to choosing window shades can help
Full Story
LIGHTING12 Fun Light Fixtures Made From Found Objects
Trash became treasure in these one-of-a-kind lights. See if they inspire your own DIY pendant project
Full Story
BEDROOMS13 Simple Steps to a Perfectly Made Bed
Drift off to dreamland in a delightfully soothing, artfully dressed bed worthy of a posh hotel
Full Story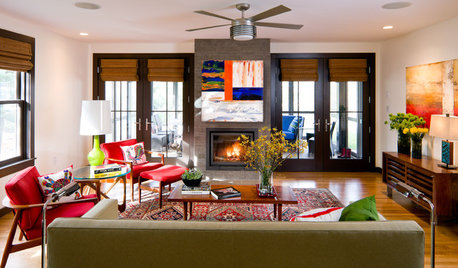
DOORSYour Door: Shades of Privacy and Light
Set the right scene with a woven roman shade for your glass door
Full Story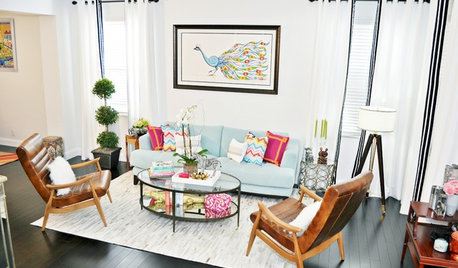
BEFORE AND AFTERSA Made-Over Living Room Preens Like a Peacock
Spirited accessories and his-and-her furnishings feather a family’s nest splendidly
Full Story

booboo60
texashottie
Related Professionals
Austin Furniture & Accessories · Houston Furniture & Accessories · Indianapolis Furniture & Accessories · Norwalk Furniture & Accessories · Aventura Furniture & Accessories · Fillmore Furniture & Accessories · Murray Furniture & Accessories · San Diego Furniture & Accessories · Springville Custom Artists · Centreville Lighting · Florida City Lighting · Pearland Lighting · Wasco Lighting · Cleveland Window Treatments · Fremont Window Treatmentsmdoats
brutuses
susanlynn2012
patti_bee
sarschlos_remodeler
chicoryflower
redbazel
Molly Brown
oceanna
chelone
caminnc
hoyamom
jan_in_wisconsin
tinker_2006
mry193
patricianat
johnatemp
daisyadair
sandra12
hoosiergirl
mahatmacat1
wooderlander
no_green_thumb
msjay
kellymamomOriginal Author
debo_2006
kellymamomOriginal Author
kitchenkelly
chicoryflower
roguevalley
clubcracker
organic_smallhome
kellymamomOriginal Author
organic_smallhome