


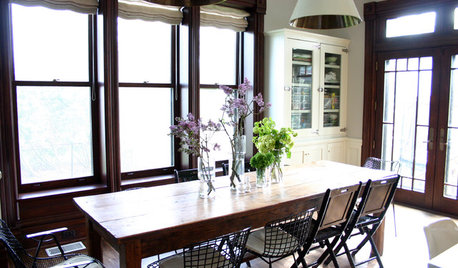
First real reupholstery Project!
lazy_gardens
10 years ago
Related Stories
MOST POPULARFirst Things First: How to Prioritize Home Projects
What to do when you’re contemplating home improvements after a move and you don't know where to begin
Full Story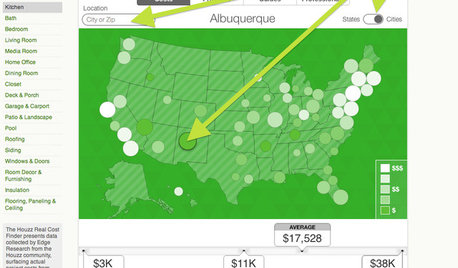
REMODELING GUIDESBreakthrough Budgeting Info: The Houzz Real Cost Finder Is Here
Get remodeling and product prices by project and U.S. city, with our easy-to-use interactive tool
Full Story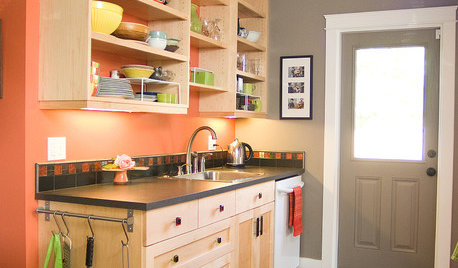
KITCHEN DESIGN23 Inspiring Real-Life Kitchens
Get Ideas for Your Own Project from Creative Houzz Members' Kitchens
Full Story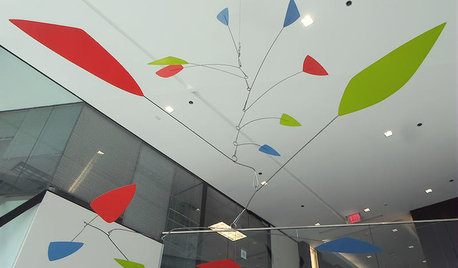
ARTFrom the Artist: How to Make a Real Mobile
It’s all in the balancing points: A top mobile designer shows how to create a Calder-inspired installation of your own
Full Story
HOUZZ TOURSMy Houzz: Eclectic Repurposing Fits First-Time Homeowners in Utah
DIY projects using reclaimed materials add rustic style to an open-layout Salt Lake City home
Full Story
DESIGN FOR GOODAt-Risk Teens Get a Well-Designed Home and Real Hope
Designers and other volunteers create an apartment to keep older foster kids off the streets, off drugs and on a path to a better life
Full Story
SELLING YOUR HOUSE15 Questions to Ask When Interviewing a Real Estate Agent
Here’s what you should find out before selecting an agent to sell your home
Full Story
LIFEIs Cabin Fever Real? Share Your Story
Are snow piles across the U.S. leading to masses of irritability and boredom? We want to hear your experience
Full Story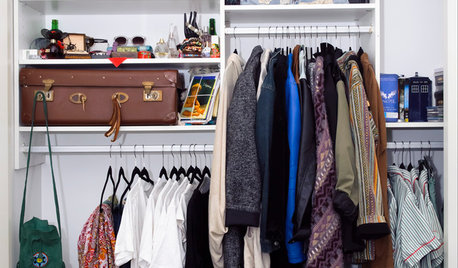
CLOSETSDesign Your Closet for the Real World
Let a professional organizer show you how to store all your clothes, shoes and accessories without blowing your budget
Full Story
STAIRWAYSClear Staircases — They're a Real Glass Act
If you're flush with funds, you can have a ball with crystal on your stairs. The rest of us can just marvel from afar
Full StorySponsored
Columbus Area's Luxury Design Build Firm | 17x Best of Houzz Winner!
More Discussions


Annie Deighnaugh
Laurie
Related Professionals
Bend Furniture & Accessories · Carlsbad Furniture & Accessories · Greenville Furniture & Accessories · Medford Furniture & Accessories · Phoenix Furniture & Accessories · Topeka Furniture & Accessories · Aventura Furniture & Accessories · Carlsbad Furniture & Accessories · Millburn Furniture & Accessories · Rancho Santa Margarita Furniture & Accessories · Van Nuys Furniture & Accessories · Baldwin Park Lighting · Miami Lighting · Campbell Window Treatments · Riverhead Window Treatmentsmaggiepie11
maggiepie11
Elraes Miller
Circus Peanut
Circus Peanut
pattyxlynn
lazy_gardensOriginal Author
lazy_gardensOriginal Author
Laurie
edeevee
lazy_gardensOriginal Author
lazy_gardensOriginal Author
Laurie
lazy_gardensOriginal Author