


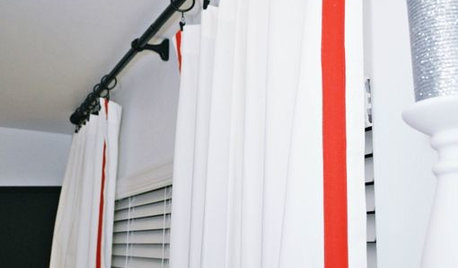
Is there a trick to successfully hanging curtain rods?
threeapples
10 years ago
Featured Answer
Sort by:Oldest
Comments (29)

three3apples
10 years ago
tibbrix
10 years agoRelated Professionals
Mount Vernon Interior Designers & Decorators · Easton Furniture & Accessories · Medford Furniture & Accessories · Philadelphia Furniture & Accessories · Sioux Falls Furniture & Accessories · Portage Furniture & Accessories · Chaska Furniture & Accessories · Little Chute Furniture & Accessories · Pembroke Custom Artists · Baldwin Park Lighting · Deer Park Lighting · Englewood Lighting · Shorewood Lighting · Westmont Lighting · Sacramento Window Treatments
4boys2
10 years agojackson2348
10 years agoschoolhouse_gw
10 years agotibbrix
10 years ago4boys2
10 years agotibbrix
10 years agoJamie
10 years ago
maddielee
10 years agochispa
10 years agothreeapples
10 years agobusybee3
10 years agotibbrix
10 years agoUser
10 years agobeausrose
10 years agothreeapples
10 years agobusybee3
10 years agopqtex
10 years ago
Annie Deighnaugh
10 years agoTravMode
9 years agoUser
9 years agochiefneil
9 years agoTxMarti
9 years agothree3apples
9 years agoUser
9 years ago
graywings123
9 years agograywings123
9 years ago
Related Stories
WINDOW TREATMENTSEmbellishing Tricks for Cost-Effective Custom Curtains
Get curtains that look high end — even if you don't sew — with just a little trim here or a little banding there
Full Story
DESIGN DETAILSThe Secret to Pocket Doors' Success
Pocket doors can be genius solutions for all kinds of rooms — but it’s the hardware that makes all the difference. See why
Full Story
KITCHEN DESIGNTrick Out Your Kitchen Backsplash for Storage and More
Free up countertop space and keep often-used items handy by making your backsplash more resourceful
Full Story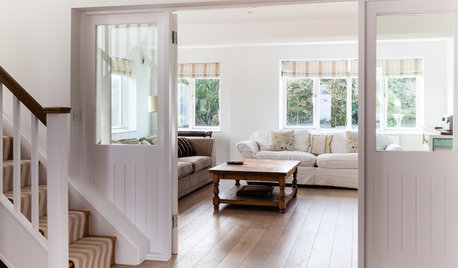
BUDGET DECORATING9 Tricks to Boost Your Home’s Appeal for Less Than $400
Whether you’re redecorating or just doing a quick update, check out these ways to enhance your home on a budget
Full Story
BATHROOM DESIGNDesigner Trick: Take Your Shower Tile to the Ceiling
Tile the whole wall in your shower to give your bath a light and lofty feel
Full Story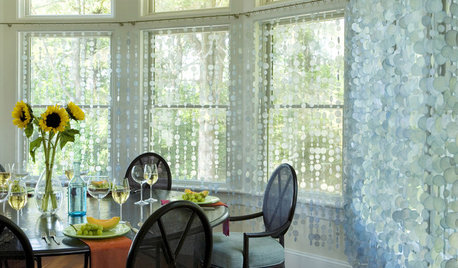
DECORATING GUIDES8 Wonderfully Creative Window Treatments
If regular curtains and rods feel too off the rack, look to these imaginative alternatives for one-of-a-kind windows
Full Story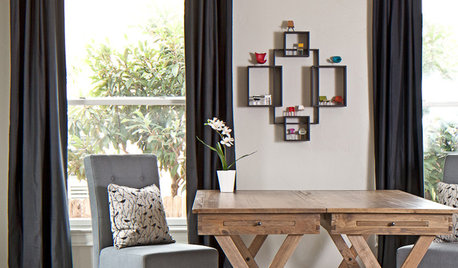
DECORATING GUIDESDark Curtains See the Light
For a cozy feel or a visual trick for ceilings and windows, dark, moody curtains and drapery treatments have a bright outlook
Full Story
PATTERN12 Great Decorative Alternatives to Curtains
Filter light and views while drawing the eye by dressing windows in specialty glass, artistic screens or snazzy shades
Full Story
WINDOW TREATMENTSRoller Shades Raise the Curtain on Style
The humble window treatment is stealing the scene with fresh patterns, color and pizzazz
Full Story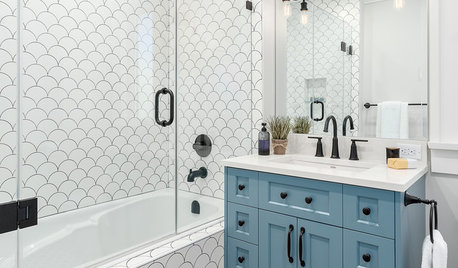
BATHROOM DESIGNShower Curtain or Shower Door?
Find out which option is the ideal partner for your shower-bath combo
Full StoryMore Discussions


threeapplesOriginal Author