


Help me remember - who stained their kitchen cabs darker with gel
metromom
15 years ago
Sort by:Oldest
Comments (7)
Related Stories
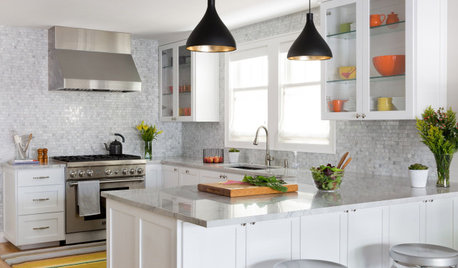
KITCHEN DESIGNKey Measurements to Help You Design Your Kitchen
Get the ideal kitchen setup by understanding spatial relationships, building dimensions and work zones
Full Story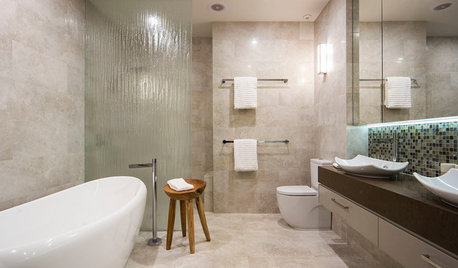
SELLING YOUR HOUSE10 Tricks to Help Your Bathroom Sell Your House
As with the kitchen, the bathroom is always a high priority for home buyers. Here’s how to showcase your bathroom so it looks its best
Full Story

COLORPick-a-Paint Help: How to Create a Whole-House Color Palette
Don't be daunted. With these strategies, building a cohesive palette for your entire home is less difficult than it seems
Full Story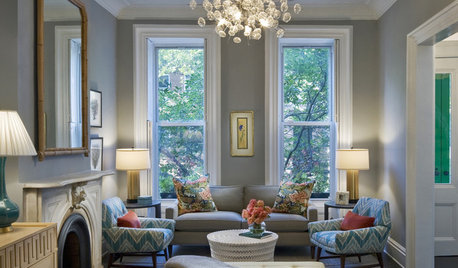
COLORPick-a-Paint Help: How to Quit Procrastinating on Color Choice
If you're up to your ears in paint chips but no further to pinning down a hue, our new 3-part series is for you
Full Story
STANDARD MEASUREMENTSThe Right Dimensions for Your Porch
Depth, width, proportion and detailing all contribute to the comfort and functionality of this transitional space
Full Story
COLORPaint-Picking Help and Secrets From a Color Expert
Advice for wall and trim colors, what to always do before committing and the one paint feature you should completely ignore
Full Story
UNIVERSAL DESIGNMy Houzz: Universal Design Helps an 8-Year-Old Feel at Home
An innovative sensory room, wide doors and hallways, and other thoughtful design moves make this Canadian home work for the whole family
Full Story
KITCHEN CABINETSKitchen Cabinet Color: Should You Paint or Stain?
Learn about durability, looks, cost and more for wooden cabinet finishes to make the right choice for your kitchen
Full Story
HOUSEKEEPINGHow to Clean Grout — Stains and All
If your grout is grossing you out, this deep-cleaning method will help it look new again
Full Story


sweeby
jotx
Related Professionals
Appleton Interior Designers & Decorators · Medford Furniture & Accessories · Memphis Furniture & Accessories · Milwaukee Furniture & Accessories · Asheville Furniture & Accessories · Aventura Furniture & Accessories · Tamalpais-Homestead Valley Furniture & Accessories · Maywood Custom Artists · Glendale Lighting · Green Bay Lighting · Iowa City Lighting · York Lighting · Ferndale Window Treatments · Washington Window Treatments · Oakland Window Treatmentswritersblock (9b/10a)
kcsunshine_2006
sewwhatsnew
kcsunshine_2006
jotx