


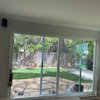
picture box molding
tuxedord2
10 years ago
Sort by:Oldest
Comments (6)
Related Stories
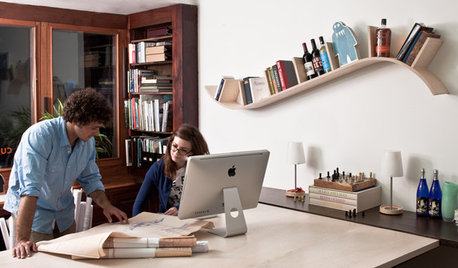
STORAGEBookcases and Floating Shelves That Break the Mold
Linear horizontal shelves have their place, but you can also get creative. Here are some ideas to spark inspiration
Full Story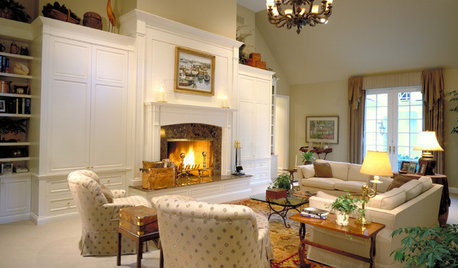
DECORATING GUIDESWall Art for Traditional Living Rooms Can Fit or Break the Mold
Tips on How to Pick a Piece That You Love, From Paintings to Mirrors, Classic to Contemporary
Full Story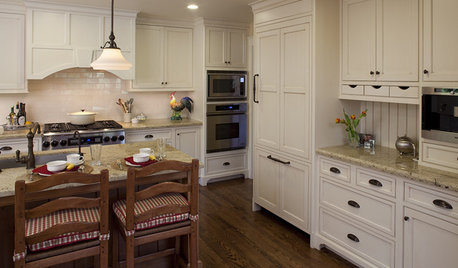
KITCHEN DESIGN9 Molding Types to Raise the Bar on Your Kitchen Cabinetry
Customize your kitchen cabinets the affordable way with crown, edge or other kinds of molding
Full Story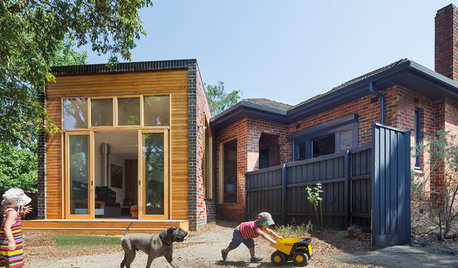
BRICK9 Ideas for Brick That Break the Mold
Bricks are as beautiful as they are useful, as these out-of-the-ordinary designs reveal
Full Story
DECORATING GUIDESHow to Save a Boring Box of a Room
Whip a ho-hum format and low ceilings into high-design shape with these ideas that offer a big new vision
Full Story
GREAT HOME PROJECTSHow to Bring Out Your Home’s Character With Trim
New project for a new year: Add moldings and baseboards to enhance architectural style and create visual interest
Full Story
KITCHEN DESIGNKitchen of the Week: Pushing Boundaries in a San Francisco Victorian
If the roll-up garage door doesn’t clue you in, the blue cabinets and oversize molding will: This kitchen is no ordinary Victorian galley
Full Story
HOUZZ TOURSHouzz Tour: Creative Design Moves Rescue an Island Cottage
Facing down mold and nicotine, two industrious Canadian designers transform an uninhabitable wreck into an artful getaway
Full Story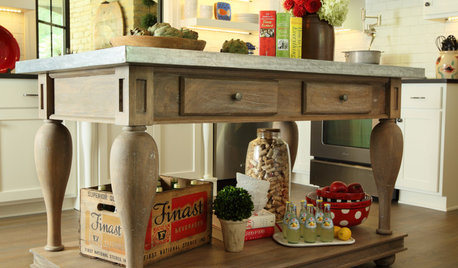
KITCHEN DESIGNKitchen Confidential: 11 Islands With Furniture Style
Break the mold with these nontraditional kitchen islands
Full Story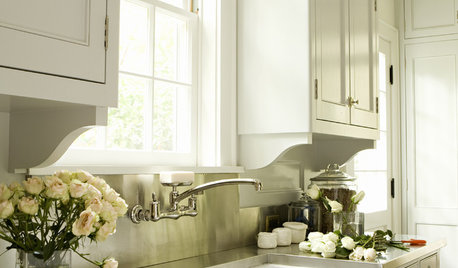
DECORATING GUIDESArchitectural Details Make All the Difference
Are you missing an opportunity to enhance your home with brackets, cabinet feet and moldings?
Full Story

WendyB 5A/MA
WendyB 5A/MA
Related Professionals
Linton Hall Interior Designers & Decorators · New Providence Interior Designers & Decorators · Atlanta Furniture & Accessories · Lorton Furniture & Accessories · Portland Furniture & Accessories · Racine Furniture & Accessories · Skokie Furniture & Accessories · Glenvar Heights Furniture & Accessories · Lake Arrowhead Furniture & Accessories · Kingsburg Furniture & Accessories · Ashburn Custom Artists · Fairview Shores Custom Artists · Aurora Window Treatments · Fraser Window Treatments · Los Angeles Window Treatmentsjustgotabme
tuxedord2Original Author
ratherbesewing
WendyB 5A/MA