


Recycled Vintage Maps-Hat Boxes
kudzukween
15 years ago
Sort by:Oldest
Comments (3)
Related Stories
HOUZZ TOURSMy Houzz: Swanky Vintage Style in Texas
No suburban sameness for this family — their Frisco home is a French-inspired eclectic wonderland with more chandeliers than people
Full Story
HOUZZ TOURSHouzz Tour: Tiny Vintage Los Angeles Apartment
A 410-square-foot apartment merges practicality with playful retro finds, repurposed pieces and an ever-changing color palette
Full Story
ORGANIZINGOutside the Box: 18 Unconventional Storage Solutions
You might never think to use household standards in creative ways like these, but you’ll be glad we did
Full Story
DECORATING GUIDESBudget Decorator: Let’s Go Thrifting
Dip into the treasure trove of secondhand pieces for decor that shows your resourcefulness as much as your personality
Full Story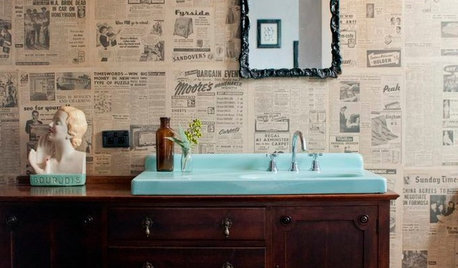
DECORATING GUIDESSo Your Style Is: Black, White and Read All Over
Make headlines at home with newsworthy decor
Full Story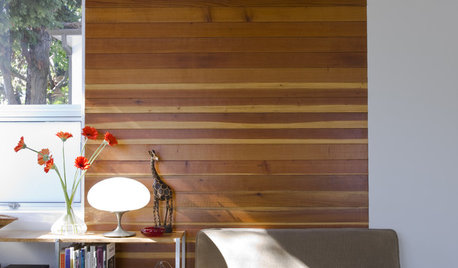
DECORATING GUIDESWhich Wallcovering Is Right for You?
Transform a Space With a Wall of Wood, Paper, Fabric, Maps and More
Full Story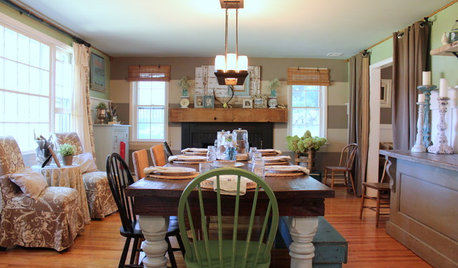
HOUZZ TOURSMy Houzz: DIY Creativity Lights Up a Cozy Pennsylvania Home
Farmhouse interiors get big doses of charm and personality thanks to the resourcefulness of a mom and blogger
Full Story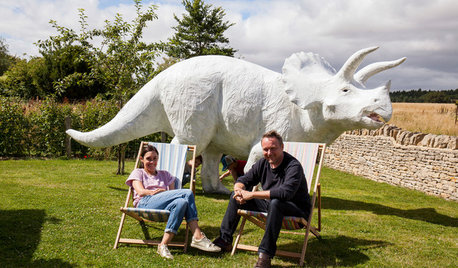
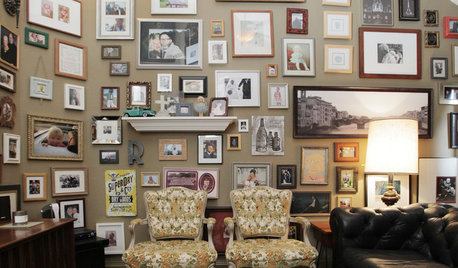
COLLECTIONSWorld of Design: 9 Cool Collectors and What They Keep at Home
Meet the people behind some museum-worthy assemblages — from a house of hats in Los Angeles to dinosaur art near London
Full Story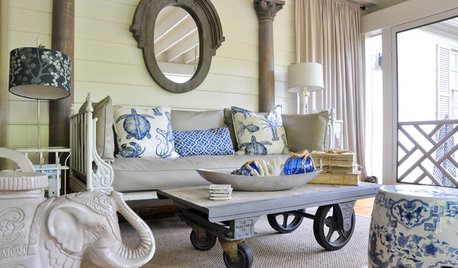
HOUZZ TOURSMy Houzz: Treasure Hunting Pays Off in Maryland
Artfully layered accessories and patterns plus an eclectic furniture mix make for intriguing decor with vintage flair
Full Story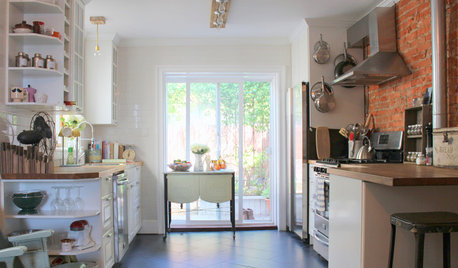
HOUZZ TOURSMy Houzz: DIY Efforts Transform a South Philly Row House
Elbow grease and creative thinking take an early-1900s home in Pennsylvania into the realm of knockout style
Full Story
huggybear_2008
leveta
Related Professionals
Carlsbad Furniture & Accessories · Topeka Furniture & Accessories · Discovery Bay Furniture & Accessories · Carpinteria Furniture & Accessories · Hercules Interior Designers & Decorators · Queens Interior Designers & Decorators · Ridgefield Interior Designers & Decorators · Laconia Custom Countertops · Sacramento Custom Countertops · Houston Custom Countertops · Berkley Custom Closet Designers · Bloomfield Custom Closet Designers · New Lenox Custom Closet Designers · Seattle Custom Closet Designers · Severna Park Custom Closet DesignerskudzukweenOriginal Author