


Looking for smashed can pictures
Adella Bedella
16 years ago
Sort by:Oldest
Comments (7)
Related Stories
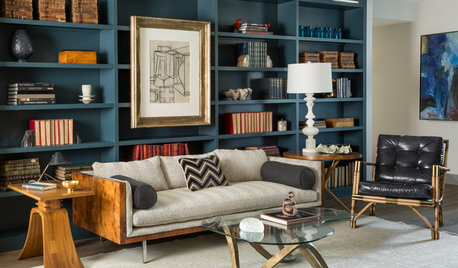
DECORATING GUIDESThose Built-Ins Are Going to Look Smashing in Color
Painting cabinetry in striking hues can bring focus and personality to a room
Full Story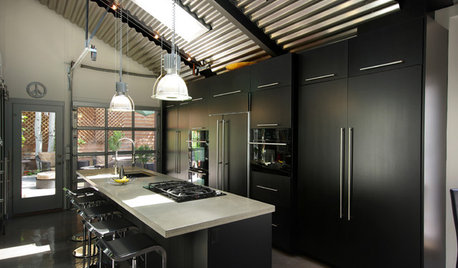
KITCHEN DESIGN10 Smashing Black Kitchens
Looking for something different from an all-white kitchen? Think about going stylishly dark instead
Full Story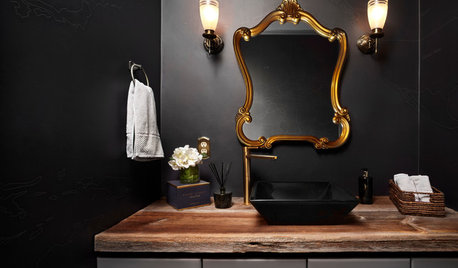
BATHROOM DESIGN11 Smashing Black Bathrooms
Going dark in the bath amps up the drama and lets metallic finishes shine
Full Story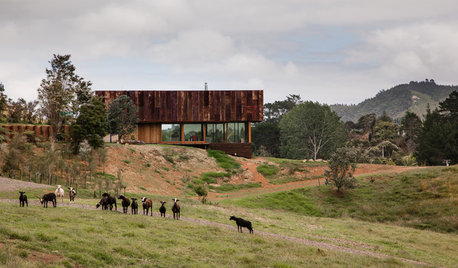
HOMES AROUND THE WORLDHouzz Tour: A Home Made to Look ‘Smashed, Bashed and Broken’
In a beautiful, secluded New Zealand valley, a vacation house buit from reclaimed materials pays homage to traditional agrarian structures
Full StoryGARDENING AND LANDSCAPINGSmashing Mosaics Stir Landscape Style
Add an art-inspired pattern to your yard through the use of stone or ceramic tile mosaics
Full Story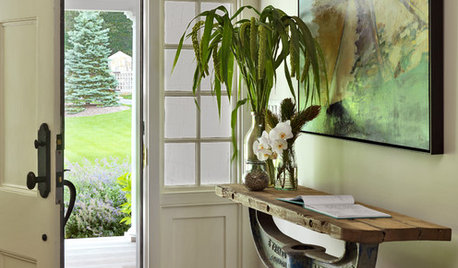
BUDGET DECORATINGThe Cure for Houzz Envy: Entryway Touches Anyone Can Do
Make a smashing first impression with just one or two affordable design moves
Full Story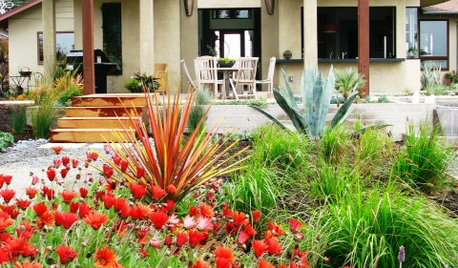
GARDENING GUIDESRoll Out the Red Carpet for a Garden That's a Smash Hit
Unabashedly attention getting, red flowers and foliage perk up lackluster gardens faster than you can say, "Action"
Full Story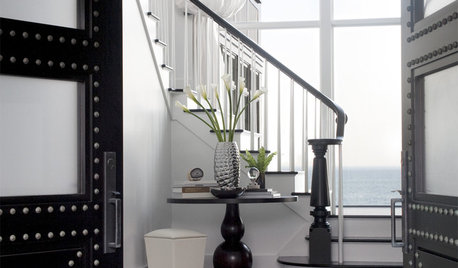
BLACK5 Smashing Black and White Homes
A high-contrast color combination provides the perfect base for bold interior design
Full Story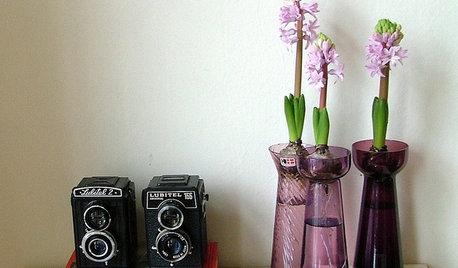
DECORATING GUIDESRooms Look Picture Perfect With Vintage Cameras
With their sculptural shapes and retro-cool look, antique cameras make for striking and unexpected displays
Full Story
LIFEHow Your Landscaping Can Keep Burglars Away
Prevent home break-ins with strategic landscaping and good practices instead of menacing — and maybe less effective — measures
Full Story
minnie_tx
sjarz
Related Professionals
Columbia Furniture & Accessories · Rockville Furniture & Accessories · Rome Furniture & Accessories · Discovery Bay Furniture & Accessories · Rancho Santa Margarita Furniture & Accessories · Appleton Interior Designers & Decorators · Rosaryville Interior Designers & Decorators · Laconia Custom Countertops · Westmont Custom Countertops · Annandale Custom Closet Designers · Corona Custom Closet Designers · Fort Worth Custom Closet Designers · Tallahassee Custom Closet Designers · Lyndon Custom Closet Designers · Romeoville Custom Closet DesignersAdella BedellaOriginal Author
snolady
gram_NH
CandyWA
Adella BedellaOriginal Author