


Pictures in glass balls
Beada
19 years ago
Related Stories
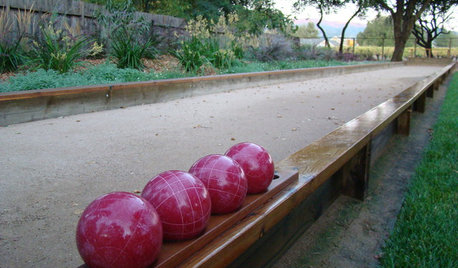
GREAT HOME PROJECTSWhat to Know About Adding a Backyard Bocce Ball Court
A regulation court in a relaxed setting helps you get the most from the Italian pastime. Here's what it takes to build one at home
Full Story
STAIRWAYSClear Staircases — They're a Real Glass Act
If you're flush with funds, you can have a ball with crystal on your stairs. The rest of us can just marvel from afar
Full Story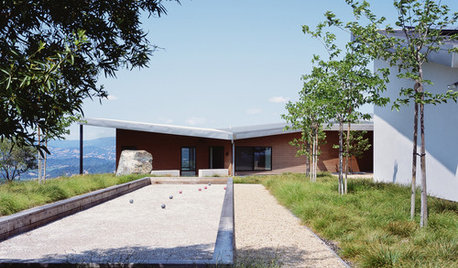
GARDENING AND LANDSCAPINGLandscape Trends: Bocce Ball Courts
An ancient sport is a modern hit at home
Full Story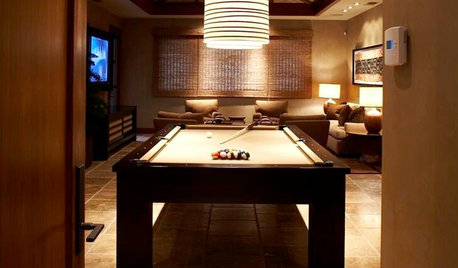
MORE ROOMSHave a Ball With Your Billiard Room
Decadently plush or based in a barn, these stunning billiard rooms show how much fun it is to take style cues from a pool table
Full Story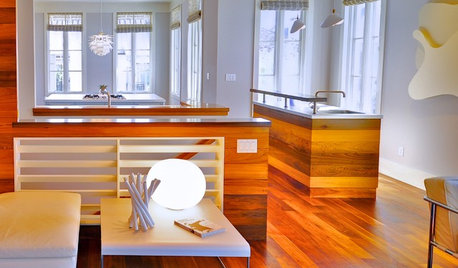
DECORATING GUIDESNew Classics: Glo-Ball Lights
These well-rounded lighting winners can be suspended from a ceiling, perched on a pedestal or settled on a tabletop
Full Story
HOLIDAYSShine Up Your Holidays With DIY Mercury Glass Globes
Get expensive-looking decorations for the cost of paint and glass, with blinged-out orbs you can make at home
Full Story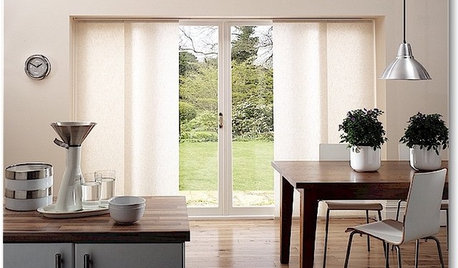
DOORSThe Art of the Window: 12 Ways to Cover Glass Doors
Learn how to use drapes, shutters, screens, shades and more to decorate French doors, sliding doors and Dutch doors
Full Story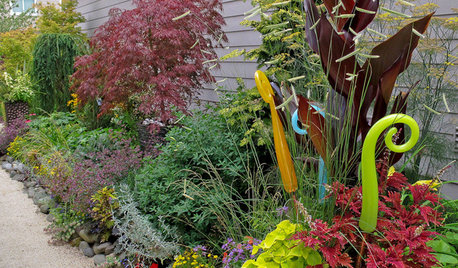
GARDENING AND LANDSCAPINGMake Your Garden Sparkle With Glass Art
Bring color, shine and even delightful sounds to your garden with glass sculptures, chimes and gazing spheres
Full Story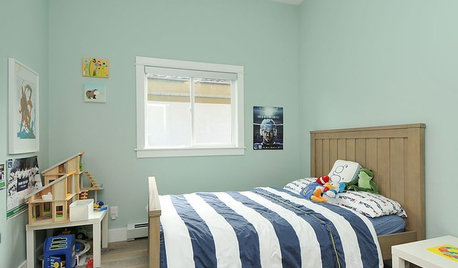
COLORGet a Soft Spot for Sea-Glass Green
Soften a room's look by washing its walls in this delightfully airy shade, no sand in your shoes required
Full Story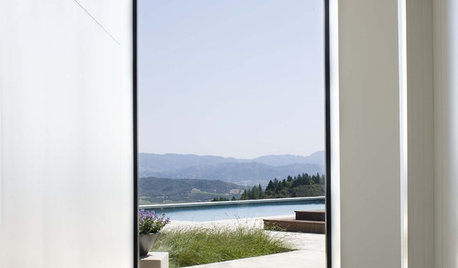
WINDOWSExpand Your View with Picture Windows
Minimal, pane-free windows make a clear connection between indoors and out
Full StoryMore Discussions
country_bumpkin_al
patches_02
Related Professionals
Framingham Furniture & Accessories · Mansfield Furniture & Accessories · Memphis Furniture & Accessories · Reston Furniture & Accessories · Rockville Furniture & Accessories · Washington Furniture & Accessories · Mill Valley Furniture & Accessories · Morton Grove Interior Designers & Decorators · Robbinsville Custom Countertops · Manhattan Beach Custom Countertops · Acworth Custom Closet Designers · El Segundo Custom Closet Designers · Galena Park Custom Closet Designers · Chatsworth Custom Closet Designers · Glen Cove Custom Closet Designersloganhogan
barb_from_pa
patches_02
AuntMary
barb_from_pa
evelyn_craftdiva
maryanntx
maryanntx
granny2ricky
Kathy_TX
wnlbutterfly
minnie_tx