


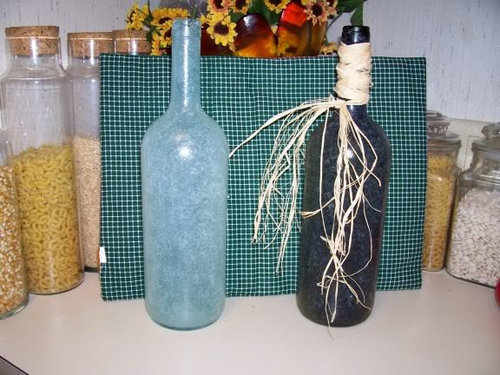
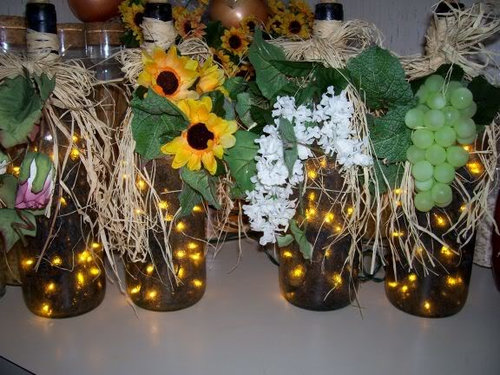
Lighted Wine bottles (Tutorial)
soso
17 years ago

Sort by:Oldest
Comments (18)
Related Stories

REMODELING GUIDESDouble Take: 'Floating' Wine Bottles Rack Up Style Points
Look closely to spy the secret of this wine rack, concocted by a clever homeowner needing a design workaround
Full Story
ORGANIZINGCool, Contemporary Wine Storage
No Wine Cellar? No Problem. Here's How to Store Your Bottles in Style
Full Story
PRODUCT PICKSGuest Picks: Holiday Gifts for the Hosts
Think outside the bottle of wine with host gifts like flavored oils, clever espresso cups and tequila 'glasses' made of salt
Full Story
PRODUCT PICKSGuest Picks: Upcycled Wine Barrels
Raise a glass to vineyard style with furniture, lighting and accessories repurposed from wooden wine barrels
Full Story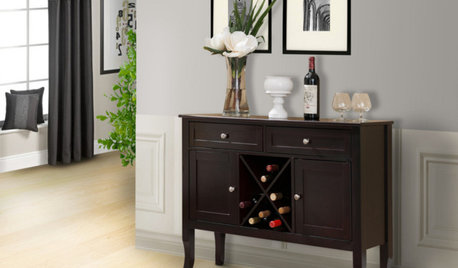
SHOP HOUZZShop Houzz: Up to 75% Off Home Bar Essentials
Remodel your home bar with stools, wine refrigerators, lighting and more
Full Story0
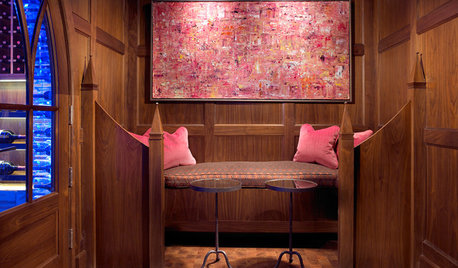
MORE ROOMSGreat Space: A Plush Nook for Sipping Wine
Visit a neo-Gothic alcove made for curling up with blanket, book and glass of wine
Full Story
STANDARD MEASUREMENTSKey Measurements for a Wine Cellar, Part 1
Find out the best ways to store your stash and how much space you need for wine refrigerators, racks and other storage
Full Story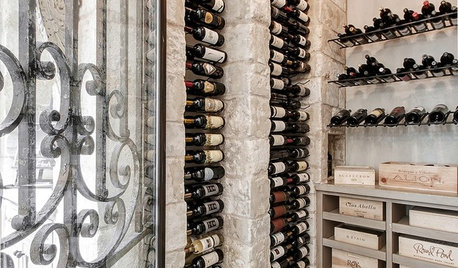
WINE CELLARSTrending Now: Top 10 New Wine Cellars on Houzz
Whether you prefer white, red or rosé, these popular wine cellars will hit the spot
Full Story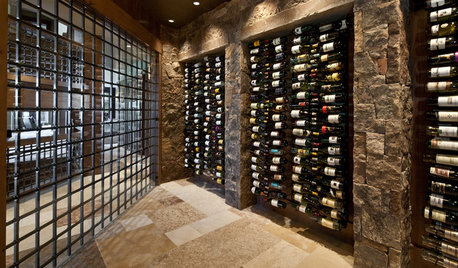
WINE CELLARS8 Wine Cellars Overflowing With Artful Storage
Give your wine collection a high-end home, with a prefab or custom racking system as posh as you please
Full StoryMore Discussions
toomuchglass
sosoOriginal Author
Related Professionals
Bridgeport Furniture & Accessories · Fayetteville Furniture & Accessories · Tampa Furniture & Accessories · Palmetto Bay Furniture & Accessories · Indian Creek Furniture & Accessories · Mount Sinai Interior Designers & Decorators · Struthers Interior Designers & Decorators · Cypress Custom Countertops · Wood Dale Custom Countertops · Bay Point Custom Countertops · Aliso Viejo Custom Closet Designers · Glen Rock Custom Closet Designers · San Francisco Custom Closet Designers · Tavares Custom Closet Designers · Edmonds Custom Closet Designerssouthtexascrafts
gw:craftylady-2006
sosoOriginal Author
grimmylep
sosoOriginal Author
leighwhitney
oddie
honeysuckleridge
heatherjo
texaspuddyprint
luvs2click
joobee
craftinkk
phish_gw
toomuchglass
evaf555