

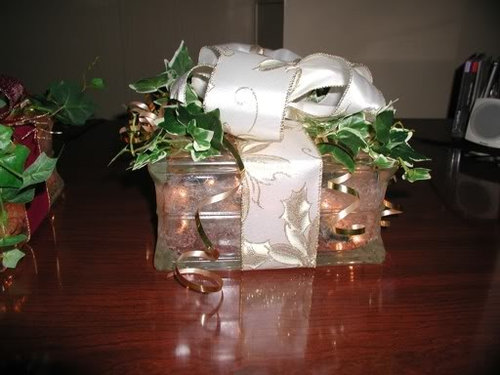
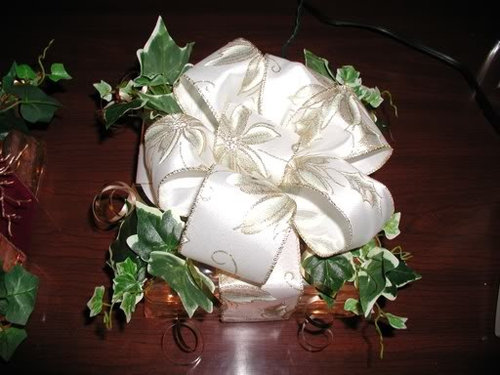
Glass Block Lights
gluecille
18 years ago
Sort by:Oldest
Comments (63)
Related Stories
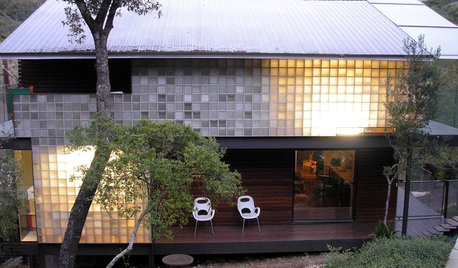
REMODELING GUIDESGreat Material: Glass Block Grows Up
See how designers are using the humble glass block for privacy, pattern and light
Full Story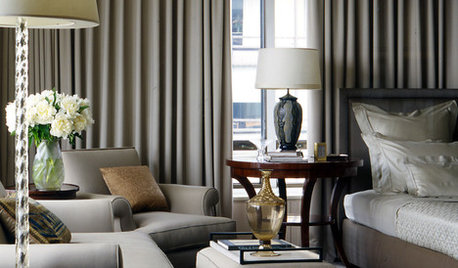
WINDOW TREATMENTSBedroom Window Treatments to Block the Light
Sleep tight with curtains, shades and more designed to keep out bright rays while letting stylishness in
Full Story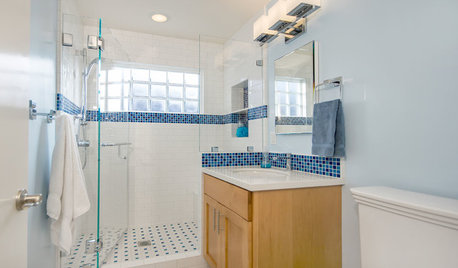
BATHROOM DESIGNLight-Happy Changes Upgrade a Small Bathroom
Glass block windows, Starphire glass shower panes and bright white and blue tile make for a bright new bathroom design
Full Story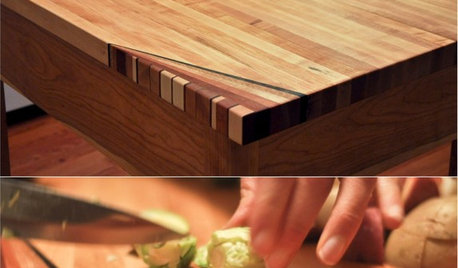
WOODWORKINGHow to Clean and Care for Your Butcher Block
Keep butcher block counters and boards looking sharp as a knife — and sanitized for safe food prep — with this advice from a pro woodworker
Full Story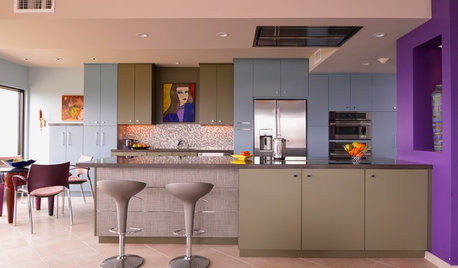
COLORFUL KITCHENSHow to Color-Block With Confidence in the Kitchen
Master the art of color-blocking in your cooking and dining area by following these foolproof design tricks
Full Story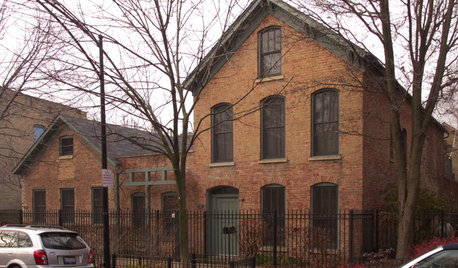
ARCHITECTUREModern and Traditional Converge on Coveted Chicago Blocks
As newer structures replace old on a pair of desirable streets, architects are challenged with how best to bring in modern styles
Full Story
COLORFUL KITCHENSKitchen of the Week: Bold Color-Blocking and a Central Banquette
Glossy red cabinets contrast with black surfaces and white seating in this cooking-dining space designed for entertaining
Full Story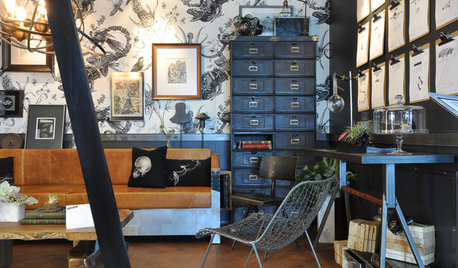
THE ART OF ARCHITECTUREDesign Practice: 11 Ways Architects Can Overcome Creative Blocks
When inspiration remains elusive, consider these strategies for finding your creative muse
Full Story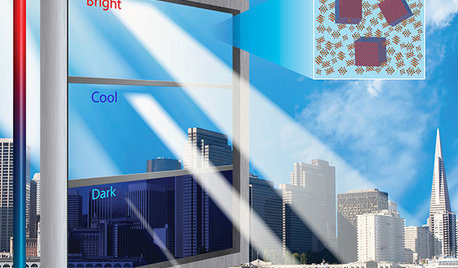
HOME TECHIs It Curtains for Curtains? Smart Glass Eliminates Window Coverings
Windows can now control light and heat through electricity and high-tech formulations, making blinds and shades optional
Full Story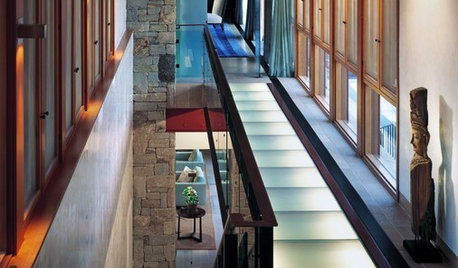
FLOORSLighten Up With Glass Floors
To spread the light, visually connect floors or infuse a space with drama, glass floors are a clear top choice
Full StoryMore Discussions
munkos
toomuchglass
Related Professionals
Frisco Furniture & Accessories · Greer Furniture & Accessories · Rome Furniture & Accessories · Carson City Furniture & Accessories · Glenvar Heights Furniture & Accessories · Norwalk Furniture & Accessories · Van Nuys Furniture & Accessories · View Park-Windsor Hills Interior Designers & Decorators · Phoenix Custom Countertops · San Diego Custom Countertops · Chandler Custom Closet Designers · San Francisco Custom Closet Designers · Wheaton Custom Closet Designers · North Charleston Custom Closet Designers · Romeoville Custom Closet Designersoddie
ssarge_owc_net
ringaroundtherosie
skyrider
ringaroundtherosie
munkos
danaoh
munkos
danaoh
munkos
skyrider
juliejules
ringaroundtherosie
ringaroundtherosie
ringaroundtherosie
luvstocraft
juliejules
ringaroundtherosie
dianecrafts
deja
skyrider
ringaroundtherosie
dianecrafts
dianecrafts
ringaroundtherosie
dianecrafts
evelyn_craftdiva
luvstocraft
hailie419
zeetera
evelyn_craftdiva
deja
luvstocraft
emilycombs
qtiemom
dianecrafts
fortescuegal
dianecrafts
kidd
danaoh
evelyn_craftdiva
ringaroundtherosie
kudzukween
txmom
louannmarie
katrenawalker
katrenawalker
orefieldannie4151