


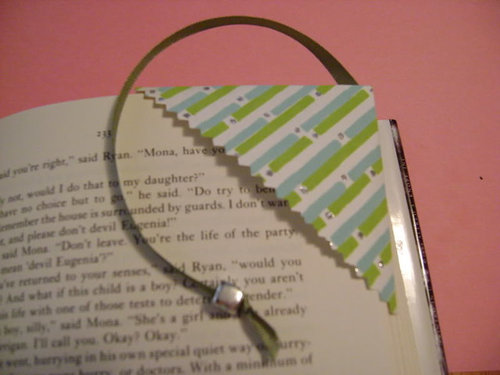
Corner Bookmarks
kudzukween
15 years ago
Related Stories
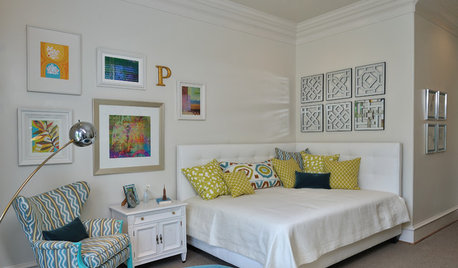
BEDROOMSDesign Solution: Dual Headboards to Cap a Corner Bed
Neatly tailored but as casual as you please, this corner headboard style is a fitting finishing touch for a flexible, lounge-like bed
Full Story
Guest Picks: Set Up a Comfy Reading Corner
With a snug chair, good lighting and other cozy niceties, you may never want the story to end
Full Story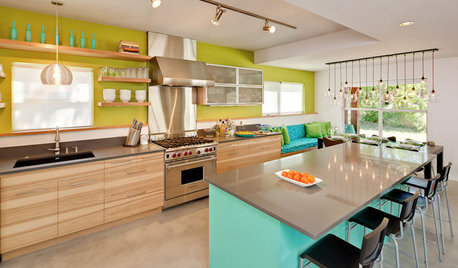
KITCHEN DESIGNThe 20 Most Popular Kitchens of the Week in 2012
The "likes" and Houzz bookmarks have spoken, and these kitchens have emerged as the most loved here in the past year
Full Story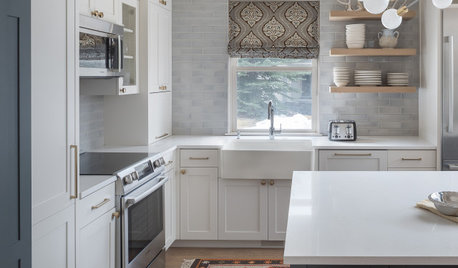
ORGANIZING7-Day Plan: Get a Spotless, Beautifully Organized Kitchen
Our weeklong plan will help you get your kitchen spick-and-span from top to bottom
Full Story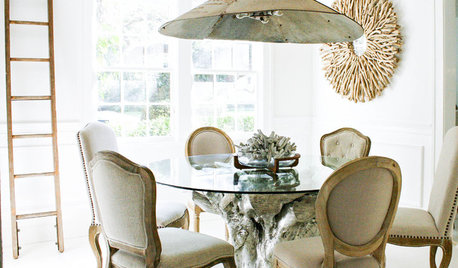
DECORATING GUIDESYou Said It: 'Make It Easy on Yourself' and More Houzz Quotables
Design advice and observations that struck a chord this week
Full Story
ORGANIZINGGet It Done: Organize Your Kitchen Cabinets
You deserve better than precarious piles of pots and toppling towers of lids. Give cabinet chaos the boot with these organizing strategies
Full Story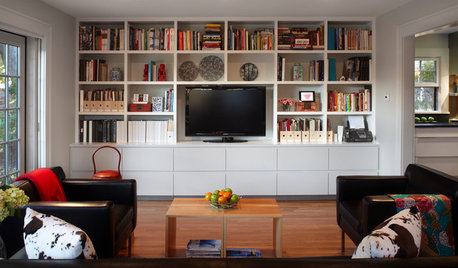
GREAT HOME PROJECTS25 Great Home Projects and What They Cost
Get the closet of your dreams, add a secret doorway and more. Learn the ins and outs of projects that will make your home better
Full Story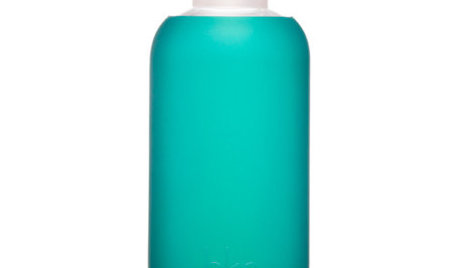
PRODUCT PICKSEasy Green: 20 Top Online Ecofriendly Shops
Find whatever you need for the ecofriendly home, from organic fabrics to nontoxic paint, from the online sellers in our wide-ranging roundup
Full Story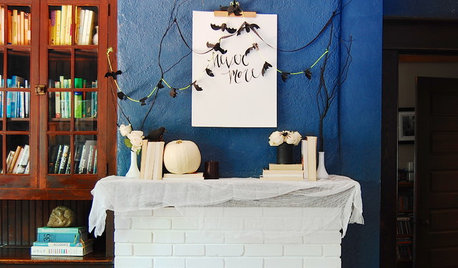
LIFEYou Said It: ‘Enjoy Your Own Private Symphony’ and More Houzz Quotables
Great advice, tips and downright poetic bits from this week's stories
Full Story
Create a Place for Inspiration to Flourish
Consider letting your inspiration board roam as freely as your imagination
Full StoryMore Discussions
grandma_bonnie
luvstocraft
Related Professionals
Athens Furniture & Accessories · Jupiter Furniture & Accessories · Rockville Furniture & Accessories · Glenvar Heights Furniture & Accessories · Clive Furniture & Accessories · Mount Vernon Interior Designers & Decorators · Shorewood Interior Designers & Decorators · Oregon City Custom Countertops · Sacramento Custom Countertops · Cleveland Custom Countertops · Richmond Custom Countertops · Coachella Custom Countertops · Lake Forest Custom Closet Designers · Santa Monica Custom Closet Designers · Camp Springs Custom Closet DesignerskudzukweenOriginal Author
honeysuckleridge
FlamingO in AR
pattico_gw
pattico_gw
luvstocraft
pattico_gw
pattico_gw
kudzukweenOriginal Author
luvstocraft
pattico_gw