


post your ideas for useing tissue paper
oddie
16 years ago

Sort by:Oldest
Comments (21)
Related Stories
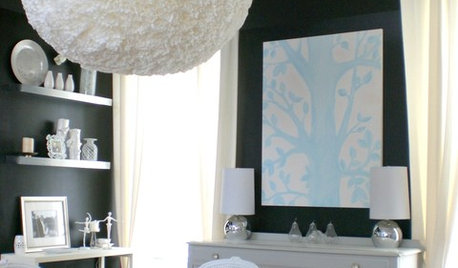
DECORATING GUIDESDIY: Fluffy White Paper Lantern
Recreate this cloud-like light fixture using a surprising secret ingredient
Full Story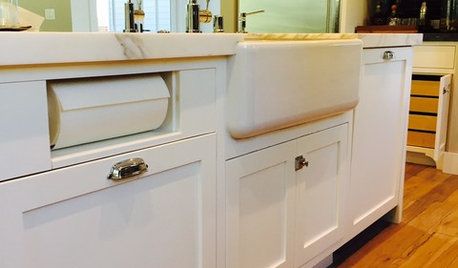
KITCHEN DESIGNKitchen Details: Out-of-Sight Paper Towel Holder
See how some homeowners are clearing the counter of clutter while keeping this necessity close at hand
Full Story
DECORATING GUIDESPost-Christmas Conundrum: Toy Storage
Get Ideas for Storing the Kids' Playthings in Style
Full Story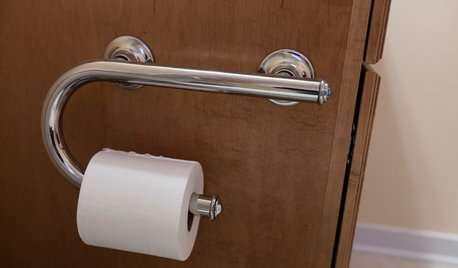
LIFEThe Absolute Right Way to Hang Toilet Paper. Maybe
Find out whether over or under is ahead in our poll and see some unusual roll hangers, shelves and nooks
Full Story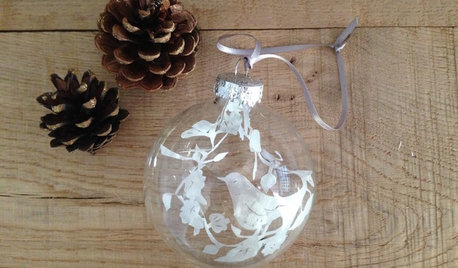
DIY PROJECTSHow to Make a Festive Paper-Cut Ornament
Add a personal touch to your Christmas tree this year with this pretty handmade decoration
Full Story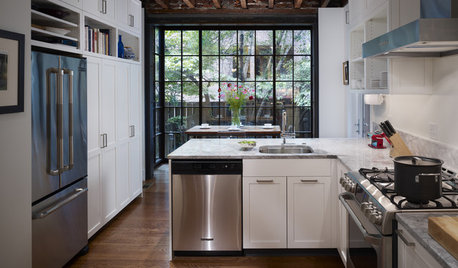
FEEL-GOOD HOME12 Very Useful Things I've Learned From Designers
These simple ideas can make life at home more efficient and enjoyable
Full Story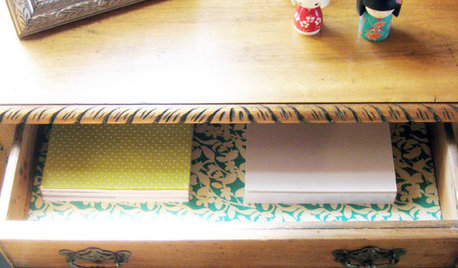
DECORATING GUIDES10 Ways to Reuse Wrapping Paper
Don't just toss your prettiest paper in the trash or recycling bin — gift wrap scraps can make wonderful home decor
Full Story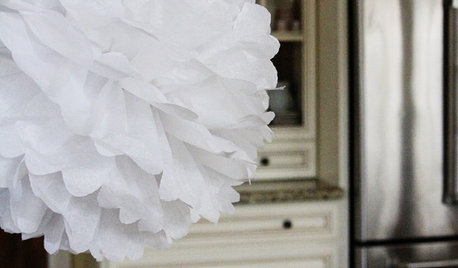
DECORATING GUIDESHandmade Home: The Paper Pompom
Put your own spin on these fluffy, pretty paper poufs for parties, dinners or year-round décor
Full Story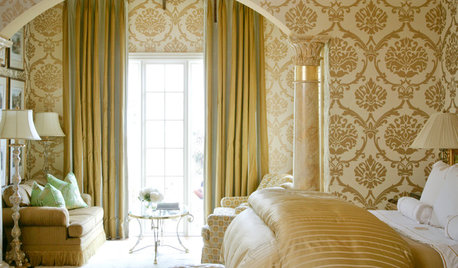
DECORATING GUIDESPaper Chase: Wallpaper Through the Ages to Today
Get on a decorating roll with a wall covering that's been around for centuries but comes in more exciting designs than ever
Full Story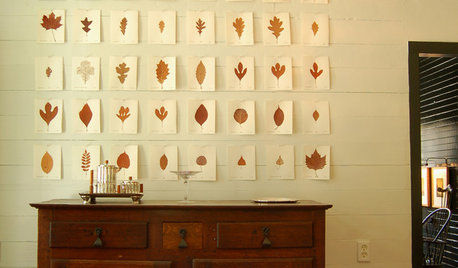
DECORATING GUIDESCreative Ways to Make Art from Paper
Adorn your walls with beautiful paper — cut, printed, torn or folded
Full Story
annabell40
oddieOriginal Author
Related Professionals
Stuart Furniture & Accessories · Owasso Furniture & Accessories · Woodbury Furniture & Accessories · Los Gatos Furniture & Accessories · San Diego Furniture & Accessories · Mount Sinai Interior Designers & Decorators · Lombard Custom Countertops · Jacksonville Custom Countertops · Dania Beach Custom Countertops · Malibu Custom Countertops · Manhattan Beach Custom Countertops · Detroit Custom Closet Designers · Longmont Custom Closet Designers · Tempe Custom Closet Designers · Wheaton Custom Closet Designersannabell40
oddieOriginal Author
annabell40
sweets98
oddieOriginal Author
annabell40
annabell40
oddieOriginal Author
annabell40
pattico_gw
sweets98
bulldinkie
oddieOriginal Author
sharon_fl
oddieOriginal Author
birdhousebonnie
oddieOriginal Author
birdhousebonnie
oddieOriginal Author