


Tinted Black & White Photographs
annabell40
16 years ago
Related Stories
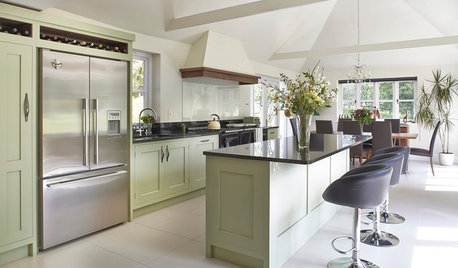
COLORBeyond White: With Tints, Everybody Wins
Light colors with just a trace of pigment add a subtle ambience. Here’s how to use tints to set a mood without darkening your space
Full Story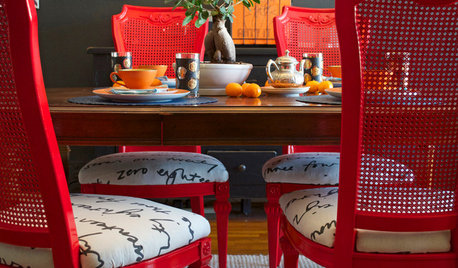
DIY PROJECTSDining Set Makeover: Paint and Tea-Tinted Fabric Make Old Chairs New
Reclaim dated dining chairs for far less than buying new, using spray paint, modern fabric and a handful of tea bags
Full Story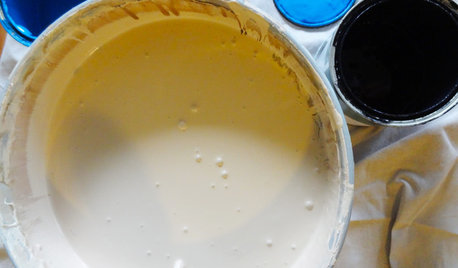
DIY PROJECTSTint Your Own Paint for New-Looking Walls
Dabbling in mixology means you can use up leftover paint and give your walls a custom look in one fell swoop
Full Story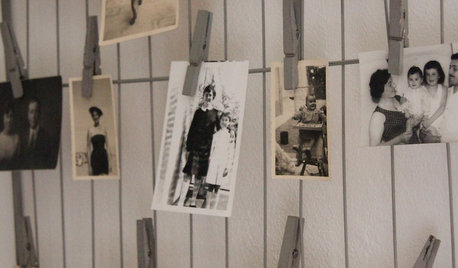
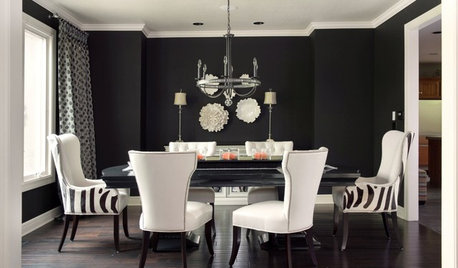
SHOP HOUZZShop Houzz: Create a Glamorous Black and White Dining Room
Add elegance to your meals with these black and white dining decor gems
Full Story0
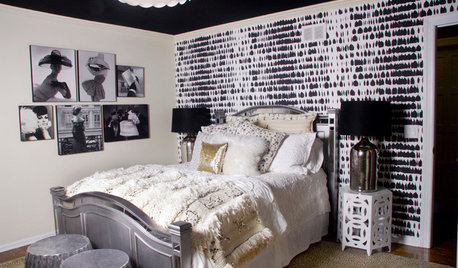
SHOP HOUZZShop Houzz: Go Bold With Black and White Wallpaper
Create a dramatic backdrop in any style with black and white wallpaper
Full Story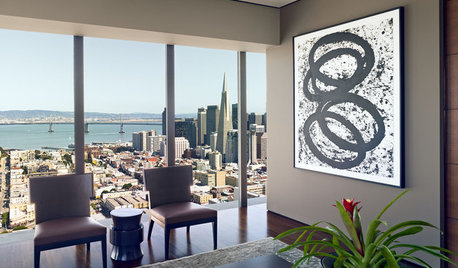
BLACKTwo Sides to Black and White Art
Graphic and bold or subtle and sophisticated? A mother and daughter share their picks on both ends of the spectrum
Full Story
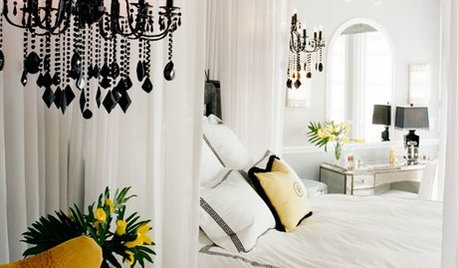
BATHROOM DESIGNBath of the Week: Black, White and Classic, With Some Twists
Black trim and tile keep an otherwise snowy bathroom in a 1910 home from feeling sleepy
Full Story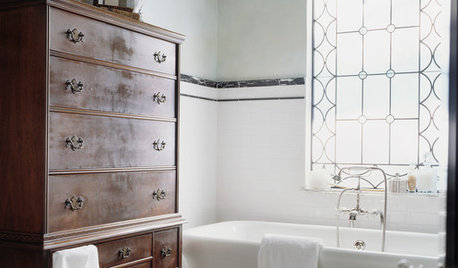
BATHROOM COLOR12 Gorgeous Black and White Bathrooms
Luxurious materials, vintage touches and thoughtful color splashes make these chic spaces worth borrowing ideas from
Full StorySponsored
Columbus Design-Build, Kitchen & Bath Remodeling, Historic Renovations
More Discussions
iowagirl2006
oddie
Related Professionals
Duluth Furniture & Accessories · Savannah Furniture & Accessories · North Bellmore Furniture & Accessories · Linton Hall Interior Designers & Decorators · Cypress Custom Countertops · Denver Custom Countertops · Parsippany Custom Countertops · Springville Custom Countertops · Corona Custom Closet Designers · Detroit Custom Closet Designers · Fort Collins Custom Closet Designers · Odenton Custom Closet Designers · Severna Park Custom Closet Designers · Tempe Custom Closet Designers · Pleasant Hill Custom Closet Designersiowagirl2006
oddie
annabell40Original Author
iowagirl2006
oddie
annabell40Original Author
iowagirl2006
honeysuckleridge
iowagirl2006
annabell40Original Author
oddie