


Kitchen Craft Cookware (from Home Show)
lazycook
17 years ago
Featured Answer
Sort by:Oldest
Comments (11)

jeff0
17 years agolast modified: 9 years agokanorton_yahoo_com
17 years agolast modified: 9 years agoRelated Professionals
Greer Furniture & Accessories · Union City Furniture & Accessories · Culver City Furniture & Accessories · Mill Valley Furniture & Accessories · Holliston Furniture & Accessories · Ballenger Creek Kitchen & Bathroom Designers · Avondale Kitchen & Bathroom Remodelers · Bloomingdale Kitchen & Bathroom Remodelers · Cocoa Beach Kitchen & Bathroom Remodelers · Independence Kitchen & Bathroom Remodelers · Lomita Kitchen & Bathroom Remodelers · Paducah Kitchen & Bathroom Remodelers · Port Charlotte Kitchen & Bathroom Remodelers · Spanish Springs Kitchen & Bathroom Remodelers · Weston Kitchen & Bathroom Remodelersgypsyrose
16 years agolast modified: 9 years agokanorton
16 years agolast modified: 9 years agodavid_grm_net
16 years agolast modified: 9 years agosmyrnaquince
16 years agolast modified: 9 years agofrogelina
15 years agolast modified: 9 years agojfeaz
15 years agolast modified: 9 years agojas_m
14 years agolast modified: 9 years agogaugie_gaugie_com
13 years agolast modified: 9 years ago
Related Stories
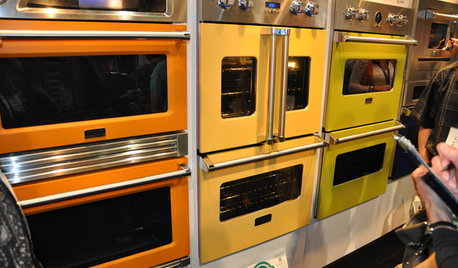
KITCHEN DESIGNStandouts From the 2014 Kitchen & Bath Industry Show
Check out the latest and greatest in sinks, ovens, countertop materials and more
Full Story
HOUSEKEEPINGHow to Clean Your Cookware So It Lasts
Avoid damage during everyday cleaning and stain scrubbing, with these tips for pots and pans made of popular materials
Full Story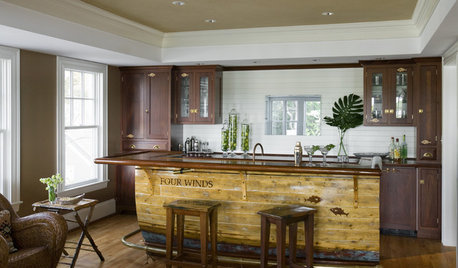
KITCHEN ISLANDSSalvage Spotlight: From Boat Hull to Social Hub of the House
Come aboard as we show you an amazingly different nautical bar in a Massachusetts oceanfront home
Full Story
KITCHEN DESIGN9 Award-Winning Kitchens from KBIS 2013 to Drool Over
See top-rated designs from this year's Kitchen and Bath Industry Show and get details about the designers' visions
Full Story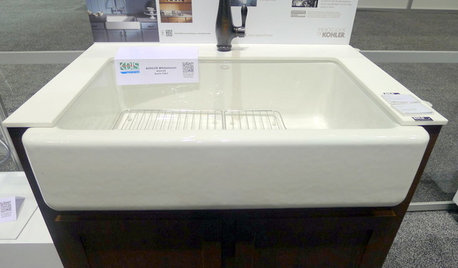
Highlights From the 2012 Kitchen and Bath Industry Show
Innovations in sinks, outlets and surface materials for kitchens and baths shone at this year's show
Full Story
LIGHTINGWhip Up a Lighting Fixture From a Tart Tin
Turn your old kitchen bakeware into an industrial-style hanging lamp with this clever DIY project
Full Story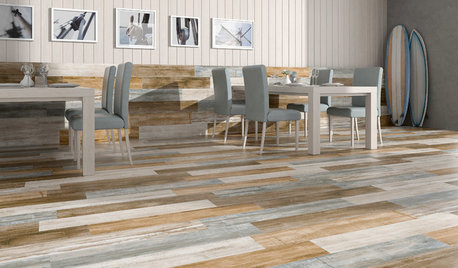
TILETop Tile Trends From the Coverings 2013 Show — the Wood Look
Get the beauty of wood while waving off potential splinters, rotting and long searches, thanks to eye-fooling ceramic and porcelain tiles
Full Story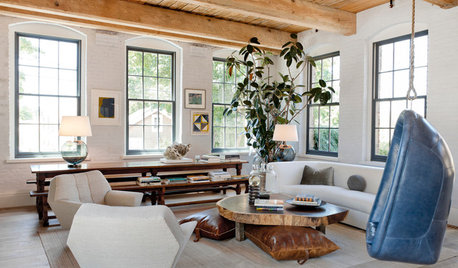
DESIGNER SHOWCASESLuxurious Looks From the 2014 Hamptons Show House
Talk a walk through a collection of imaginative rooms by top designers working for a good cause
Full Story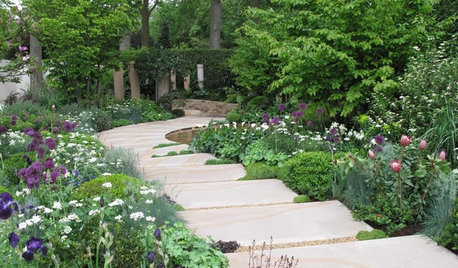
GARDENING GUIDESGreat Outdoor Living Ideas From the 2015 Chelsea Flower Show
The London garden exhibition has winning design concepts to borrow for your own backyard spaces
Full Story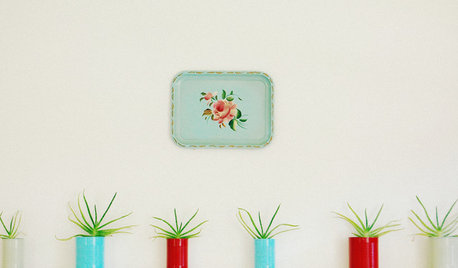
DECORATING GUIDES18 Clever DIY Ideas from 6 Home Décor Bloggers
Put your own spin on inventive decorating ideas like tin-can planters, knitted cozies, extra shelving, creative curtains and more
Full Story
jfeaz_hotmail_com