


questions about bread makers?
jadeite
11 years ago
Related Stories
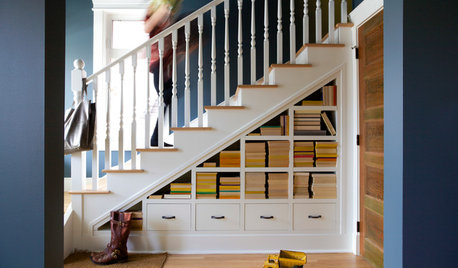
ORGANIZINGPre-Storage Checklist: 10 Questions to Ask Yourself Before You Store
Wait, stop. Do you really need to keep that item you’re about to put into storage?
Full Story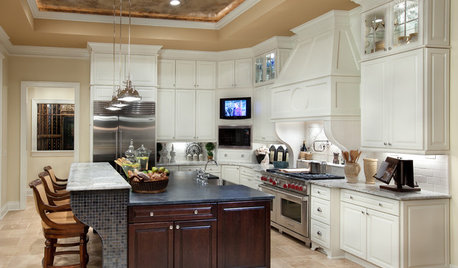
REMODELING GUIDESPlanning a Kitchen Remodel? Start With These 5 Questions
Before you consider aesthetics, make sure your new kitchen will work for your cooking and entertaining style
Full Story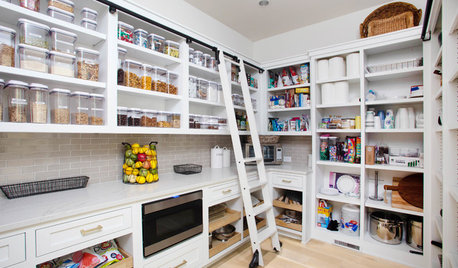
KITCHEN DESIGN9 Questions to Ask When Planning a Kitchen Pantry
Avoid blunders and get the storage space and layout you need by asking these questions before you begin
Full Story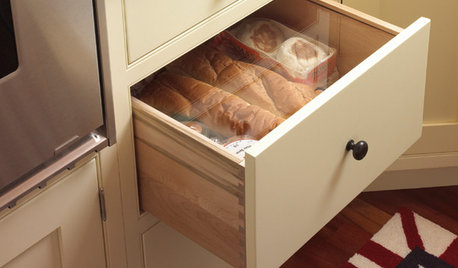
KITCHEN DESIGNKitchen Ideas for Bread Lovers
Any way you slice it, a kitchen designed with bread in mind conveys warmth and homeyness
Full Story
MOST POPULAR8 Questions to Ask Yourself Before Meeting With Your Designer
Thinking in advance about how you use your space will get your first design consultation off to its best start
Full StoryREMODELING GUIDESConsidering a Fixer-Upper? 15 Questions to Ask First
Learn about the hidden costs and treasures of older homes to avoid budget surprises and accidentally tossing valuable features
Full Story
KITCHEN DESIGNHouzz Call: Tell Us About Your First Kitchen
Great or godforsaken? Ragtag or refined? We want to hear about your younger self’s cooking space
Full Story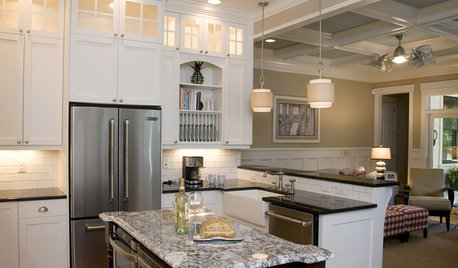
KITCHEN DESIGNStay Cool About Picking the Right Refrigerator
If all the options for refrigeration leave you hot under the collar, this guide to choosing a fridge and freezer will help you chill out
Full Story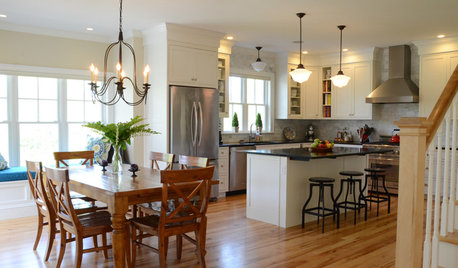
BUDGETING YOUR PROJECTHouzz Call: What Did Your Kitchen Renovation Teach You About Budgeting?
Cost is often the biggest shocker in a home renovation project. Share your wisdom to help your fellow Houzzers
Full Story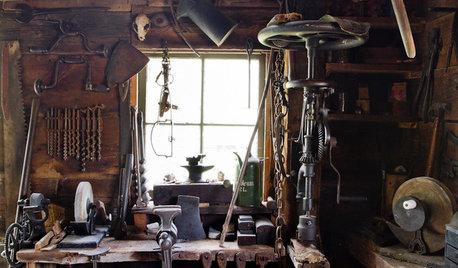
MATERIALSAre You a Maker? Show Us Your Favorite Tool or Material
Houzz Call: A tool or material can be a maker’s best friend. We’d like to see your favorite — and what it helps you achieve
Full StorySponsored
lpinkmountain
jadeiteOriginal Author
Related Discussions
Foccacia Bread recipe for a bread maker?
Q
Kitchen Gadget: Bread Maker
Q
Question about kneading bread in my mixer
Q
Question about raisin bread
Q
bryansda
grainlady_ks
jadeiteOriginal Author
dcarch7 d c f l a s h 7 @ y a h o o . c o m
jadeiteOriginal Author
dcarch7 d c f l a s h 7 @ y a h o o . c o m
grainlady_ks
shambo
annie1992
bcskye
dcarch7 d c f l a s h 7 @ y a h o o . c o m
cynic
shambo
jadeiteOriginal Author
dcarch7 d c f l a s h 7 @ y a h o o . c o m
grainlady_ks
lpinkmountain
shambo
annie1992
arkansas girl
krissie55
jadeiteOriginal Author
shambo
jadeiteOriginal Author
Lars
jadeiteOriginal Author
Lars
triciae
Lars
jadeiteOriginal Author
Lars
Lars
jadeiteOriginal Author
dcarch7 d c f l a s h 7 @ y a h o o . c o m
Lars
Jasdip