


Tip on Using Iron-On Decals
Red_Confetti
20 years ago
Related Stories

MORE ROOMSIron It Out! Storage Solutions for the Ironing Board
3 Helpful Tips On How To Make Space for this Household Essential
Full Story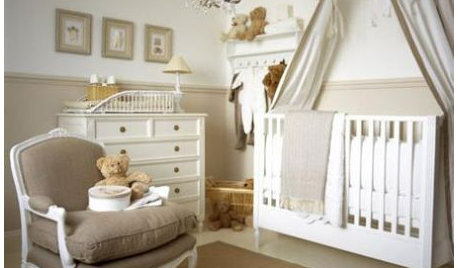
BEDROOMS10 Tips for a Soothing French Country Nursery
Joyous but restful, soft French country style is a natural choice for baby's bedroom
Full Story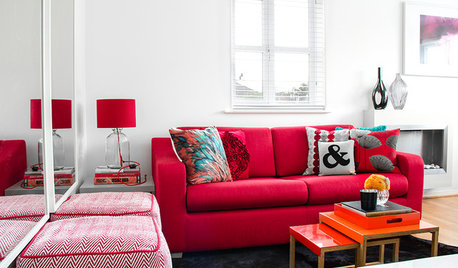
DECORATING GUIDES10 Tips for a College Apartment That Says ‘Home’
Want to decorate your first apartment so it looks put together, not thrown together? Try these easy ideas for a smart-looking space
Full Story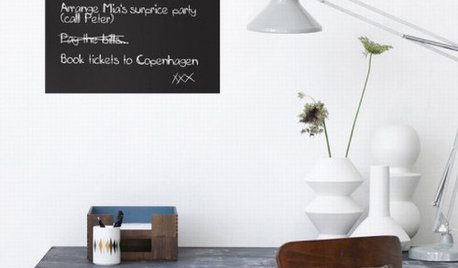
ACCESSORIES12 Ways With Today's Wall Decals
Adorn Your Walls: No Nails, Paint, Wallpaper or Commitment Required
Full Story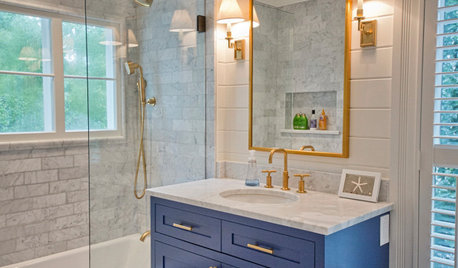
BATHROOM DESIGN12 Designer Tips to Make a Small Bathroom Better
Ensure your small bathroom is comfortable, not cramped, by using every inch wisely
Full Story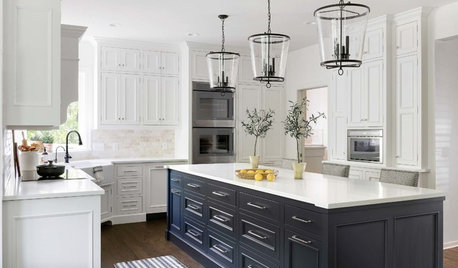
CLEANINGEco-Friendly Tips and Tricks for Cleaning Your Home
Are you wary of using chemicals to clean? These simple products and tricks will keep your home spotless naturally
Full Story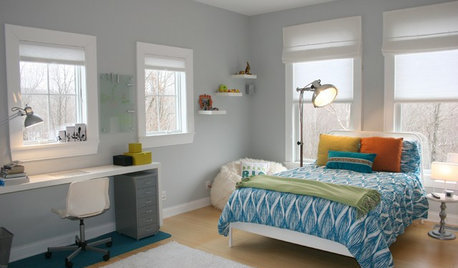
TRIMTrim Color Tips: Get Your White Trim Right
Set off wood tones, highlight architectural features, go minimalist ... white trim is anything but standard when you know how to use it
Full Story
COLOR11 Pretty Sweet Decorating Ideas Using Pastels
Go ahead, be a softie. When you use powdery shades right, they go beyond child’s play into the realm of chic
Full Story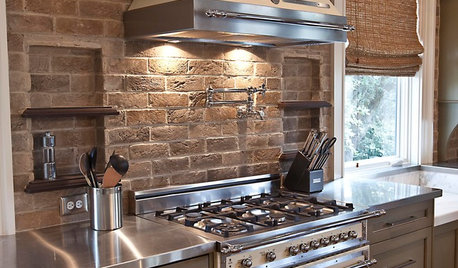
KITCHEN DESIGNYes, You Can Use Brick in the Kitchen
Quell your fears of cooking splashes, cleaning nightmares and dust with these tips from the pros
Full Story
DECORATING GUIDES10 Design Tips Learned From the Worst Advice Ever
If these Houzzers’ tales don’t bolster the courage of your design convictions, nothing will
Full Story
stevec50
Related Discussions
Tips when using Primo
Q
Iron Belly what proper way of using Victor trap
Q
Tips on using smoker tray on large MM YO660
Q
Tips on caring for cast iron w/ electric stove?
Q