


Any Polymer clay qustions????
elaineinnj
11 years ago
Related Stories
GARDENING GUIDESNew Ways to Think About All That Mulch in the Garden
Before you go making a mountain out of a mulch hill, learn the facts about what your plants and soil really want
Full Story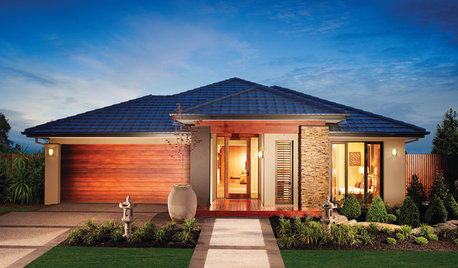
ROOFSThis Long-Lasting Roofing Material Works With Many Styles
With their durability and wide range of colors and molded shapes, concrete roof tiles are worth a look
Full Story
FARM YOUR YARDHow to Grow Vegetables in Containers
Get glorious vegetables and fruits on your patio with a pro’s guidance — including his personal recipe for potting mix
Full Story
GREAT HOME PROJECTSHow to Give Your Driveway and Front Walk More Curb Appeal
Prevent injuries and tire damage while making a great first impression by replacing or repairing front paths
Full Story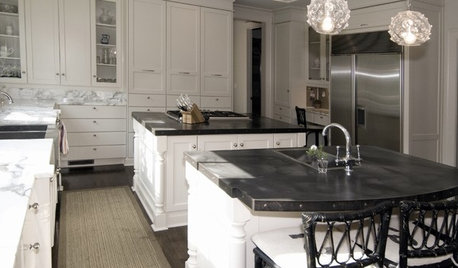
KITCHEN COUNTERTOPSKitchen Countertop Materials: 5 More Great Alternatives to Granite
Get a delightfully different look for your kitchen counters with lesser-known materials for a wide range of budgets
Full Story
YELLOW FLOWERSGreat Design Plant: Winter Jasmine Gladdens Snowy Gardens
Sunny yellow flowers defy the frost, bringing cheer to the garden on gray days
Full Story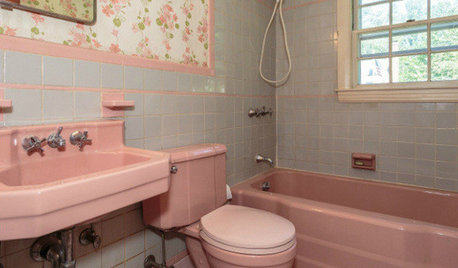
BATHROOM COLOR8 Ways to Spruce Up an Older Bathroom (Without Remodeling)
Mint tiles got you feeling blue? Don’t demolish — distract the eye by updating small details
Full Story
FLOORSHow to Paint Your Hardwood Floors
Know how to apply nail polish? Then you can give your wooden floors a brand-new look
Full Story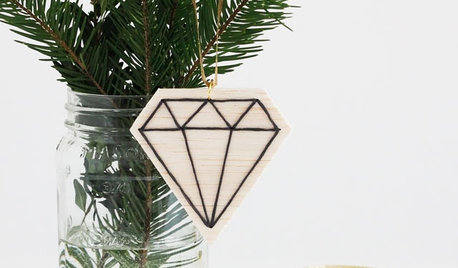
CHRISTMAS20 DIY Ornaments to Give or Keep
From classic to quirky, easy to more involved, these Christmas ornaments will perk up your tree or make a great gift
Full Story
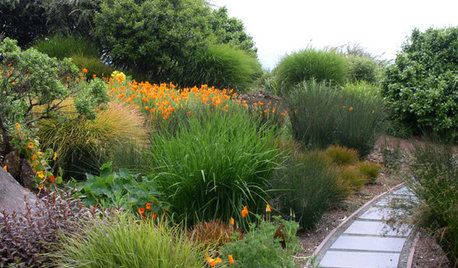
LANDSCAPE DESIGN10 Ideas for a Creative, Water-Conscious Yard
Check out these tips for a great-looking outdoor area that needs less water
Full Story
bettyn_gardener
cleocrafta
Related Professionals
Kirkland Furniture & Accessories · Long Beach Furniture & Accessories · Los Angeles Furniture & Accessories · Miami Furniture & Accessories · Philadelphia Furniture & Accessories · Silver Spring Furniture & Accessories · Fountainebleau Furniture & Accessories · Silver Spring Furniture & Accessories · Van Nuys Furniture & Accessories · Holliston Furniture & Accessories · Shorewood Interior Designers & Decorators · Wanaque Interior Designers & Decorators · South Yarmouth Home Stagers · Fairfax Handyman · Fish Hawk Handymanbettyn_gardener
elaineinnjOriginal Author
bettyn_gardener
elaineinnjOriginal Author
bettyn_gardener
elaineinnjOriginal Author
bettyn_gardener
elaineinnjOriginal Author
bettyn_gardener
elaineinnjOriginal Author
kessy56
elaineinnjOriginal Author
elaineinnjOriginal Author
elaineinnjOriginal Author