


Rosie! Gin Transfer
meggiecat
21 years ago
Related Stories
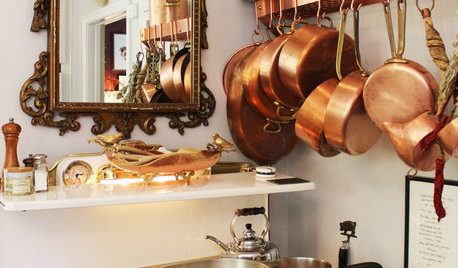
HOUSEKEEPINGShine On: How to Clean Copper
Restore the luster to your copper pots and pans with these tips for using both natural and store-bought cleaners
Full Story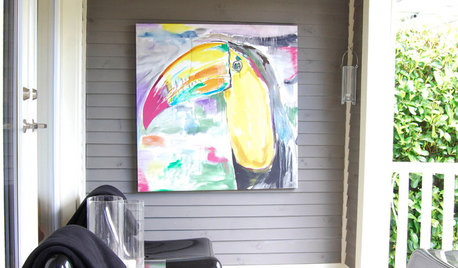
DECORATING GUIDES7 Unexpectedly Intriguing Places for Art
Elicit surprise and delight by displaying art in spaces where someone might least expect it
Full Story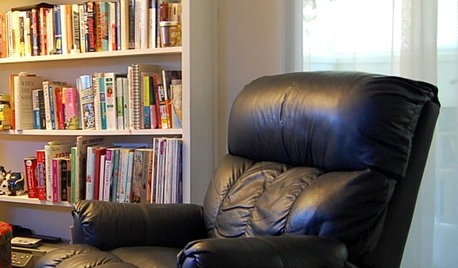
LIFEThe Beautiful Thing About Dad's Chair
My father had his own spot in the house. His father had his own spot. Now I have mine
Full Story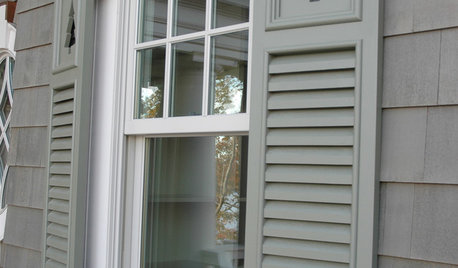
REMODELING GUIDESTop 10 Solutions for Architectural Peeves
Cavelike hallways, immovable shutters, poorly proportioned doors ... avoid these and other common gaffes with these renovation solutions
Full Story
LANDSCAPE DESIGNNatural Swimming Pools: More Beauty, No Chemicals
Keep your skin and the environment healthy with a pool that cleans itself, naturally
Full Story
HOUSEKEEPINGWhen You Need Real Housekeeping Help
Which is scarier, Lifetime's 'Devious Maids' show or that area behind the toilet? If the toilet wins, you'll need these tips
Full Story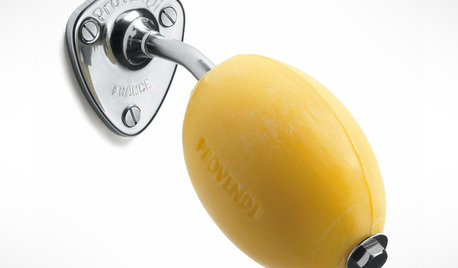
BATHROOM VANITIESBetter Places to Stash That Soap
Banish gloppy bars and flimsy pumps, and the only things you’ll need to clean are your hands
Full Story
LIFE10 Reasons to Be Happy You’re a Renter
Homeownership has many benefits, but there are upsides to not owning a home too
Full Story
DECORATING GUIDESTop Design Trends From the Winter 2015 Las Vegas Market
Interior designer Shannon Ggem is tracking finishes, motifs and design combinations at the 2015 show
Full Story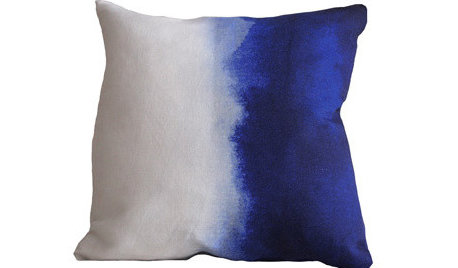
PRODUCT PICKSGuest Picks: Watercolors in the Home
The undulating pigmentation and flow of watercolors makes its way into decor
Full Story
rosie_ga
rosie_ga
rosie_ga
Lia_SC
rosie_ga
rosie_ga
rosie_ga
ArtsyCraftsy
Lia_SC
ArtsyCraftsy