


Replacing Chevy Belt Tensioner
mileena3
18 years ago
Sort by:Oldest
Comments (6)
Related Stories

REMODELING GUIDESWisdom to Help Your Relationship Survive a Remodel
Spend less time patching up partnerships and more time spackling and sanding with this insight from a Houzz remodeling survey
Full Story
FUN HOUZZ14 Things You Need to Start Doing Now for Your Spouse’s Sake
You have no idea how annoying your habits at home can be. We’re here to tell you
Full Story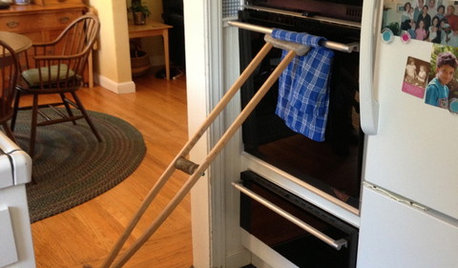
LIFEYou Showed Us: 20 Nutty Home Fixes
We made the call for your Band-Aid solutions around the house, and you delivered. Here's how you are making what's broken work again
Full Story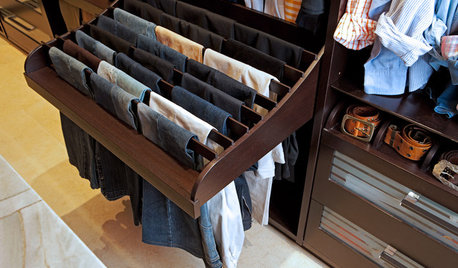
CLOSETSThe 15 Most Popular Closet Luxuries on Houzz
Turn distressing disarray into streamlined perfection with closet organizers and amenities like these
Full Story
STORAGEBedroom Storage: 12 Ways to Work Your Wardrobe
Instead of letting the mess in your closet overwhelm you, tackle it head on with these smart and simple solutions
Full Story
DECLUTTERINGA Pro Weighs In on Decluttering the KonMari Way
As Marie Kondo’s Netflix series sparks an organizing blitz, an expert discusses the practicality of 7 KonMari principles
Full Story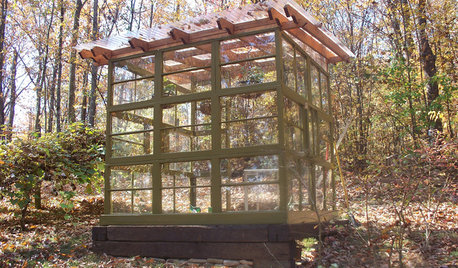
GARDENING AND LANDSCAPINGSee a Family Greenhouse Grown From Scraps
Can-do resourcefulness and less than $400 lead to a new 8- by 8-foot home for plants on a Tennessee family's property
Full Story
LIFEShow Us More of Your Nutty Home Fixes
We’d love to see what you’ve rigged up lately to make your home run smoothly
Full Story
PETS16 Stylish Built-In Sleeping Areas for Dogs
Give pets their own safe haven with these built-in dog beds for the kitchen, living areas and laundry room
Full Story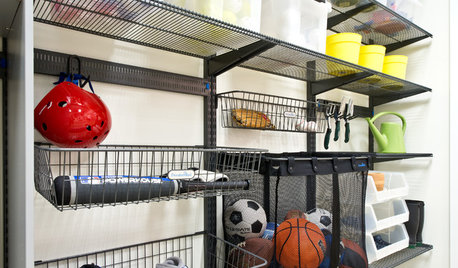
GREAT HOME PROJECTSHow to Make Your Garage a Storage Powerhouse
New project for a new year: Add shelving and containers to get your stuff off the garage floor — and still have room for the car
Full Story
mileena3Original Author
earthworm
Related Discussions
Toro PP having more problems after belt replacement
Q
Replaced drive belt on lawn tractor with electric pto
Q
Belt tension
Q
Toro 14-38 HXL new belt - poor tension
Q
mileena3Original Author
vstech
mileena3Original Author
whoop