


how do I include photos in a post?
mtnlaw
15 years ago
Sort by:Oldest
Comments (4)
Related Stories
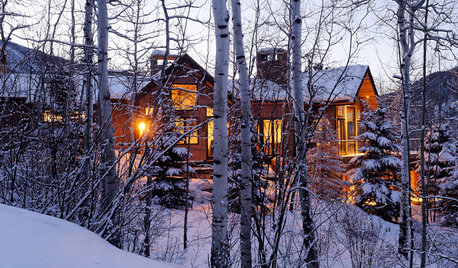
LIFEHouzz Call: Who'll Post the First Snow Photo of 2013?
If the weather's been flaky in your neck of the woods, please show us — and share how you stay warm at home
Full Story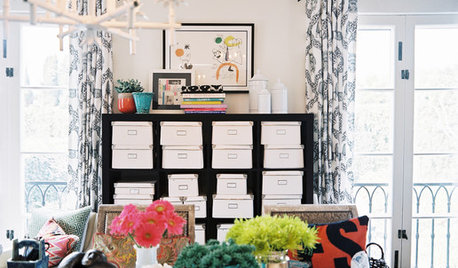
HOME OFFICESOrganize Photos in a Flash
You post them, email them, maybe even print them out. But if your digital and printed photos are all lumped together, it's time to organize
Full Story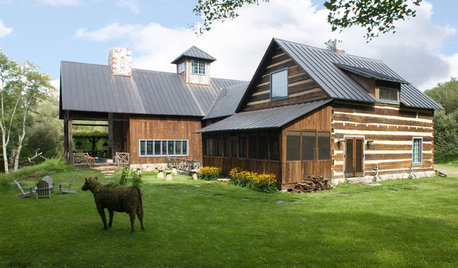
LIFEThe Polite House: Do I Have to Display Decor Given to Me as a Gift?
Etiquette columnist Lizzie Post tackles the challenge of accepting and displaying home decor gifts from frequent visitors
Full Story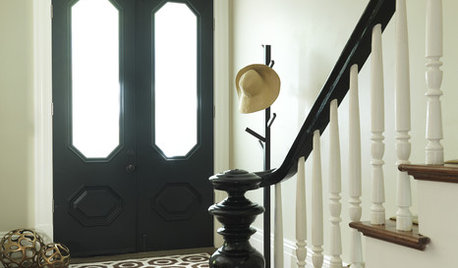
ENTRYWAYSGrand Entry Elements: Newel Posts Past and Present
They once spoke to wealth and class, but newel posts today say more about individual style
Full Story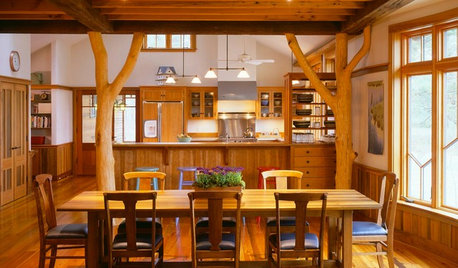
KITCHEN DESIGNOpening the Kitchen? Make the Most of That Support Post
Use a post to add architectural interest, create a focal point or just give your open kitchen some structure
Full Story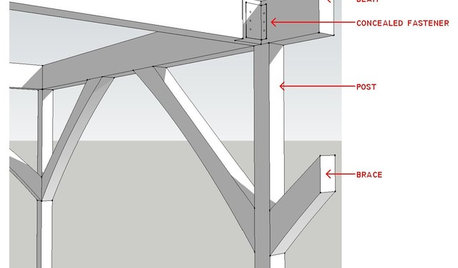
REMODELING GUIDESKnow Your House: Post and Beam Construction Basics
Learn about this simple, direct and elegant type of wood home construction that allows for generous personal expression
Full Story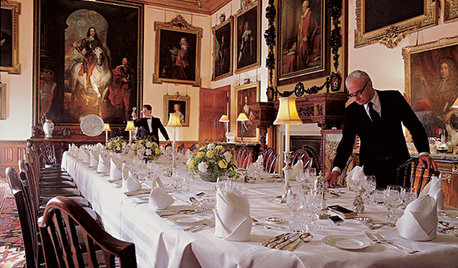
FUN HOUZZEverything I Need to Know About Decorating I Learned from Downton Abbey
Mind your manors with these 10 decorating tips from the PBS series, returning on January 5
Full Story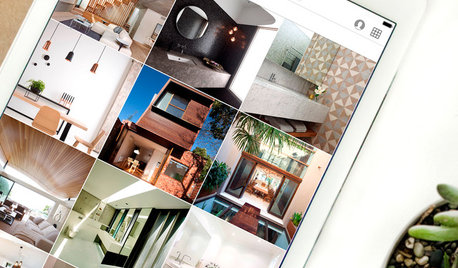
INSIDE HOUZZInside Houzz: Updates to the Houzz App for iPhone and iPad
With a redesign and new features, the Houzz app is better than ever
Full Story
PETSHouzz Call: Send in the Design Cats
Post your best photo of your cat at home, in the garden or with you in your studio. It could be published in a featured ideabook
Full Story
HOLIDAYSHouzz Call: Share Your Favorite Christmas Tradition
Is there one thing you do, watch or eat that heralds the arrival of Christmas? Post a photo and let us know!
Full Story

thegolfguy
coffeehaus
Related Professionals
Beachwood Architects & Building Designers · De Pere Architects & Building Designers · Morganton Architects & Building Designers · Castaic Design-Build Firms · Jurupa Valley Home Builders · West Pensacola Home Builders · Arlington General Contractors · Murraysville General Contractors · Cape Girardeau General Contractors · Coffeyville General Contractors · Endicott General Contractors · Markham General Contractors · Newburgh General Contractors · San Bruno General Contractors · Troutdale General Contractorsclaireplymouth z6b coastal MA
bevangel_i_h8_h0uzz