


Concrete Wall Crack Repair?
Konrad___far_north
13 years ago

Related Stories
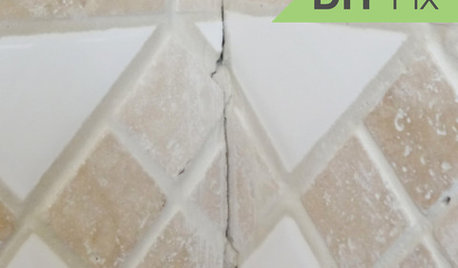
BATHROOM TILEQuick Fix: Repair Cracked Bathroom Grout
Banish an eyesore and safeguard your bathroom from water damage in 30 minutes or less with this DIY repair
Full Story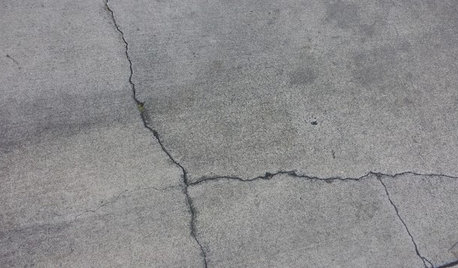
CONCRETEWhy Concrete Wants to Crack
We look at the reasons concrete has a tendency to crack — and what you can do to help control it
Full Story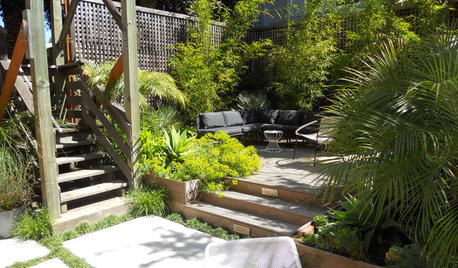
PATIOSPatio Details: Good-bye Cracked Concrete, Hello Lush Garden
A San Francisco couple replace an old parking space with a barefoot-friendly outdoor retreat for eating, entertaining and play
Full Story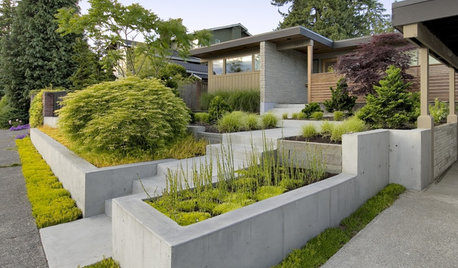
LANDSCAPE DESIGNGarden Walls: Pour On the Style With Concrete
There's no end to what you — make that your contractor — can create using this strong and low-maintenance material
Full Story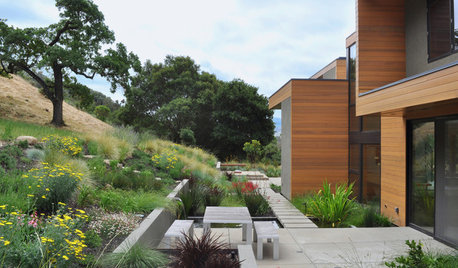
LANDSCAPE DESIGNOutdoor Style: Creative Ways With Classic Concrete
Have you cast concrete aside as being too dull or crack-prone? Learn about new design options along with the basics of using it outside
Full Story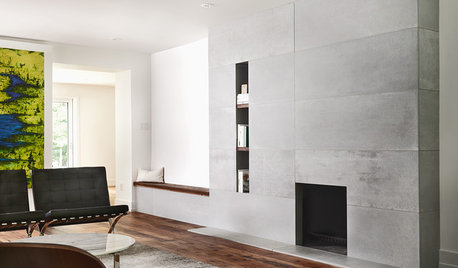
FIREPLACESConcrete Panels Create a Stylish Modern Fireplace
A dozen distressed custom panels form a cohesive look without the mass that can sometimes lead to cracking
Full Story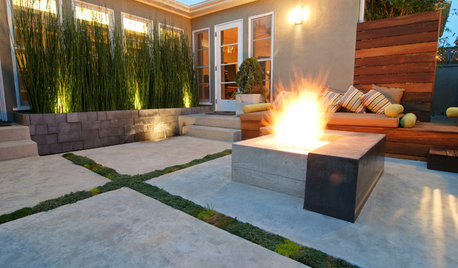
GREAT HOME PROJECTSHow to Tear Down That Concrete Patio
Clear the path for plantings or a more modern patio design by demolishing all or part of the concrete in your yard
Full Story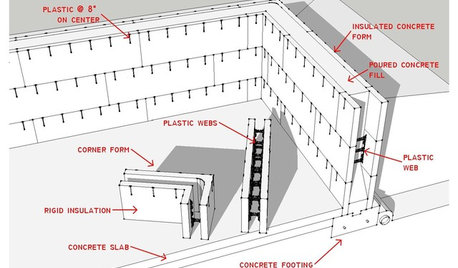
KNOW YOUR HOUSEKnow Your House: The Basics of Insulated Concrete Form Construction
Get peace and quiet inside and energy efficiency all around with this heavy-duty alternative to wood-frame construction
Full Story
REMODELING GUIDESConcrete Driveways: Poring Over the Pros and Cons
Concrete adds smooth polish to driveways and a sleek look to home exteriors, but here are the points to ponder before you re-surface
Full Story
GREEN BUILDINGConsidering Concrete Floors? 3 Green-Minded Questions to Ask
Learn what’s in your concrete and about sustainability to make a healthy choice for your home and the earth
Full Story

mariend
Konrad___far_northOriginal Author
Related Professionals
Anchorage Architects & Building Designers · Ann Arbor Architects & Building Designers · Middle River Architects & Building Designers · Royal Palm Beach Home Builders · New Bern General Contractors · Bay City General Contractors · Broadview Heights General Contractors · Canandaigua General Contractors · Casas Adobes General Contractors · Leavenworth General Contractors · Pacifica General Contractors · Panama City General Contractors · Shaker Heights General Contractors · View Park-Windsor Hills General Contractors · Waterville General Contractorsbus_driver
Konrad___far_northOriginal Author
dyno
stone_garden
bus_driver
Konrad___far_northOriginal Author
worthy
Konrad___far_northOriginal Author
Konrad___far_northOriginal Author
worthy
Konrad___far_northOriginal Author
Konrad___far_northOriginal Author
Basement_Questions
millworkman