


Last shingle at gable lifting upwards ?
orourke
14 years ago
Sort by:Oldest
Comments (19)
Related Stories
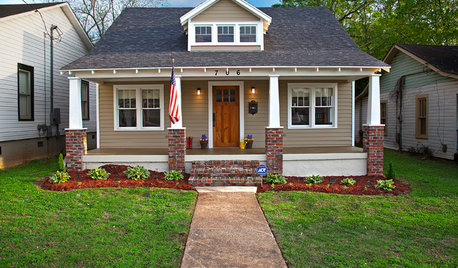
MATERIALSThe Most Popular Roofing Material is Affordable and Easy to Install
Asphalt shingles, the most widely used roof material in the U.S. are reliable and efficient, and may be right for you
Full Story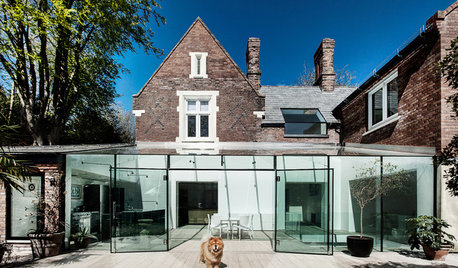
MODERN ARCHITECTUREDesign Workshop: Additions With Attitude
Learn the strategies that can make extensions to existing home structures meaningful, respectful and of their time
Full Story
GREEN BUILDINGHow to Recycle Your Kitchen
Instead of adding to the junk pile — and paying landfill fees — get rid of old appliances, cabinets and countertops the ecofriendly way
Full Story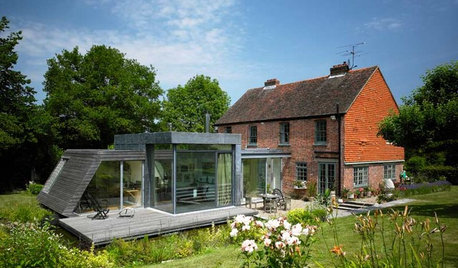
REMODELING GUIDES7 Striking Contemporary Additions
Contrasting Designs Honor the Difference Between Old and New
Full Story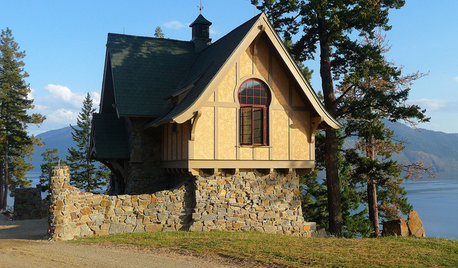
ARCHITECTUREHow to Design a Storybook Cottage
A client’s request: “Build me a house where Disney meets Tudor.” The architect explores the details that make the style
Full Story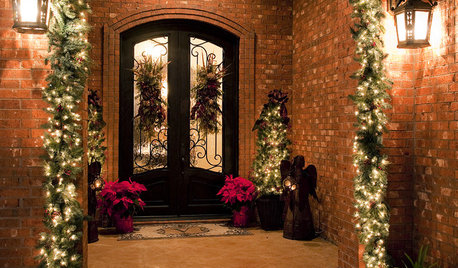
MOST POPULARA Contractor's Secrets to Hanging Holiday Decor
Hang a wreath or garland on brick, concrete, Sheetrock or wood the professional way — and avoid the potential pitfalls
Full Story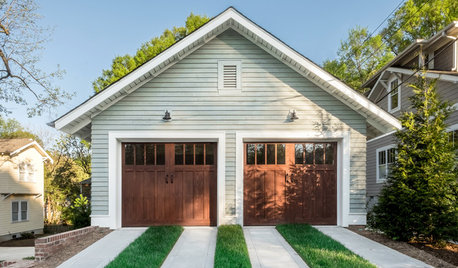
GREAT HOME PROJECTSHow to Replace or Revamp Your Garage Doors
Boost curb appeal and maybe even security with new garage doors. Find out cost ranges and other important details here
Full Story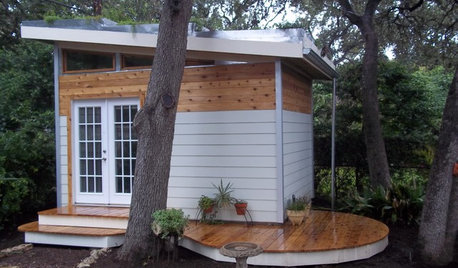
MOST POPULARHow to Add a Backyard Shed for Storage or Living
Need a home office, a playspace or extra room for your stuff? Learn about off-the-shelf, prefab and custom sheds
Full Story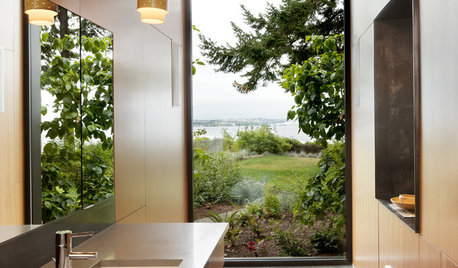
REMODELING GUIDES10 Tips to Maximize Your Whole-House Remodel
Cover all the bases now to ensure many years of satisfaction with your full renovation, second-story addition or bump-out
Full Story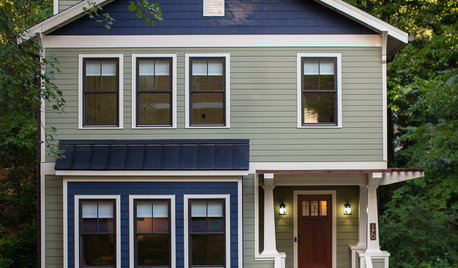
COLORExterior Color of the Week: 6 Ways With Sage Green
See how to set your home apart with this popular green
Full Story


creek_side
sierraeast
Related Professionals
Five Corners Architects & Building Designers · Saint James Architects & Building Designers · Syracuse Architects & Building Designers · Castaic Design-Build Firms · Casa de Oro-Mount Helix Home Builders · Hillsdale Home Builders · Country Walk General Contractors · De Pere General Contractors · Del Aire General Contractors · Gallatin General Contractors · Jackson General Contractors · Lakeside General Contractors · Parsons General Contractors · Point Pleasant General Contractors · Seabrook General Contractorssierraeast
brickeyee
sierraeast
orourkeOriginal Author
brickeyee
sierraeast
orourkeOriginal Author
brickeyee
orourkeOriginal Author
sierraeast
rollie
rollie
macv
orourkeOriginal Author
macv
dave777_2009
orourkeOriginal Author